 Skip to content
For a dessert that seems to dance on your tongue, look no further than classic lemon bars. These sunny squares boast a buttery, melt-in-your-mouth crust cradling a tart and sweet lemon filling. They’re everything you want in a dessert—refreshing, indulgent, and oh-so-simple to whip up. It’s as if spring is captured in a bite!
Thank you for reading this post, don't forget to subscribe!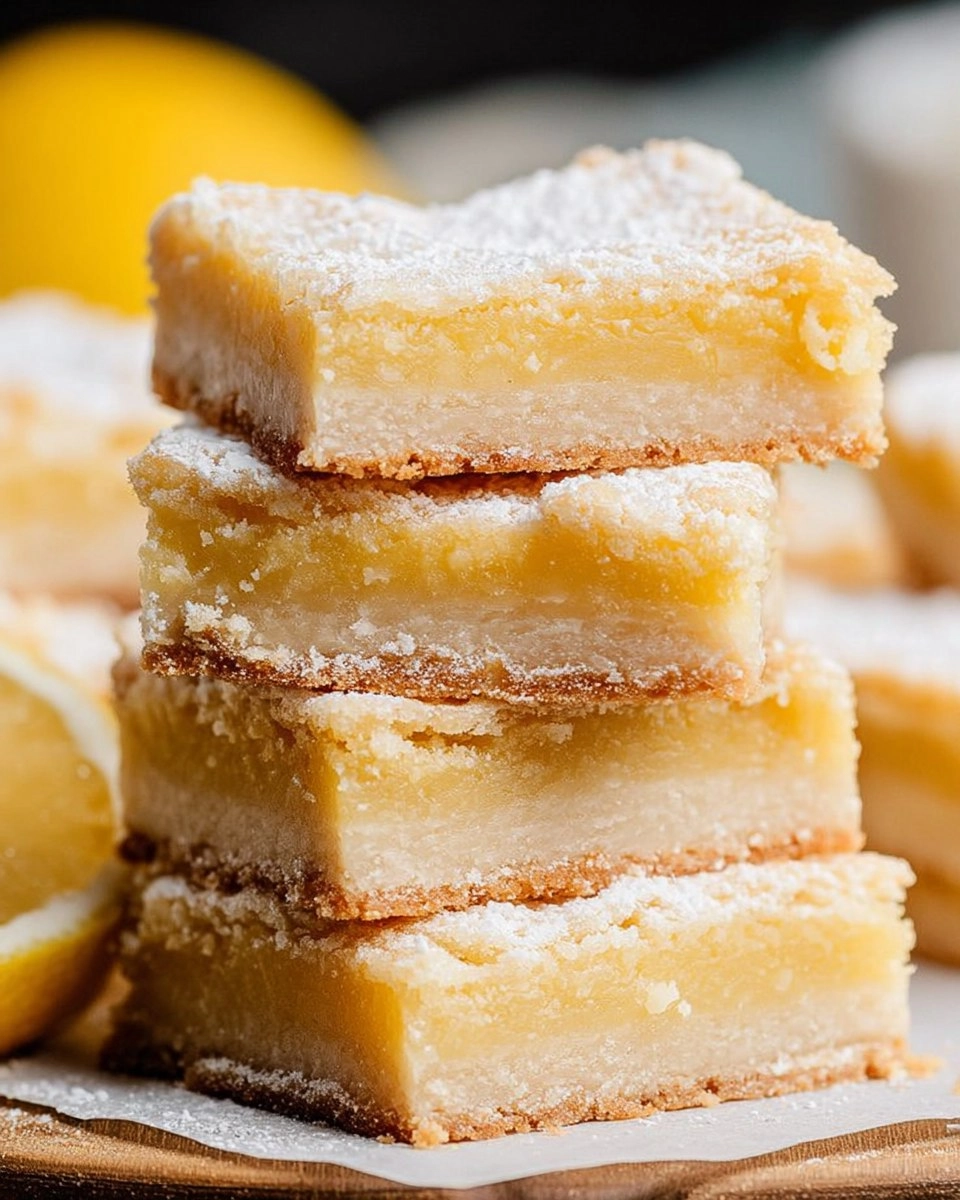
I vividly remember the first time I enjoyed classic lemon bars at a summer picnic, the sun shining overhead and laughter filling the air. The vibrant yellow filling was a showstopper, but it was the perfect balance of sweetness and tartness that stole my heart. Crafting them yourself is a great way to bring that nostalgia to life. Whether you’re looking for a crowd-pleasing dessert or just something to satisfy an afternoon craving, these lemon bars have you covered. I can’t wait for you to give them a try!
Why You’ll Love This Recipe
- Simple & Quick: With just 20 minutes of prep, you’ll have a delicious dessert ready in no time!
- Irresistible Flavor: The harmony of tart lemon and buttery crust is simply divine.
- Eye-Catching Appeal: Each bar is a stunning golden treat that’s as pretty as it is tasty.
- Flexible Serving: Perfect as a snack, dessert after dinner, or even for breakfast!
- Diet-Friendly Options: Whole ingredients make it adaptable for various dietary needs.
Ingredients You’ll Need
- 1/2 pound (2 sticks / 16 tablespoons) salted butter, softened: This forms the base of the crust, creating a rich and tender texture. If you prefer, unsalted butter can also be used, just adjust the salt later in the recipe.
- 1/2 cup powdered sugar: Sweetens the crust while keeping it delicate. Baker’s sugar can be used as an alternative.
- 2 cups all-purpose flour, spooned and leveled: This is essential for the structure of the crust. For a gluten-free option, you can substitute with a gluten-free flour blend.
- 4 large eggs: They bind the filling together and add richness. Using room temperature eggs helps them incorporate better.
- 2 cups granulated sugar: This sweetens the filling, balancing the lemon’s tartness. You might consider a sugar alternative if you’re watching your sugar intake.
- Zest of 1 lemon: This adds brightness to the filling. Make sure to zest before juicing.
- 1/3 cup freshly squeezed lemon juice: Provides that signature tart flavor. Fresh is best, but bottled lemon juice can work in a pinch.
- 1 teaspoon baking powder: Lightens the filling slightly, giving it a fluffy texture.
- 1/3 cup all-purpose flour, spooned and leveled: Used in the filling, balances the liquid and adds structure. You can substitute with additional gluten-free flour if desired.
- Additional powdered sugar for dusting: This finishing touch adds a beautiful and sweet presentation.
How to Make Classic Lemon Bars
- Preheat the Oven: Start by setting your oven to 350°F (175°C). Prepare a 9×13-inch baking pan by spraying it with non-stick cooking spray and lining it with parchment paper, leaving an overhang on the long sides for easy removal.
- Make the Crust: In a large bowl, mix together the softened butter (1/2 pound), powdered sugar (1/2 cup), and flour (2 cups). You can use a pastry cutter, a large fork, or even a hand mixer on low speed. The mixture should look crumbly yet hold together when squeezed. Firmly press this mixture evenly into the bottom of your prepared pan, slightly bringing it up the sides.
- Bake the Crust: Place the crust in your preheated oven and bake for about 20 minutes, or until the edges turn lightly golden brown. Once done, remove it from the oven and let it cool slightly while you prepare the filling.
- Prepare the Filling: In a separate bowl, whisk together the eggs (4 large), granulated sugar (2 cups), lemon zest, lemon juice (1/3 cup), baking powder (1 teaspoon), and flour (1/3 cup). Whisk until smooth and well combined for an even consistency in your filling.
- Combine the Layers: Pour this luscious filling over the partially cooled crust, smoothing it out gently. Return the pan to the oven and bake for another 25–30 minutes. You’ll know it’s done when the center is completely set and no longer jiggles when gently shaken. The edges should be lightly golden brown and fragrant.
- Cool and Serve: Allow the lemon bars to cool to room temperature. Once cool, refrigerate them for at least 1 hour before removing from the pan. Lift the bars using the parchment overhang, place them on a cutting board, and slice them into 12 squares or 24 triangles. For a lovely presentation, dust with powdered sugar just before serving.
Storing & Reheating
Store your classic lemon bars at room temperature for up to 2 days. For longer storage, place them in an airtight container and refrigerate for up to one week. You can also freeze them for up to 3 months; just make sure to wrap them tightly in plastic wrap and foil. To serve from frozen, let them thaw in the refrigerator, and if desired, reheat in a warm oven for about 10 minutes to refresh their texture.
Chef’s Helpful Tips
- Avoid Overmixing: When combining the filling ingredients, mix until just combined to ensure a tender texture.
- Use Room Temperature Ingredients: This helps create a smoother filling, especially with the eggs, which will incorporate better.
- Flavor Boost: For an extra flavor kick, consider adding a teaspoon of vanilla extract to the filling.
- Keep an Eye on the Baking Time: Every oven cooks differently, so check for doneness a few minutes early.
- Make-Ahead Option: These bars can be made a day in advance; they actually taste better after resting, allowing the flavors to meld.
These classic lemon bars are a delightful treat that anyone can make with ease. They invite bursts of sunshine into any meal and are bound to please friends and family alike.

Recipe FAQs
Can I use bottled lemon juice instead of fresh?
Yes, you can use bottled lemon juice if you don’t have fresh lemons on hand, but fresh juice delivers a brighter, more vibrant flavor that makes a difference.
How can I make these lemon bars gluten-free?
Simply substitute the all-purpose flour with a 1:1 gluten-free baking blend. Ensure all other ingredients are also gluten-free.
Can I add other flavors to the filling?
Absolutely! Consider adding a splash of vanilla extract or even some fresh herbs like basil to give your classic lemon bars a unique twist.
How should I cut the lemon bars?
Use a sharp knife and wipe it clean between cuts for neat slices. Dusting with powdered sugar right before serving adds a beautiful touch!
Embrace the zest of life with these classic lemon bars. It’s a simple recipe that brings joy to every occasion, whether it’s a casual evening at home or a vibrant gathering with loved ones. Enjoy the baking and, of course, the eating!
Print
Classic Lemon Bars
Experience the bright and zesty flavor of Classic Lemon Bars. With their simple preparation and key ingredients like fresh lemon juice and a buttery crust, these bars are a delightful homemade treat that satisfies cravings for something sweet and refreshing.
- Total Time: 3 hours 5 minutes
- Yield: 24 1x
Ingredients
- 1/2 pound (2 sticks / 16 tablespoons) salted butter, softened
- 1/2 cup powdered sugar
- 2 cups all-purpose flour spooned and leveled
- 4 large eggs
- 2 cups granulated sugar
- zest of 1 lemon
- 1/3 cup freshly squeezed lemon juice zest the lemon before juicing
- 1 teaspoon baking powder
- 1/3 cup all-purpose flour spooned and leveled
- additional powdered sugar for dusting
Instructions
- Preheat oven to 350°F. Spray a 9×13-inch baking pan with non-stick cooking spray and line with parchment paper, leaving an overhang on the long sides.
- In a large bowl, mix softened butter, powdered sugar, and flour until crumbly but holds together; press into the bottom of the prepared pan, slightly up the sides.
- Bake for 20 minutes until edges are lightly golden. Remove from oven and let cool slightly.
- While crust cools, whisk eggs, granulated sugar, lemon zest, lemon juice, baking powder, and flour together until smooth.
- Pour filling over the cooled crust and bake for 25–30 minutes until the center is set and edges are light golden brown.
- Cool to room temperature and refrigerate for at least 1 hour before lifting out of the pan using the parchment overhang, then slice into squares or triangles and dust with powdered sugar.
Notes
Ensure the lemon juice is fresh for the best flavor.
Let the bars cool completely before refrigerating to set properly.
Use a sharp knife for cleaner cuts when slicing.
- Prep Time: 20 minutes
- Cook Time: 165 minutes
- Category: Desserts
- Method: Baking
- Cuisine: American
Nutrition
- Serving Size: 1 bar
- Calories: 200
- Sugar: 20g
- Sodium: 80mg
- Fat: 9g
- Saturated Fat: 5g
- Unsaturated Fat: 3g
- Trans Fat: 0g
- Carbohydrates: 29g
- Fiber: 0g
- Protein: 2g
- Cholesterol: 50mg


