 Skip to content
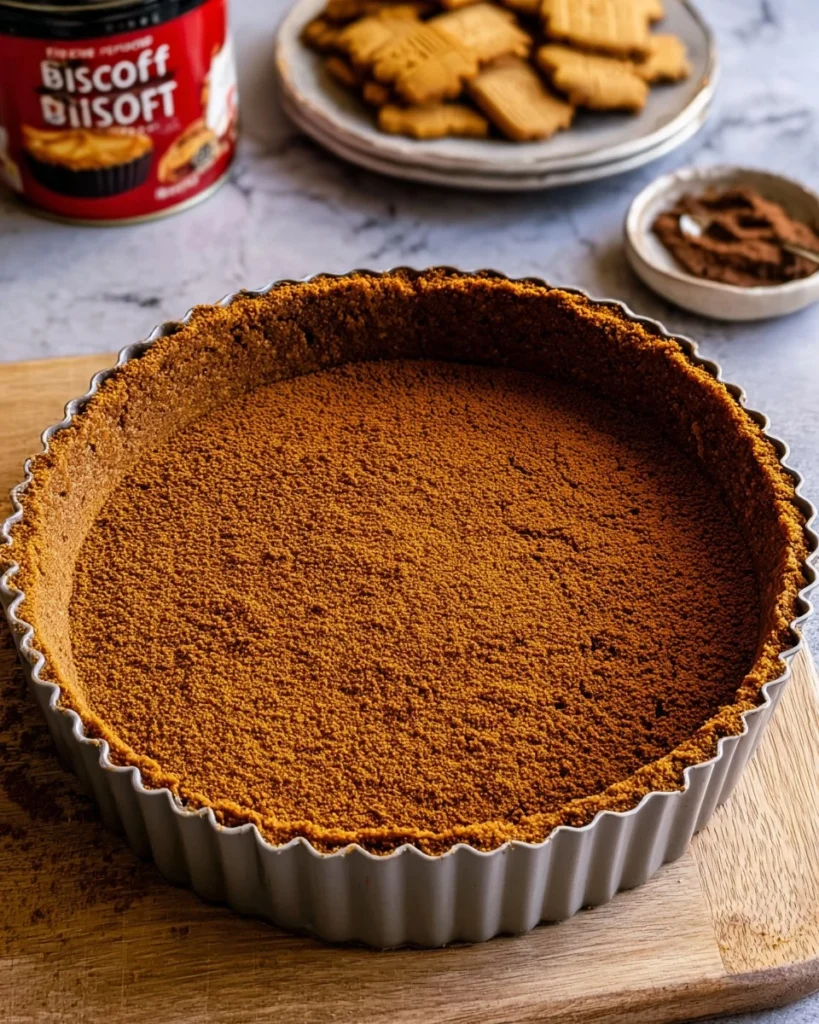
Biscoff Cookie Crust is not just your average crust; it’s a sweet, spiced revelation that takes your dessert game to new heights. Imagine a crust made from those delightful caramelized cinnamon cookies, blending perfectly with your favorite fillings. Each bite brings a satisfying crunch and an irresistible flavor that you simply can’t get from a store-bought crust. It’s the perfect foundation for cheesecakes, tarts, or even just as a treat on its own.
Thank you for reading this post, don't forget to subscribe!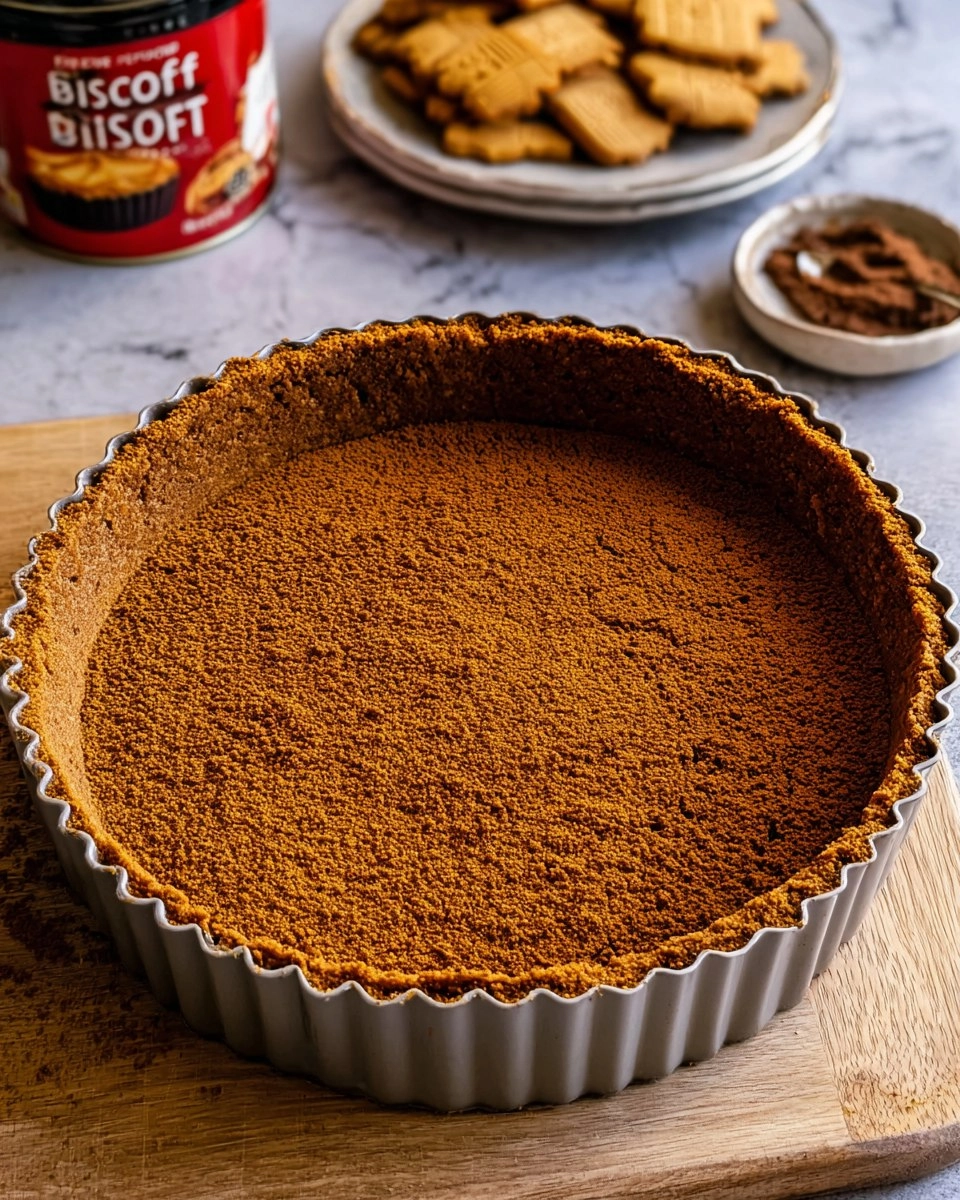
I remember the very first time I prepared a Biscoff Cookie Crust—it was during a cozy gathering with friends. As I pressed those buttery crumbs into the pan, the aroma made its way through the kitchen, pooling excitement around the room. Quick to make and incredibly versatile, this recipe is an absolute must-have for any dessert lover. You’ll find that it’s budget-friendly, too, allowing you to whip up an impressive crust without breaking the bank. So, roll up your sleeves and get ready to indulge in this delightful treat—you won’t regret it!
Why You’ll Love This Recipe
- Simple & Quick: This Biscoff Cookie Crust comes together in just about 10 minutes, making it a fantastic choice for last-minute desserts.
- Irresistible Flavor: The combination of spiced cookies and melted butter creates a flavor profile that’s both sweet and rich, completely elevating your desserts.
- Eye-Catching Appeal: It’s a visually stunning base that adds a gourmet touch to any dessert; your guests will be impressed!
- Flexible Serving: Whether for a special occasion, cozy family night, or a snack, it’s perfect for any time.
- Diet-Friendly Options: Should you want to make it gluten-free, simply look for gluten-free Biscoff cookies as a perfect alternative.
Ingredients You’ll Need
- 250 grams biscoff cookies: This is the star of the crust. These cookies are spiced with cinnamon and packed with flavor, providing the perfect sweetness. You can also use other spiced cookies if you want a different twist.
- ⅓ cup unsalted butter (76g): The butter helps bind the cookie crumbs and adds richness to the crust. Using unsalted butter allows you to control the saltiness. For dairy-free options, coconut oil can be a great substitute.
How to Make Biscoff Cookie Crust
- Preheat the Oven: Preheat your oven to 350°F (175°C) to get it ready for baking.
- Prepare the Cookie Crumbs: Place 250 grams of Biscoff cookies in a food processor. Pulse them until they resemble fine, even crumbs for the best texture.
- Melt the Butter: In a small saucepan or microwave, melt ⅓ cup of unsalted butter. You want it fully melted but not bubbling.
- Combine Butter and Crumbs: Pour the melted butter over the cookie crumbs. Stir the mixture until it holds together and resembles wet sand; it should be packable.
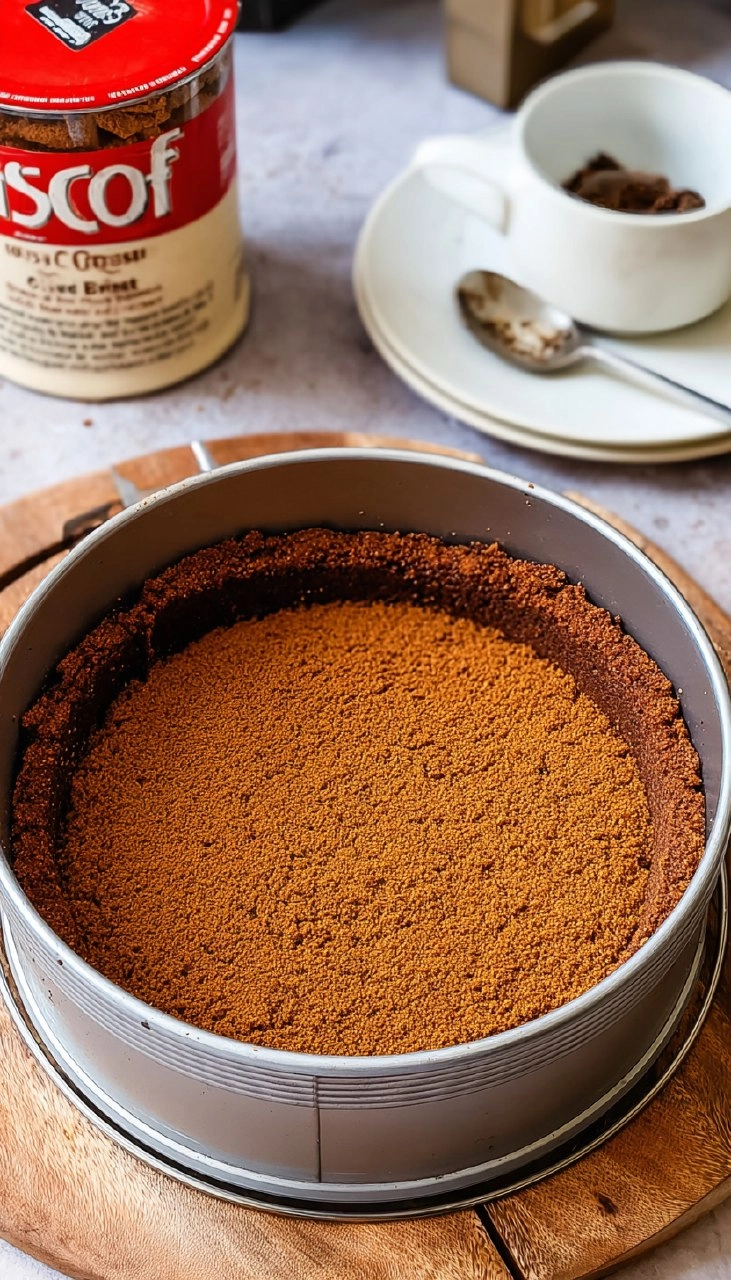
- Press into the Pan: Firmly press the mixture into the bottom of an 8 or 9-inch tart pan or cheesecake pan. Make it compact and even using the bottom of a glass or measuring cup.
- Bake: Bake the crust for 8–10 minutes. You’ll know it’s ready when it’s lightly set and fragrant but not browned. Let it cool completely before adding your filling.
Storing & Reheating
To store your Biscoff Cookie Crust, keep it at room temperature in an airtight container for up to 2 days. If you need it fresh for longer, refrigerate it for up to a week in a similar container. For even longer storage, freeze it for up to 3 months; just wrap it well in plastic wrap or aluminum foil to prevent freezer burn. When you’re ready to use it, let it thaw in the refrigerator and then return to room temperature. You may notice slight changes in texture after freezing, but refreshing it with a quick bake at 350°F (175°C) for 5 minutes can bring back that delightful crunch!
Chef’s Helpful Tips
- Be careful not to over-process the cookies; you want fine crumbs, not dust! They need to have some texture for a great crust.
- To mix the butter and crumbs evenly, use a spatula to scrape the sides of your bowl frequently, ensuring that the butter coats all the crumbs.
- If you prefer a sweeter crust, feel free to add a tablespoon of granulated sugar to the crumb mixture.
- This crust is also perfect for making ahead of time; simply store it until you’re ready to fill it.
- Adjust the baking time if you’re making a larger batch or using a different-sized pan.
The combination of flavors and textures in this crust not only supports your filling but enhances it. Don’t hesitate to experiment with different fillings as they can totally change the vibe of your dessert!
Recipe FAQs
Can I make this crust using gluten-free cookies?
Absolutely! You can substitute regular Biscoff cookies with gluten-free Biscoff cookies without sacrificing flavor or texture. Just ensure that any other ingredients you choose are also gluten-free.
How do I know when my crust is done baking?
The crust should be lightly set and fragrant when it’s ready. You’re looking for a firm texture that holds together—avoid letting it brown too much, as it can become hard when cooled.
Can I freeze the filled Biscoff Cookie Crust?
Yes, you can freeze the filled crust, but it’s best to freeze it without a filling first. If you freeze it filled, some fillings might alter in texture upon thawing. If possible, prepare the crust in advance and fill it just before serving.
How can I enhance the flavor of my crust?
If you’d like to boost the flavor, consider adding a teaspoon of vanilla extract to the butter and crumbs mixture. You can also try adding a pinch of salt to balance the sweetness, which might create a more dynamic taste experience!
Print
Biscoff Cookie Crust
Satisfy your cravings with this Biscoff Cookie Crust, featuring rich, buttery flavors and a quick prep time. Perfect for pies and cheesecakes, this crust offers a homemade touch to your desserts.
- Total Time: 45 minutes
- Yield: 1 1x
Ingredients
- 250 grams biscoff cookies
- ⅓ cup unsalted butter
Instructions
- Preheat your oven to 350°F (175°C).
- Place the Biscoff cookies in a food processor and pulse until they turn into fine crumbs.
- Melt the butter and pour it over the crushed cookies, mixing until the mixture resembles wet sand that holds together when pressed.
- Firmly press this mixture into the base of an 8 or 9-inch tart pan or cheesecake pan, ensuring an even and compact layer using a glass or measuring cup for added pressure.
- Bake for 8–10 minutes until the crust is lightly set and has a pleasant aroma. Allow it to cool completely before adding your filling.
Notes
Ensure the butter is completely melted for even mixing.
The crust can be stored in an airtight container for up to three days if not filled right away.
For a firmer crust, let it cool longer before adding any filling.
- Prep Time: 10 minutes
- Cook Time: 35 minutes
- Category: Desserts
- Method: Baking
- Cuisine: American
Nutrition
- Serving Size: 1 slice
- Calories: 470
- Sugar: 30g
- Sodium: 300mg
- Fat: 25g
- Saturated Fat: 15g
- Unsaturated Fat: 7g
- Trans Fat: 0g
- Carbohydrates: 63g
- Fiber: 2g
- Protein: 4g
- Cholesterol: 40mg


