Skip to content
Why This Recipe Works
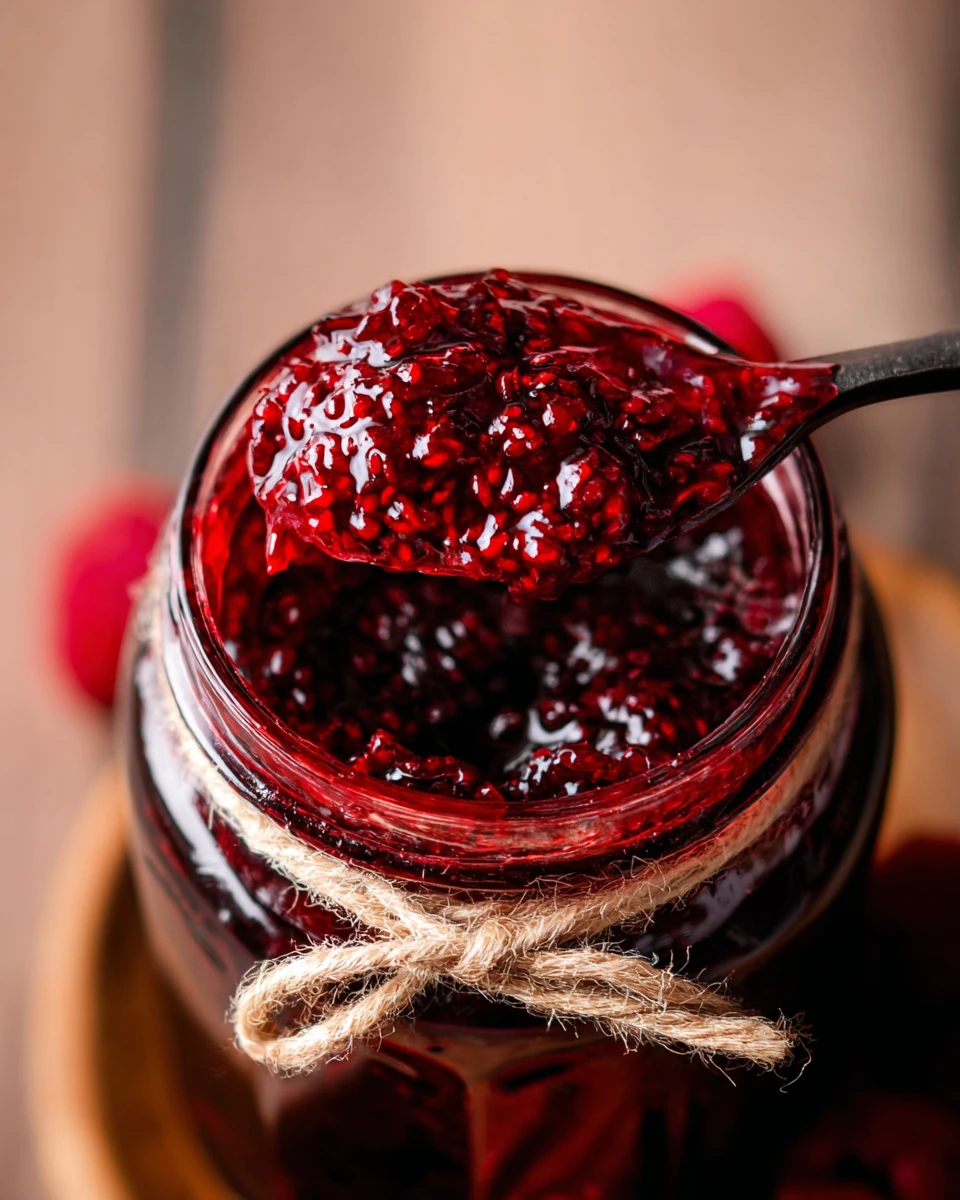
Making Simple Raspberry Jam is a delightful way to capture the essence of summer in a jar. Raspberries naturally contain pectin, a substance that helps thicken the jam, making your job simpler. This recipe relies on just three ingredients—fresh or frozen raspberries, sugar, and lemon juice. The sugar balances the tartness of the berries, while the lemon juice brightens the flavor. Together, they create a beautiful spread that’s both rich and vibrant.
Why You’ll Love This Simple Raspberry Jam
You’ll discover that this Simple Raspberry Jam is not just easy to make; it’s also incredibly versatile. Whether you enjoy a classic PB&J, need a tasty topping for your pancakes, or want to add a fruity flair to desserts, this jam fits perfectly into your culinary repertoire. Plus, there’s something heartwarming about making your own jam. It infuses your kitchen with the sweet, tangy aroma that only homemade preserves can provide.
Ingredients
- 12 oz Fresh or Frozen Raspberries
- 1 cup White Granulated Sugar
- 1 tsp Fresh Lemon Juice
Making the Simple Raspberry Jam
Combine Ingredients in a Saucepan
Begin by placing your fresh or frozen raspberries, white granulated sugar, and lemon juice into a medium saucepan. This combination is not only easy but also incredibly satisfying, as you watch the ingredients blend together.
Heat Until Juices Separate
Set the saucepan over medium heat. Stir gently until the raspberries begin to break down. The delightful raspberry aroma will start to waft through the air, making your kitchen feel cozy and inviting.
Simmer and Thicken
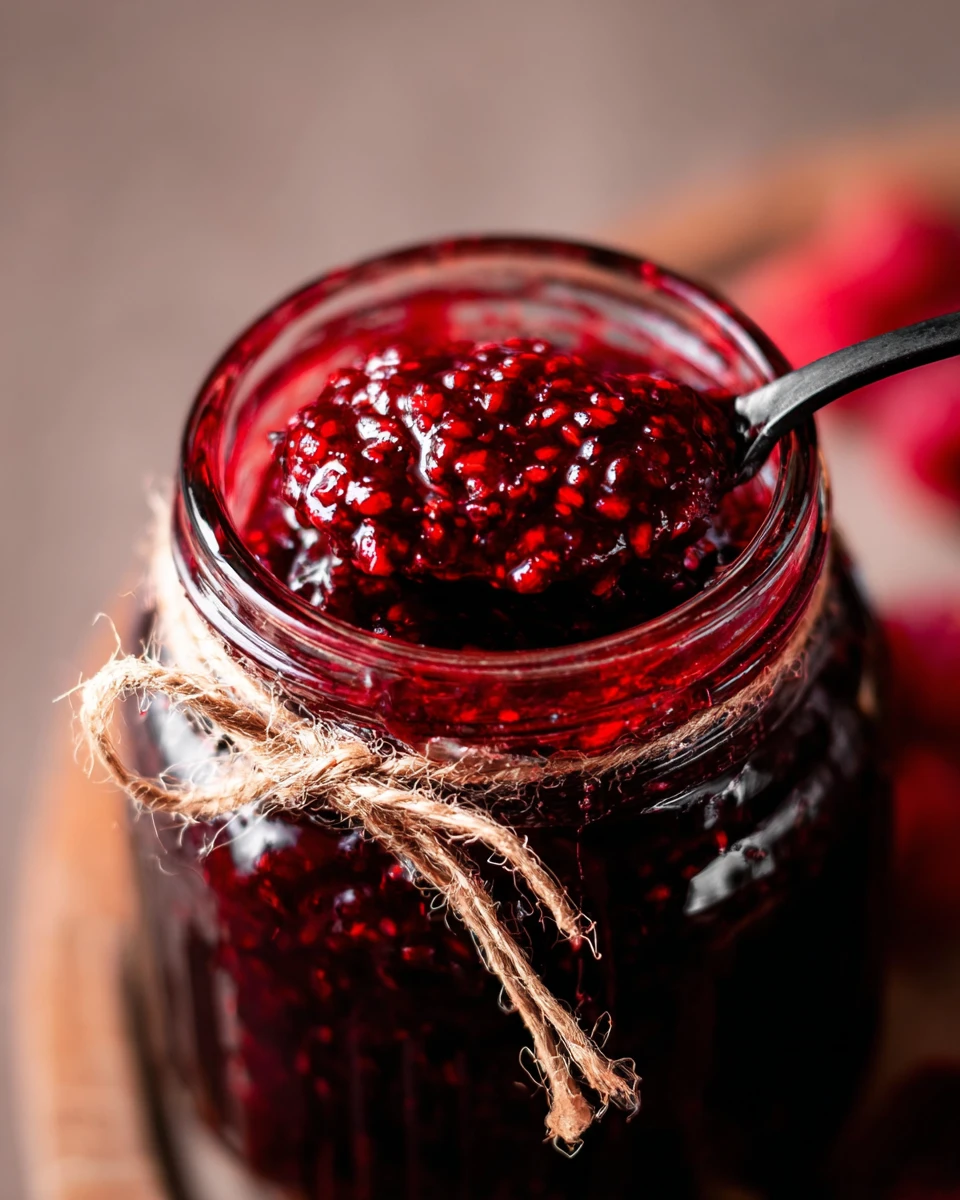
Allow the mixture to reach a gentle simmer. During this stage, it’s essential to keep stirring to prevent sticking. After about 20 minutes, you’ll notice how beautifully thick the jam becomes, transforming into a rich and vibrant spread that you’ll be proud to serve.
Strain for Smooth Consistency (Optional)
If you prefer a seedless jam, take a fine sieve and press the simmered mixture through halfway through the cooking process. Straining is a simple step that goes a long way in achieving a smooth texture for your raspberry jam.
Final Cooking Phase
Return the strained mixture to the saucepan and continue to cook until it reaches your desired thickness. Keep an eye on it, especially as the jam thickens, to avoid any risk of burning.
Cool and Store
Once thickened to your liking, remove the jam from heat and let it cool completely. You will yield approximately 1 1/4 cups of jam (with seeds) or slightly less if you choose the seedless version.
Storage Tips
You can store your homemade raspberry jam in a clean glass jar, sealing it tightly to maintain freshness. Refrigerate it for the best flavor, and don’t worry, it can last for up to two weeks—if it lasts that long!
Serving Suggestions
This simple raspberry jam is perfect for spreading over toast or dolloping onto pancakes. Imagine a fresh batch of scones, just waiting for some jam to elevate your afternoon tea. You can also use it as a filling for cakes and cupcakes or even in simple yogurt parfaits to add a burst of flavor.
Tips for Success
- Use fresh or high-quality frozen raspberries to ensure the best flavor. Frozen berries work surprisingly well in this recipe, adding a slightly juicier quality.
- Monitoring the heat is crucial as the jam thickens; too much heat can lead to burning.
- Taste along the way and adjust the sugar if you find that you prefer a sweeter jam.
Variations
Feel free to get creative! You can add a twist with herbs like mint or basil for an interesting flavor profile. Mixing in vanilla extract brings a warm richness as well. If you’re in the mood for variety, substitute raspberries with other berries like strawberries or blueberries for different delicious jams.
Pairing Ideas
This delightful jam pairs wonderfully with plain yogurt or as part of a cheese platter. For a more adventurous option, serve it alongside roasted meats for an unexpected yet delightful contrast that will impress your guests.

FAQs
1. How do I know when the jam is thick enough?
You can test its thickness by placing a spoonful on a cold plate; if it keeps its shape after cooling, it’s ready to go.
2. Can I use frozen raspberries?
Absolutely! Frozen raspberries work just as well as fresh and might even yield a slightly juicier jam.
3. How should I store my raspberry jam?
Keep your jam in a sealed glass jar in the refrigerator. It’s best when enjoyed within two weeks.
4. What if I find my jam is too sweet?
You can balance the sweetness with a squeeze of lemon juice or by adding more raspberries during cooking.
5. Can I can this jam for long-term storage?
Yes! Follow proper canning guidelines to preserve it for the long term, ensuring that your jars are sterilized.
Enjoy making this Simple Raspberry Jam! Sharing this sweet indulgence with family and friends will only add to the joy of your cooking and baking experiences in your kitchen.
Print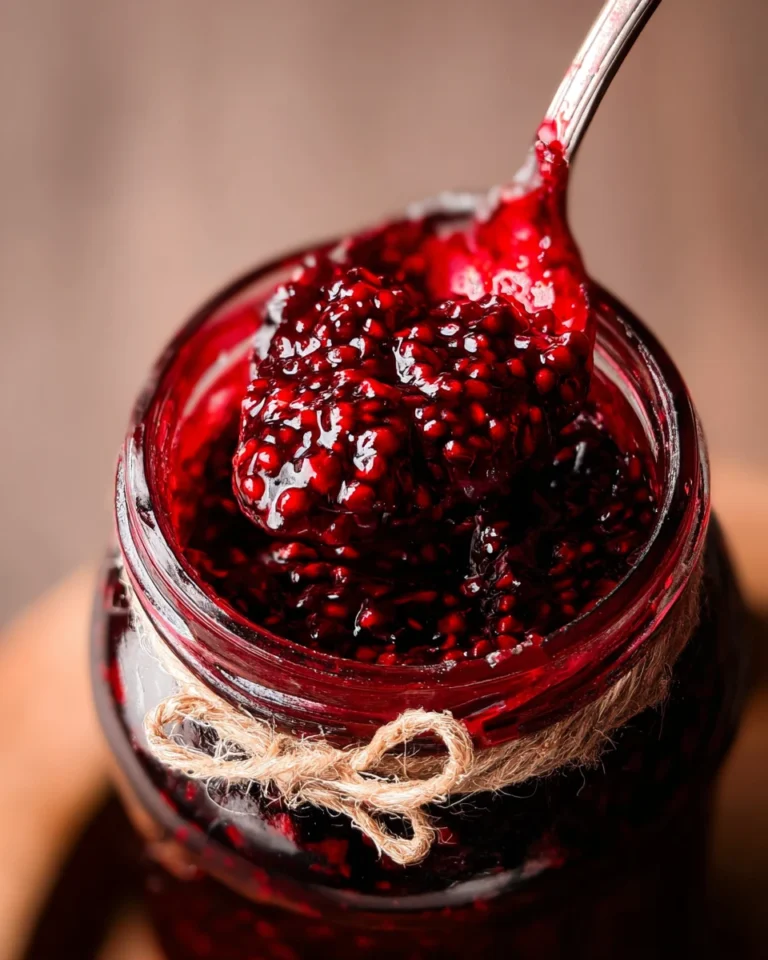
Simple Raspberry Jam
This Simple Raspberry Jam captures the essence of summer with fresh raspberries, sugar, and lemon juice. It’s easy to make and perfect for various treats.
- Total Time: 40 minutes
- Yield: 1 1/4 cups 1x
Ingredients
- 12 oz Fresh or Frozen Raspberries
- 1 cup White Granulated Sugar
- 1 tsp Fresh Lemon Juice
Instructions
- Combine raspberries, sugar, and lemon juice in a saucepan.
- Heat over medium, stirring until raspberries break down.
- Allow to simmer for about 20 minutes, stirring occasionally.
- Strain the mixture for a smooth consistency if desired.
- Return to heat, cook until the desired thickness is reached.
- Cool completely and store in a jar.
Notes
Use quality fresh or frozen raspberries.
Monitor heat closely to avoid burning.
Taste and adjust sugar for preferred sweetness.
- Prep Time: 10 minutes
- Cook Time: 30 minutes
- Category: Condiment
- Method: Stovetop
- Cuisine: American
Nutrition
- Calories: 42
- Sugar: 10
- Sodium: 1
- Fat: 0.1
- Saturated Fat: 0
- Unsaturated Fat: 0.1
- Trans Fat: 0
- Carbohydrates: 11
- Fiber: 0.5
- Protein: 0.1
- Cholesterol: 0