Skip to content
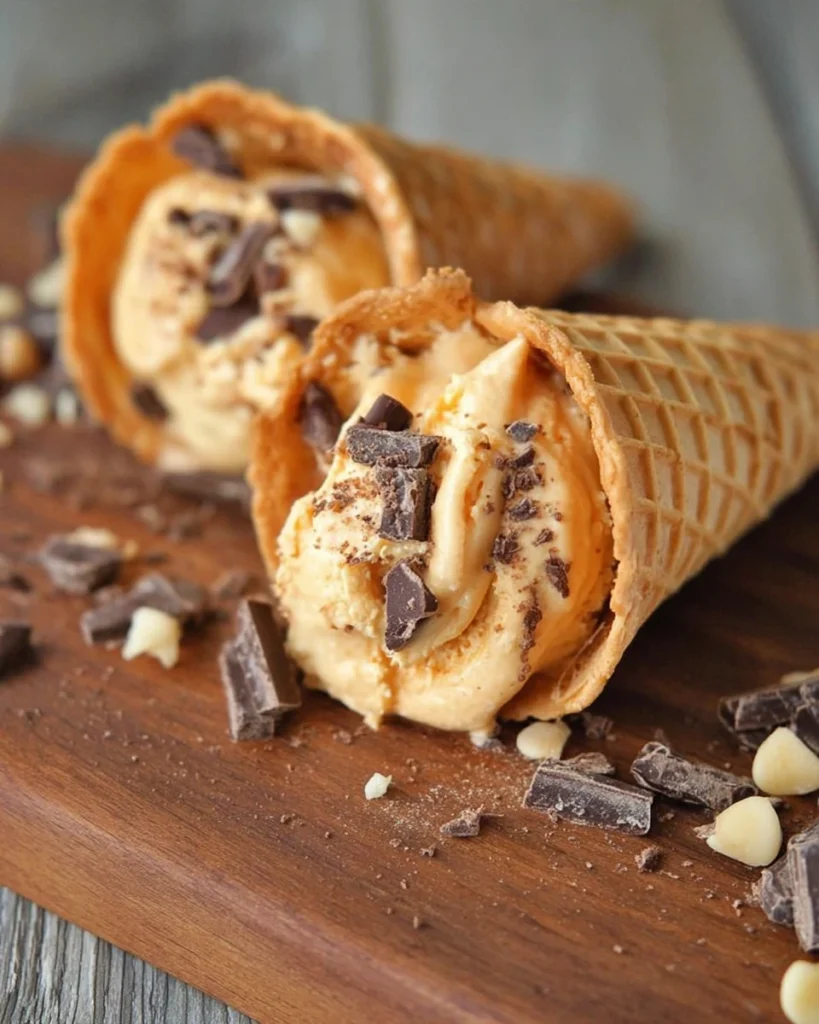
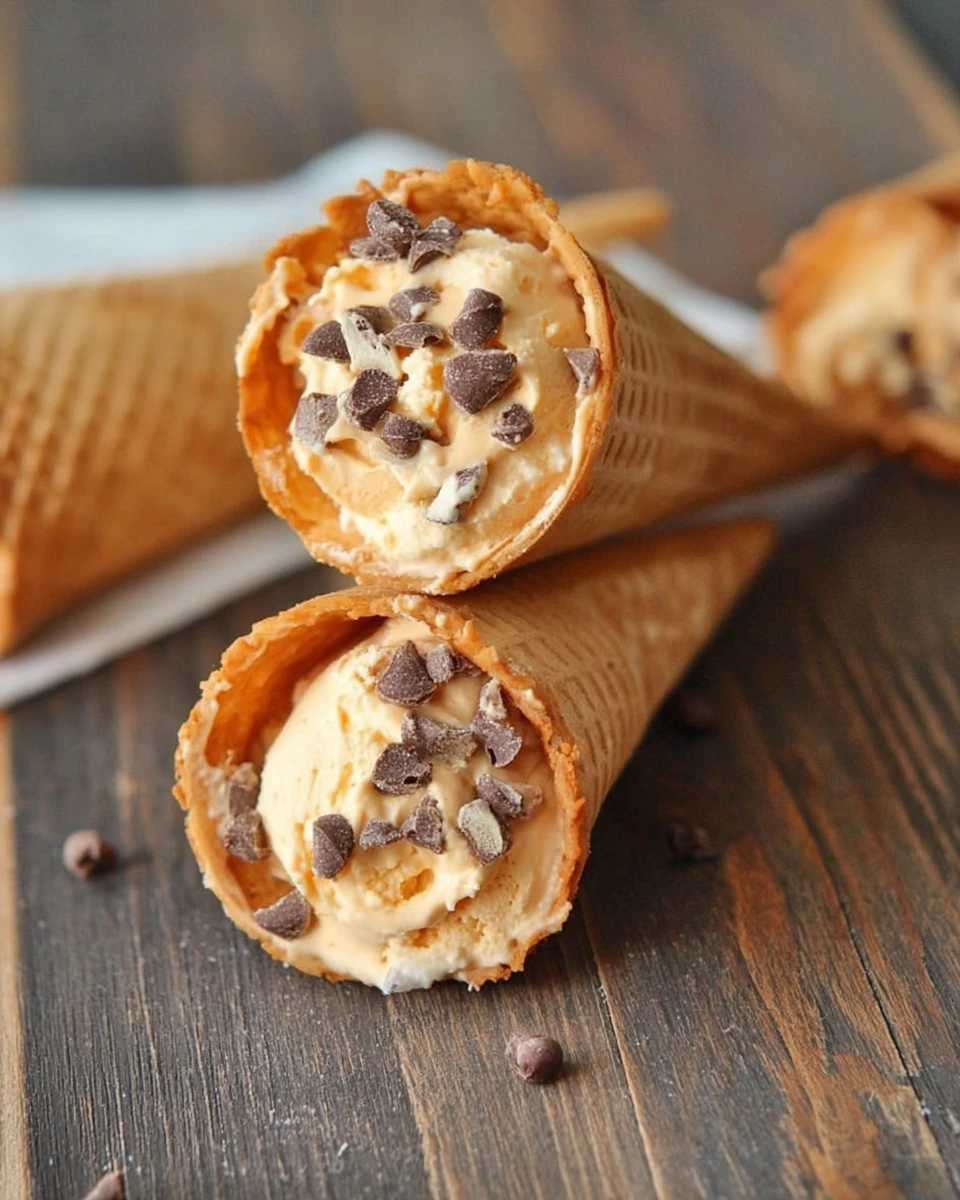
Pumpkin Cannoli Cones have a way of bringing the cozy spirit of fall right into your kitchen. Just imagine, the warm spices melding with the creamy filling, all nestled inside a crispy sugar cone. It’s like an Italian classic meets the quintessential flavors of autumn! Whether you’re hosting a dinner party or just looking for a sweet treat, these cannoli cones elevate any occasion. Kids and adults alike will love them, and what’s not to adore about dessert that’s both whimsical and delicious? Plus, they’re incredibly easy to make, so you’ll effortlessly impress your friends and family. Let’s get ready to whip up a batch of these delightful Pumpkin Cannoli Cones that are sure to please everyone’s palate!
Thank you for reading this post, don't forget to subscribe!Why This Recipe Works
Pumpkin Cannoli Cones are a delightful fusion of traditional Italian flavors and seasonal fall favorites. The rich, creamy filling combines the delightful taste of pumpkin with the lightness from whipped cream. This combination creates an indulgent yet refreshing dessert experience. The sugar cones offer a crunchy contrast that elevates each bite, making this dessert an irresistible treat for pumpkin lovers. The textures and flavors balance beautifully, providing visitors to your table with a comforting and pleasing dessert option.
Why You’ll Love This Pumpkin Cannoli Cones
Imagine the comforting aroma of pumpkin spice wafting through your kitchen as you prepare these Pumpkin Cannoli Cones. They’re not just visually appealing but bursting with flavor. The classic taste of cannoli gets a unique fall twist, making them perfect for gatherings or an afternoon treat. Each bite gives a little joy while embracing the spirit of the season. You can prepare these easily and share with others, making them an ideal dessert for celebrations or cozy nights in.

Ingredients
- 3/4 cup pumpkin puree
- 3/4 cup ricotta cheese
- 1/2 cup heavy whipping cream
- 1/3 cup granulated sugar
- 1/4 teaspoon cinnamon
- 1/8 teaspoon nutmeg
- 1/2 teaspoon vanilla extract
- 8 small sugar cones
- 2 tablespoons chocolate chips, chopped
- 2 tablespoons walnuts, chopped
Preparing the Pumpkin Cannoli Filling
Combine Pumpkin and Cheeses
First, in a large bowl, mix together 3/4 cup of pumpkin puree, 3/4 cup of ricotta cheese, 1/3 cup of granulated sugar, 1/4 teaspoon of cinnamon, 1/8 teaspoon of nutmeg, and 1/2 teaspoon of vanilla extract. Ensuring that all ingredients are well integrated is crucial for a harmonious flavor. Just picture the vibrant colors coming together in this delicious mixture!
Whip the Cream
Next, take another bowl and whip 1/2 cup of heavy whipping cream until it forms firm peaks. It’s important to be careful not to overwhip, as keeping the texture light and airy is key. The cream will add a lovely fluffiness to your filling, making each bite heavenly.
Fold in Whipped Cream
Now, gently fold the whipped cream into the pumpkin and cheese mixture. Use a spatula and bring the two together carefully, ensuring the mixture remains fluffy and light. You’ll see the filling turn creamy, and it should look inviting, like a sweet autumn cloud.
Assembling the Pumpkin Cannoli Cones
Fill the Sugar Cones
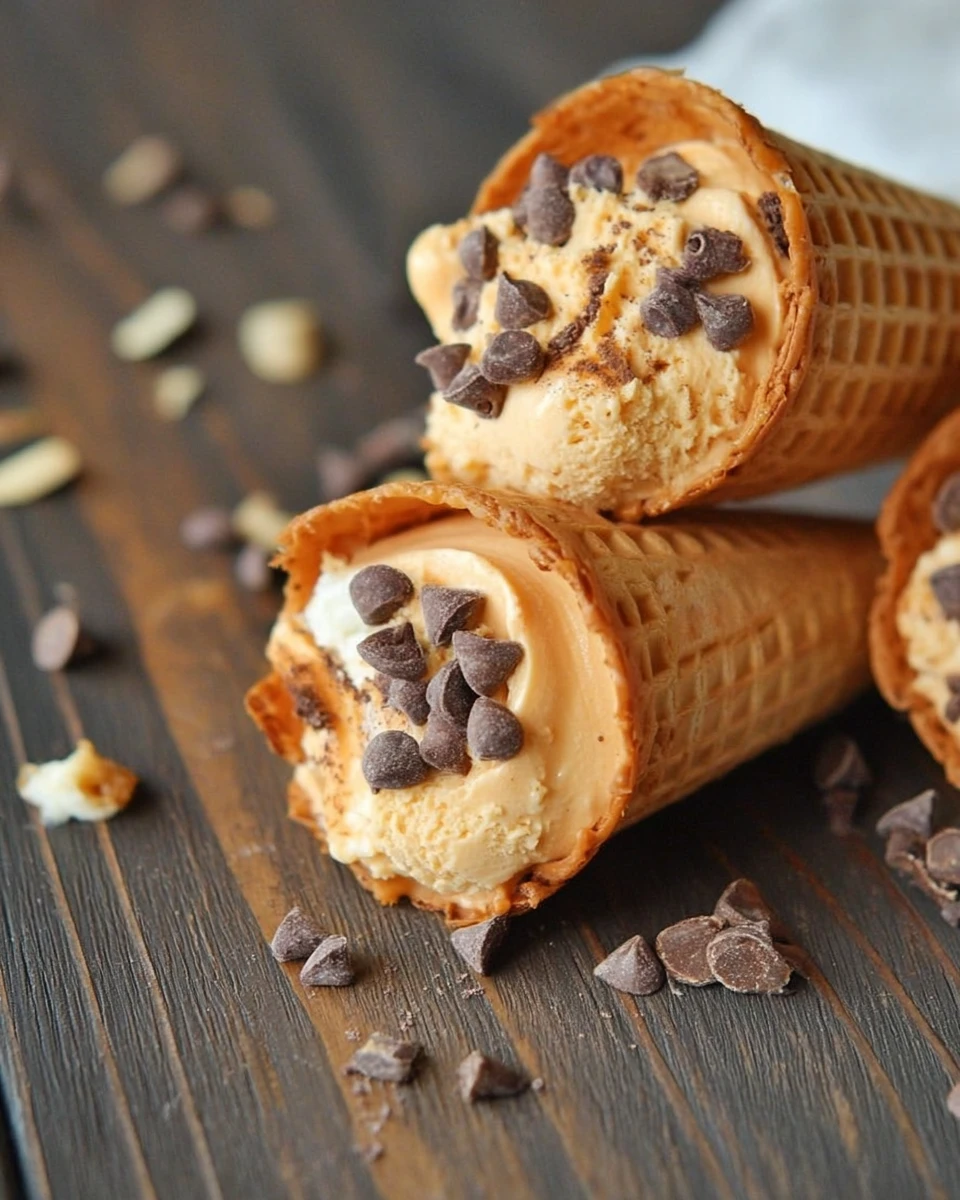
Grab your 8 small sugar cones and start spooning or piping the pumpkin cannoli filling into each one. Make sure to fill them generously for maximum flavor in each bite. Watching the filling piled up high is part of the fun, and it promises a tasty surprise when you take that first bite!
Add Toppings
Finish your cones by sprinkling the tops with 2 tablespoons of chopped chocolate chips and 2 tablespoons of chopped walnuts. These additions not only add delightful texture but also enhance the visual appeal of your dessert. The chocolate and nuts provide a little crunch, making each bite even more satisfying.
Serving Suggestions
Serve your Pumpkin Cannoli Cones immediately after assembling them for the best texture. The cones are at their crunchiest right after filling! They make fantastic party finger foods or a unique dessert for family gatherings, bringing a festive spirit to any occasion. Picture a table full of smiling faces, everyone enjoying these delightful creations.
Tips for Success
- Make sure to use high-quality ingredients for the best flavor. When it comes to desserts, the ingredients you choose make a big difference.
- Don’t skip whipping the cream; it’s what makes the filling light and airy. A well-whipped cream can transform the texture beautifully.
- If you’re preparing ahead, fill the cones just before serving to prevent them from becoming soggy. Enjoy the perfect crunch in every single bite!
Variations
You can get creative with this recipe, such as swapping out the walnuts for pecans or almonds for a different nutty flavor. Another fun option is to incorporate more pumpkin spices into the filling for an extra kick. Don’t forget, trying a hint of maple syrup can enhance the sweetness and overall depth of flavor, making this recipe even more customizable and enjoyable.
Storage Tips
Store any leftover filling in an airtight container in the refrigerator for up to 3 days. This keeps any remaining cream fresh. The unfilled sugar cones can be kept at room temperature. It’s best to avoid filling them until you’re ready to serve to maintain that delicious crunch you want in each bite.
Pairing Ideas
For an even more delightful experience, pair these Pumpkin Cannoli Cones with a warm cup of spiced chai or a scoop of vanilla ice cream. They also complement a light fall salad, balancing sweet and savory on your palate perfectly. The flavors and textures will harmonize wonderfully together.
FAQs
1. Can I use a different type of cheese for the filling?
Absolutely! You can substitute mascarpone cheese for a richer flavor, if that’s your preference.
2. How can I make this recipe gluten-free?
No worries! You can use gluten-free cones or simply serve the filling in small cups if you can’t find gluten-free cones.
3. Can I prepare the filling ahead of time?
Without a doubt! The filling can be made a day in advance and stored in the fridge until you’re ready to fill the cones.
4. How do I prevent the cones from getting soggy?
The best way is to fill the cones just before serving. That way, they remain crunchy and delightful!
5. Can I freeze these cones?
Filled cones are best enjoyed fresh, so avoid freezing them. However, you can freeze the filling for future use, making dessert prep a breeze.
Pumpkin Cannoli Cones are the ideal blend of cozy flavors and fun presentation, making them an enchanting dessert for any occasion. Sweet, spiced, and utterly delightful, these cones will surely become a seasonal favorite. Enjoy them with loved ones, and watch as each bite brings smiles all around!
Print
Pumpkin Cannoli Cones
Pumpkin Cannoli Cones bring together traditional Italian flavors and fall spices. This easy dessert offers a delightful combination of creamy pumpkin and crunchy sugar cones, perfect for any occasion.
- Total Time: 15 minutes
- Yield: 8 servings 1x
Ingredients
- 3/4 cup pumpkin puree
- 3/4 cup ricotta cheese
- 1/2 cup heavy whipping cream
- 1/3 cup granulated sugar
- 1/4 teaspoon cinnamon
- 1/8 teaspoon nutmeg
- 1/2 teaspoon vanilla extract
- 8 small sugar cones
- 2 tablespoons chocolate chips, chopped
- 2 tablespoons walnuts, chopped
Instructions
- Mix pumpkin puree, ricotta cheese, granulated sugar, cinnamon, nutmeg, and vanilla extract in a large bowl.
- Whip heavy cream in another bowl until firm peaks form.
- Gently fold whipped cream into the pumpkin mixture until well combined.
- Fill sugar cones with the pumpkin filling.
- Top with chopped chocolate chips and walnuts.
Notes
Use high-quality ingredients for the best flavor.
Fill cones just before serving to retain crunch.
Leftover filling can be stored in the refrigerator for up to 3 days.
- Prep Time: 15 minutes
- Cook Time: 0 minutes
- Category: Dessert
- Method: Mixing and Filling
- Cuisine: Italian
Nutrition
- Calories: 230
- Sugar: 12
- Sodium: 100
- Fat: 10
- Saturated Fat: 5
- Unsaturated Fat: 3
- Trans Fat: 0
- Carbohydrates: 30
- Fiber: 2
- Protein: 4
- Cholesterol: 20