Skip to content
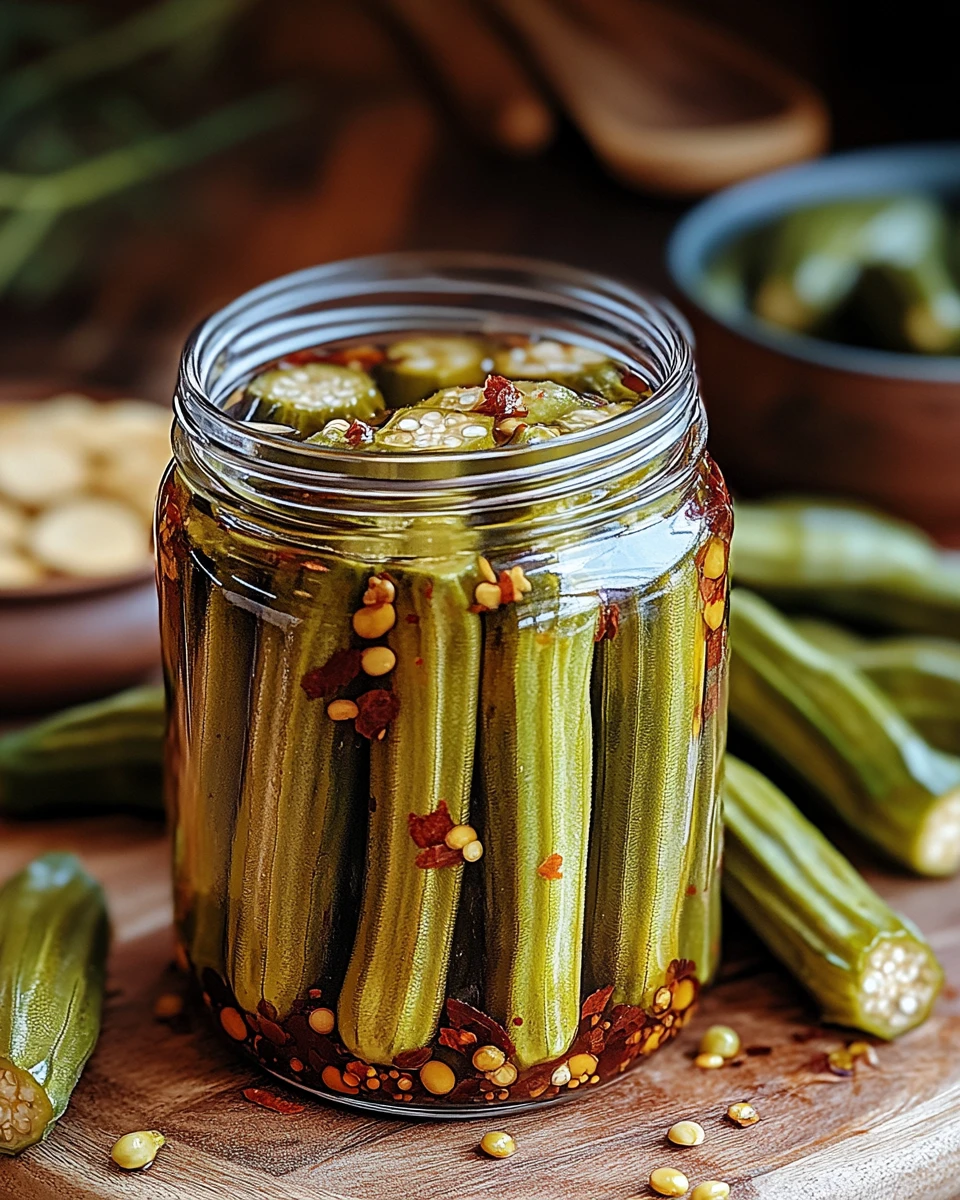
Homemade pickled okra is a delightful way to savor the unique flavor and texture of this veggie. If you’re like me, finding ways to spice up meals with minimal effort is a game changer. Not only does pickling preserve freshness, but it also infuses the okra with a zesty kick that brightens up any dish. Imagine a crunchy, tangy snack ready to enhance your salads or shine on a charcuterie board. Making your own pickled okra at home is not just about the taste; it’s about creating something special in your kitchen. In the following sections, I’ll guide you through a simple recipe, share some tips, and help you get the most out of your crispy creation! Trust me, you’ll want to keep this one in your back pocket.
Thank you for reading this post, don't forget to subscribe!Why This Recipe Works
Homemade pickled okra captures the freshness of the ingredients and the depth of flavor that commercial pickles often lack. The balance of vinegar, spices, and crisp okra creates a tangy delight that enhances any meal or stands alone as a zesty snack. With homemade pickled okra, you truly taste the love and care you put into the process. Whereas store-bought versions might lack character, your own creation brings a unique flair to the table. Plus, it’s all about those fresh ingredients!
Why You’ll Love This Homemade Pickled Okra
This recipe transforms simple okra into a crunchy, flavorful treat. With minimal effort, you can create a versatile addition to your pantry that shines in salads, as a side dish, or as part of a charcuterie board. You’ll be amazed at how quickly friends and family will ask for the recipe once they take a bite. Plus, the vibrant colors and delicious flavors are guaranteed to impress your guests! Think of all the praises you’ll receive for this easy yet impressive creation.
Ingredients
To get started, gather the following ingredients:
– 1 pound fresh okra
– 2 cups white vinegar
– 2 cups water
– 2 tablespoons salt
– 2 teaspoons sugar
– 4 cloves garlic, peeled and split
– 2 teaspoons mustard seeds
– 2 teaspoons dill seeds
– 4 small hot chili peppers (optional)
– 4 wide-mouth pint jars with lids and rings
Preparing the Okra

Begin by trimming the stems off the okra, ensuring not to cut into the pods. You want to keep those little guys intact for the best crunch! Once you’ve trimmed them, set the okra aside for later use. It’s important to start with fresh, fragrant okra to achieve the best results.
Making the Brine
Now, let’s make that delicious brine. In a saucepan, combine 2 cups of white vinegar, 2 cups of water, 2 tablespoons of salt, and 2 teaspoons of sugar. Heat it over medium-high and bring the mixture to a boil. Stir occasionally until the salt and sugar dissolve completely. The aroma alone will get your taste buds tingling!
Packing the Jars
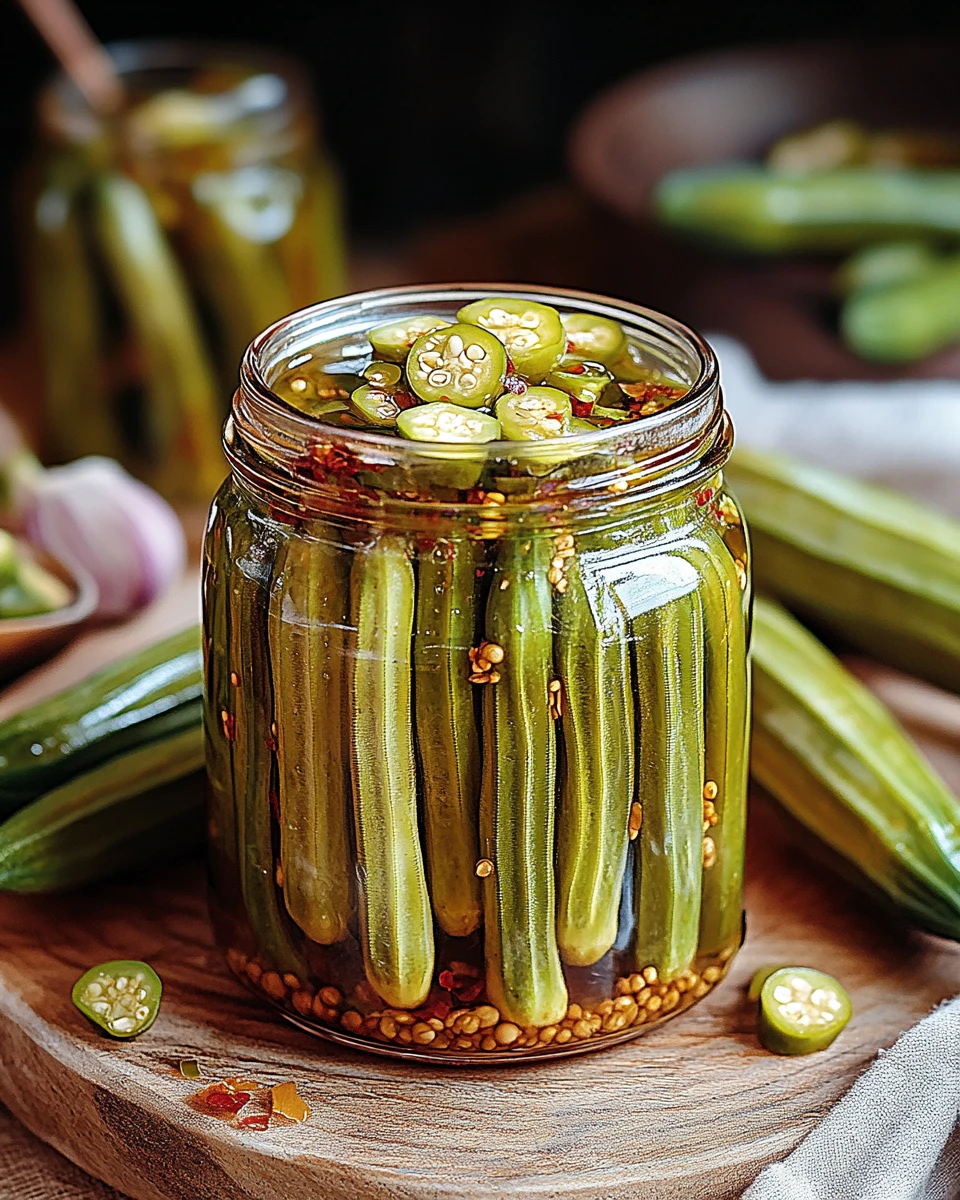
Once your brine is ready, it’s time to pack the jars! Prepare your wide-mouth pint jars by adding 1-2 split garlic cloves to each. Then sprinkle in 1 teaspoon each of mustard seeds and dill seeds. If you like a kick, throw in the optional chili peppers for extra flavor. Now, carefully pack the okra into the jars, arranging them upright to maximize space. It’s like a little okra puzzle!
Adding the Brine
After the brine has come to a boil, carefully pour it over the packed okra in each jar. Leave about 1/2 inch of headspace at the top to ensure proper sealing. You’ll want to check that the okra is fully submerged in that tangy goodness. This step is crucial for achieving the perfect pickling effect.
Sealing the Jars
Next, let’s seal the deal. Wipe the rims of the jars clean with a cloth to remove any residue. This ensures a tight seal. Place the lids on and screw the rings on until they’re fingertip tight. This way, you can enjoy your homemade pickled okra without worrying about leaks or spoilage!
Processing the Jars (Optional)
If you want to preserve your pickled okra for long-term storage, consider processing the jars in a boiling water bath for 10 minutes. This step helps create a vacuum seal. If you don’t need them to last longer than a few weeks, skip this step and simply refrigerate the jars. It’s all about your preference for freshness!
Cooling and Storing
Once sealed, allow the jars to cool to room temperature. After they’ve cooled, store them in the refrigerator for at least 24 hours to let the flavors meld and intensify before enjoying. While you wait, imagine all the delicious uses for your homemade pickled okra!
Serving Suggestions
Now that your homemade pickled okra is ready, how can you enjoy it? You can serve it as a zesty snack, a crunchy topping for salads, or a unique addition to sandwiches. They also pair beautifully with various meats, enhancing both flavor and presentation. Picture them next to a plate of grilled chicken or nestled in a fresh salad. The possibilities are endless!
Tips for Success
- Choose Fresh Okra: Look for young, tender pods without blemishes to ensure you have the best quality okra.
- Adjust the Spice Level: Modify the number of chili peppers to match your heat preference. Make it bold or mild, totally up to you!
- Experiment with Spices: Feel free to add other spices like coriander seeds or black peppercorns for a unique flavor twist. Make this recipe your own!
Variations
The beauty of homemade pickled okra lies in its versatility. Here are a few variations you might enjoy:
– Garlic Dill Pickled Okra: Increase the garlic and dill seeds for a more robust flavor.
– Sweet Pickled Okra: Add extra sugar to the brine for a sweeter profile that balances the tanginess.
– Curried Pickled Okra: Incorporate curry powder or turmeric for a unique Indian-inspired taste that’s sure to surprise!
FAQs
1. How long will my homemade pickled okra last?
Homemade pickled okra can last up to 1 month in the refrigerator after opening. Enjoy it while it’s fresh!
2. Can I use frozen okra for pickling?
Fresh okra is recommended for the best texture, but if necessary, frozen okra can be used as a substitute. Just know it may lack some crunchiness.
3. Do I have to process the jars for long-term storage?
Processing is optional if you plan to consume the pickled okra within a few weeks. If you want longer storage, processing is recommended to ensure safety.
4. Can I adjust the vinegar in the brine?
Yes! You can experiment with different types of vinegar for varied flavors, such as apple cider vinegar. It’s a fun way to switch things up.
5. Is there a way to make the pickled okra crunchier?
For crunchier okra, try soaking the fresh pods in ice water for a few hours before pickling. It makes a noticeable difference!
Enjoying homemade pickled okra isn’t just about flavor; it’s about the joy of creating something unique and delicious. This uncomplicated recipe opens the door to a world of tangy, crunchy snacking and offers a delightful way to savor the taste of summer, no matter the season. Perfect for gatherings or simply to keep on hand for when cravings hit, this pickled okra will quickly become a kitchen staple.
Print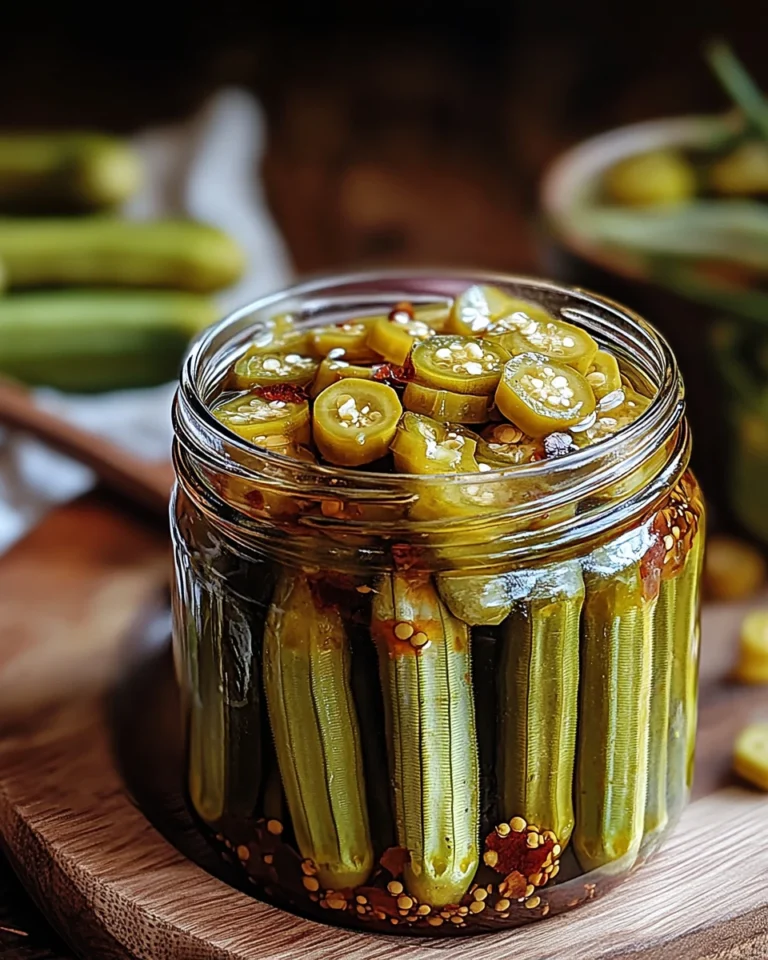
Pickled Okra
This pickled okra recipe creates a crunchy and tangy treat that’s perfect as a snack, salad topping, or on charcuterie boards. Easy to make and full of flavor!
- Total Time: 40 minutes
- Yield: 4 pint jars 1x
Ingredients
- 1 pound fresh okra
- 2 cups white vinegar
- 2 cups water
- 2 tablespoons salt
- 2 teaspoons sugar
- 4 cloves garlic, peeled and split
- 2 teaspoons mustard seeds
- 2 teaspoons dill seeds
- 4 small hot chili peppers (optional)
- 4 wide-mouth pint jars with lids and rings
Instructions
- Trim the stems off the okra without cutting into the pods.
- In a saucepan, combine vinegar, water, salt, and sugar; bring to a boil.
- Prepare jars with garlic, mustard seeds, dill seeds, and optional chili peppers.
- Pack the okra in the jars upright.
- Pour the brine over the packed okra, leaving 1/2 inch headspace.
- Wipe jar rims, seal lids tightly, and refrigerate for at least 24 hours before use.
Notes
Choose fresh okra for the best texture.
Adjust the number of chili peppers to suit your heat preference.
Experiment with additional spices to personalize the flavor.
- Prep Time: 30 minutes
- Cook Time: 10 minutes
- Category: Condiment
- Method: Pickling
- Cuisine: Southern
Nutrition
- Calories: 80
- Sugar: 4
- Sodium: 800
- Fat: 0.5
- Saturated Fat: 0
- Unsaturated Fat: 0
- Trans Fat: 0
- Carbohydrates: 17
- Fiber: 3
- Protein: 3
- Cholesterol: 0