Skip to content
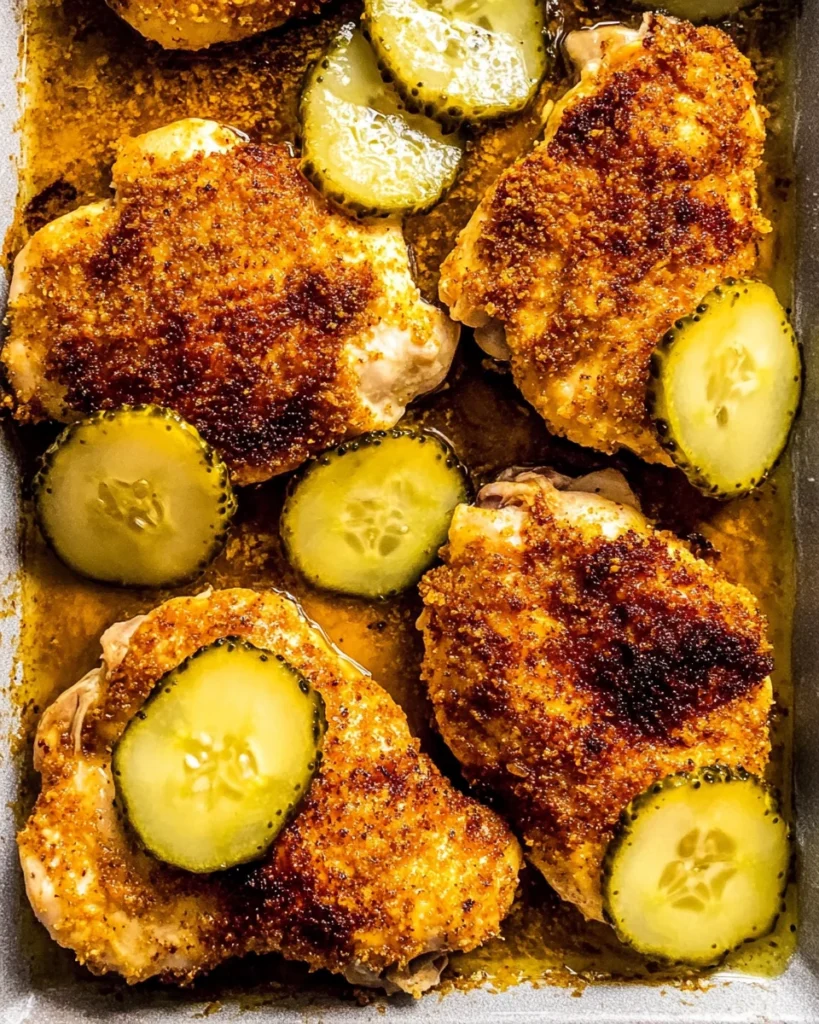
Why This Recipe Works
The science of brining is fascinating. When chicken soaks in pickle juice, it tenderizes beautifully. The salt in the brine helps the meat retain moisture, making every bite juicy. It’s like a flavor booster that makes your chicken irresistibly tender!
Thank you for reading this post, don't forget to subscribe!Now, let’s talk flavors. The perfect balance is key here—dill and a hint of sweetness come together to enhance the chicken. It’s not just chicken; it becomes a flavorful experience. The tangy pickle juice pairs with the natural sweetness of the chicken, creating a symphony of taste.
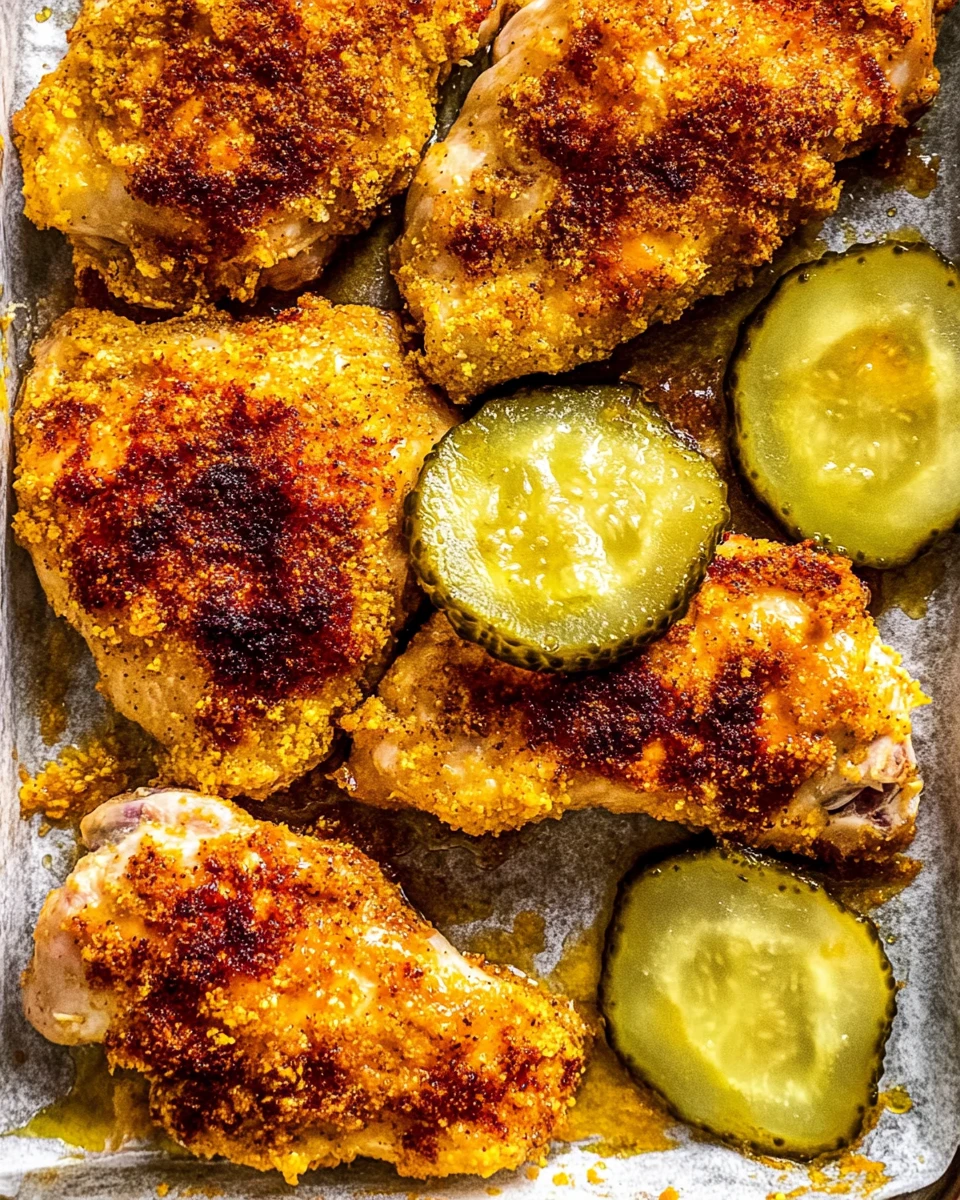
Lastly, let’s not forget the crispy crust. Achieving that golden, crunchy exterior requires minimal effort. With a simple breading process, you’ll find yourself a few steps away from bite-sized pieces of happiness. And once you take that first bite, you’ll know exactly why this recipe works wonders.
Why You’ll Love This Pickle Brine Chicken
This recipe truly shines because it’s family-friendly. Even the pickiest eaters will find something to love. Kids and adults alike often adore the flavors; it’s hard to say no to crispy, flavorful chicken!
The preparation is quick, and cleanup is minimal, which is always a win in the kitchen. Who doesn’t appreciate a delicious meal that doesn’t create a mountain of dishes?
Another bonus? You get to repurpose leftover pickle juice! Instead of throwing it away, you can transform it into a delightful meal. It’s a perfect example of getting creative and making the most of your ingredients.
Ingredients
- 4 chicken breasts
- 2 cups dill pickle juice (from a jar of pickles)
- 1 ½ cups breadcrumbs (gluten-free, if needed)
- 1 ½ cups all-purpose flour (gluten-free, if needed)
- ½ teaspoon sea salt
- ½ teaspoon black pepper
- 1 large egg
- 1 tablespoon cold water
- Spray oil
- 1 cup sweet pickles (bread and butter pickles)
Marinating the Chicken
To kick things off, cut the chicken into manageable pieces. Start by separating the tenders. Then, pound the breasts until they’re ½-inch thick, which helps them cook evenly. After that, cut each breast in half, giving you 8 smaller pieces, along with 4 tender pieces.
Next, get a mixing bowl ready. Place the chicken inside and pour enough dill pickle juice to cover all the pieces. Making sure everything is submerged is important for maximum flavor. Then, seal it up and refrigerate. Ideally, let it marinate for 6 to 24 hours. The longer, the better!
Preparing the Chicken
Now that the chicken is well-marinated, it’s time to preheat your oven to 425°F (220°C). While it heats, grab a baking sheet and spread breadcrumbs evenly on it. Toast them in the oven for 5-6 minutes until they’re a lovely golden brown; this elevates the crunch factor! Once toasted, transfer the breadcrumbs to a shallow bowl.
Take the same baking sheet and line it with parchment paper. Don’t forget to spray it generously with oil, which helps everything get nice and crispy as it bakes.
In another bowl, combine the flour, sea salt, and black pepper. Mix it up well! In a third bowl, whisk the large egg and add 1 tablespoon of cold water. This egg wash acts as a glue for the breadcrumbs later.
Breading the Chicken Pieces
To bread your chicken, start by removing it from the marinade. Then, dredge each piece in the flour mixture. Shake off any excess before dipping it into the egg wash. Finally, coat each piece with those toasted breadcrumbs.
Once breaded, place the chicken onto the prepared baking sheet. A light spray of oil on top helps achieve that beautiful golden color.
Cooking the Chicken
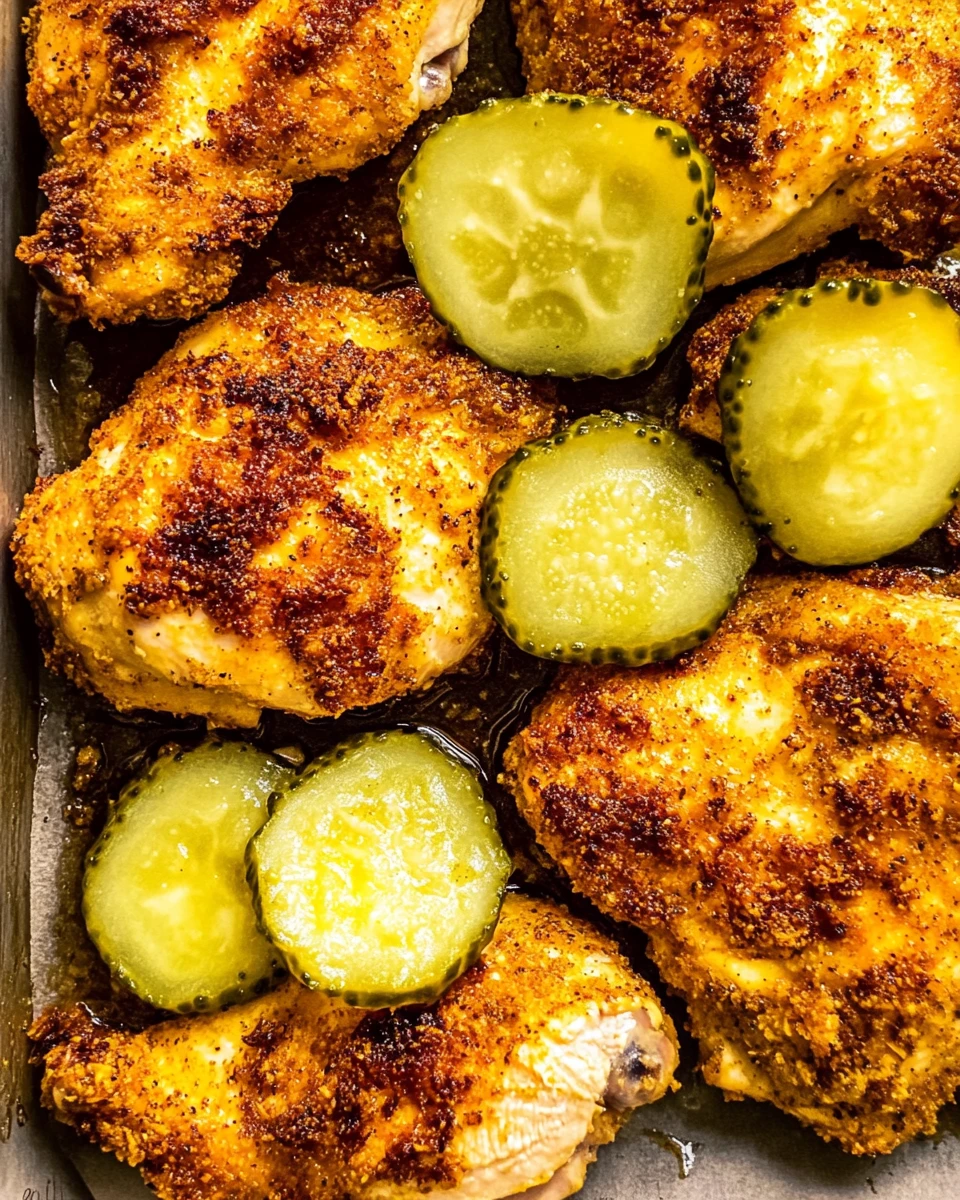
It’s time to cook! Slide the baking sheet into the preheated oven. Bake the chicken pieces for about 20 minutes. Keep an eye on them; you want them golden brown and cooked through. The internal temperature should reach 165°F (74°C) for safe eating.
Once done, take them out and let them rest for a minute. Serve warm. Accompanying sweet pickles on the side adds a delightful contrast to the seasoned chicken.
Serving Suggestions
When it comes to serving options, you have plenty of choice! A fresh green salad or coleslaw works wonderfully, providing added crunch. If you’re in the mood for comfort food, pair the chicken with mashed potatoes and gravy.
Another fun twist? Use leftover chicken as a filling in sandwiches or wraps. It makes for a flavorful lunch that everyone will enjoy.
Tips for Success
For the most juiciness, try to let the chicken marinate a bit longer. If you have the time, 24 hours is ideal. Not to mention, experimenting with different types of pickles can yield exciting flavors.
Also, ensure even baking by spreading the chicken pieces apart on the sheet. This allows the heat to circulate properly, ensuring a crispy finish.
Variations
Feeling adventurous? You can swap chicken breasts for thighs! They provide a richer flavor and more tenderness.
Want extra kick? Consider adding spices or herbs to the breadcrumbs. This small change can make a big difference!
And, if you’re catering to dietary needs, gluten-free alternatives for breadcrumbs and flour are available.
Storage Tips
If you have leftover cooked chicken, store it in an airtight container in the refrigerator. It will last for up to 3 days. For reheating, the oven yields the best results. Microwaving might soften the crispy crust, which we want to avoid.

FAQs
1. Can I use fresh dill instead of pickle juice?
Using fresh dill alters the flavor significantly. Try using it in small amounts if you want to experiment.
2. How long can I marinate the chicken?
You can marinate for at least 6 hours. Up to 24 hours gives a deeper flavor.
3. Can I freeze pickle brine chicken?
Yes! You can freeze it before cooking. Just thaw overnight in the refrigerator before baking.
4. What can I substitute for breadcrumbs?
Crushed cornflakes, panko, or even crushed nuts can work great for a different texture.
5. Can I make this recipe in an air fryer?
You bet! Air fry at 400°F (200°C) for about 15 minutes, turning them halfway through cooking.
This Pickle Brine Chicken recipe is truly a keeper. With tangy flavors and a delightful crispy texture, it’s ideal for quick dinners, special occasions, or meal prep. With just a handful of ingredients and an easy method, you’re just moments away from satisfying your cravings. This dish is sure to become a favorite for you and your loved ones. Happy cooking!
Print
Pickle Brine Chicken
Pickle Brine Chicken is a family-friendly dish that combines juicy, flavorful chicken with a crispy coating. Perfect for quick dinners and meal prep, this recipe is easy to make and a great way to use leftover pickle juice!
- Total Time: 50 minutes
- Yield: 4 servings 1x
Ingredients
- 4 chicken breasts
- 2 cups dill pickle juice (from a jar of pickles)
- 1 ½ cups breadcrumbs (gluten-free, if needed)
- 1 ½ cups all-purpose flour (gluten-free, if needed)
- ½ teaspoon sea salt
- ½ teaspoon black pepper
- 1 large egg
- 1 tablespoon cold water
- Spray oil
- 1 cup sweet pickles (bread and butter pickles)
Instructions
- Cut chicken into manageable pieces and pound until ½-inch thick.
- Marinate chicken in dill pickle juice for 6 to 24 hours.
- Preheat the oven to 425°F (220°C).
- Toast breadcrumbs in the oven for 5-6 minutes.
- Set up three bowls for dredging: flour mixture, egg wash, and toasted breadcrumbs.
- Dredge the marinated chicken pieces in the flour, then the egg wash, and finally coat with breadcrumbs.
- Place chicken on a parchment-lined baking sheet and spray with oil.
- Bake for 20 minutes until golden brown and cooked through.
- Serve warm with sweet pickles on the side.
Notes
Consider marinating the chicken for 24 hours for maximum flavor.
Experiment with different types of pickles for varied taste.
Ensure chicken pieces are spread apart on the baking sheet for even cooking.
- Prep Time: 30 minutes
- Cook Time: 20 minutes
- Category: Main Dish
- Method: Baking
- Cuisine: American
Nutrition
- Calories: 350
- Sugar: 5
- Sodium: 900
- Fat: 10
- Saturated Fat: 2
- Unsaturated Fat: 8
- Trans Fat: 0
- Carbohydrates: 50
- Fiber: 2
- Protein: 25
- Cholesterol: 120