Skip to content
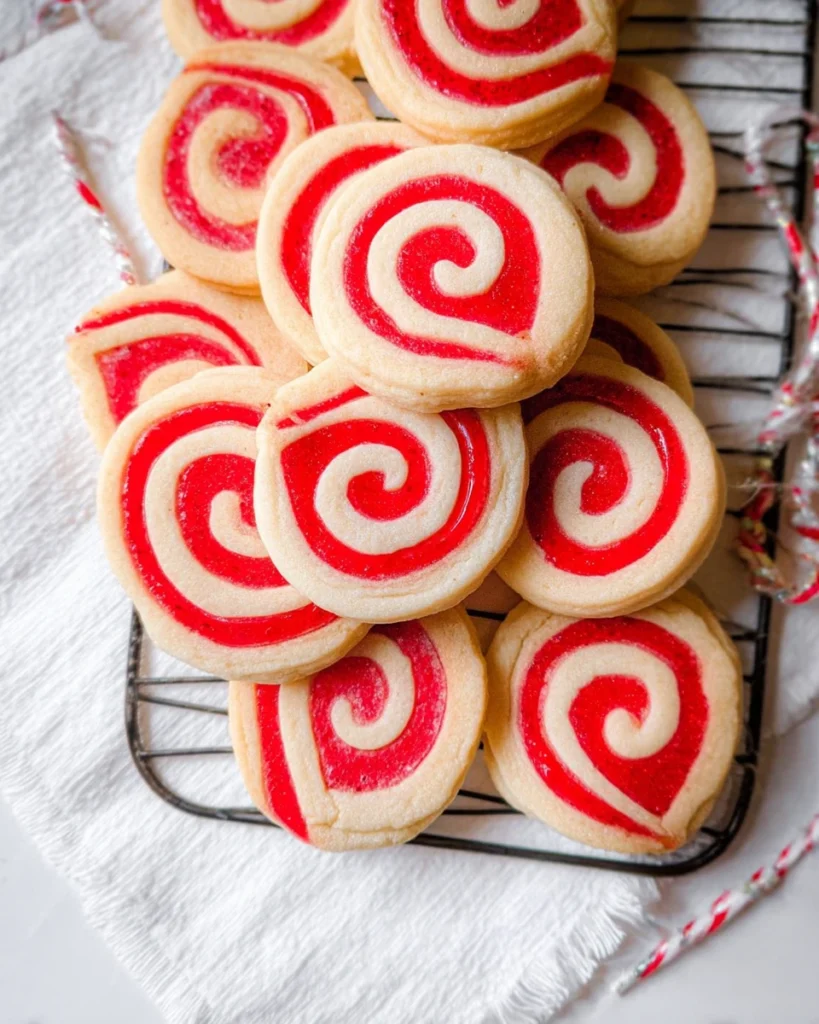
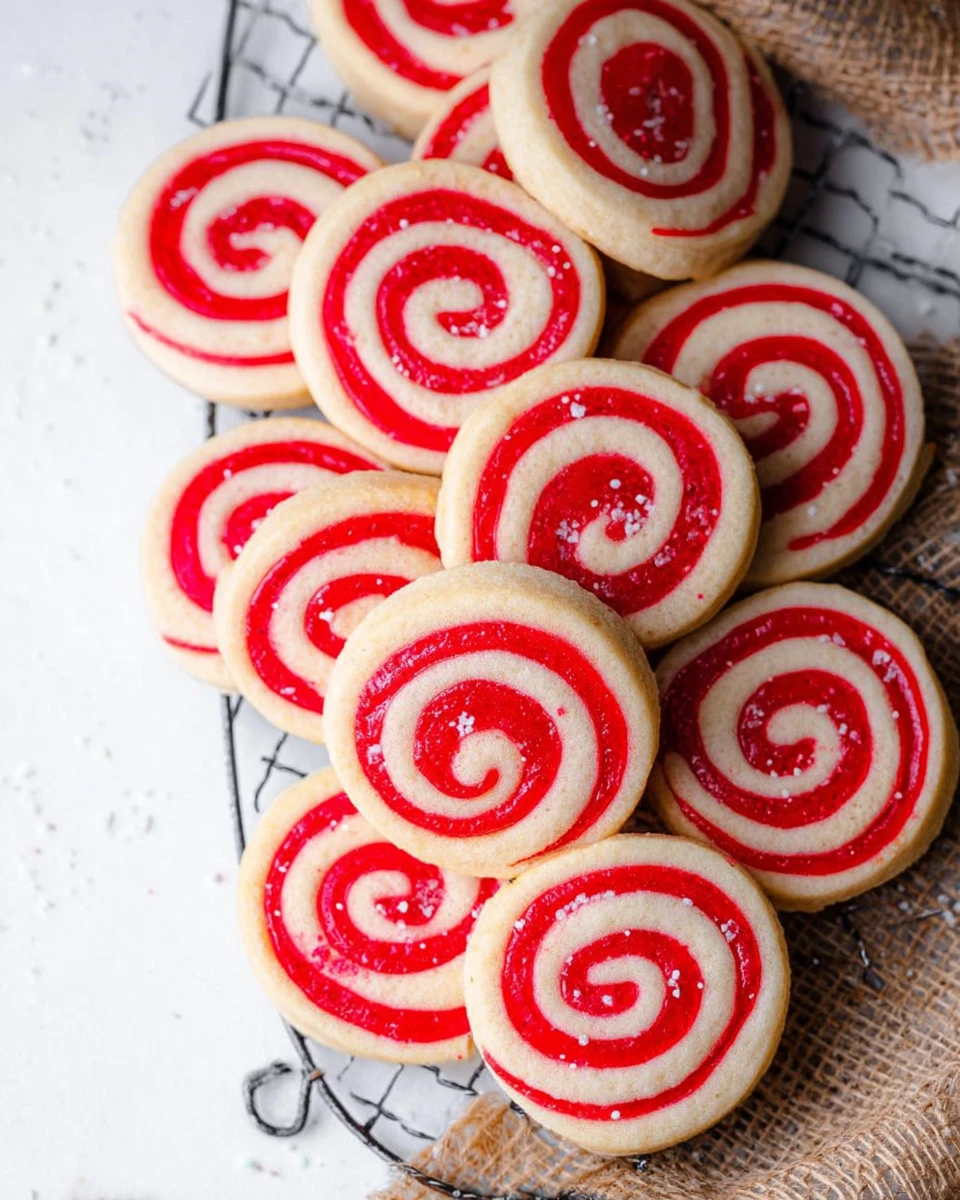
Old Fashioned Christmas Pinwheel Cookies are truly a holiday classic. They bring a sense of nostalgia and joy, evoking memories of festive gatherings filled with laughter and warmth. The rolled, colorful layers create a stunning visual treat, making them a highlight on any dessert table. As the sweet aroma fills your kitchen, you can almost hear the echoes of holiday cheer. Not only are these cookies deliciously soft and chewy, but they also radiate the spirit of the season. Perfect for sharing with family and friends, or even gifting in decorative tins, these cookies are sure to spread smiles. So let’s get started on this delightful recipe that captures the essence of Christmas, one delicious pinwheel at a time!
Thank you for reading this post, don't forget to subscribe!Why This Recipe Works
This recipe for Old Fashioned Christmas Pinwheel Cookies shines for several reasons. Firstly, the balance of flavors is spot on. The buttery sweetness combined with the festive splash of red food coloring creates a delightful contrast that captivates the taste buds. It’s all about that perfect harmony!
Moreover, the technique of rolling and chilling the dough works wonders. By properly chilling the dough, you ensure that every sweet slice reveals a beautiful pinwheel effect. Trust me, this step is essential – it guarantees that stunning visual you want for the holidays.
Lastly, this classic cookie recipe evokes nostalgia. It brings to mind holiday traditions and cherished moments spent baking with loved ones. Every bite feels like a hug from the past, making it a must-have during the festive season.
Why You’ll Love This Old Fashioned Christmas Pinwheel Cookies
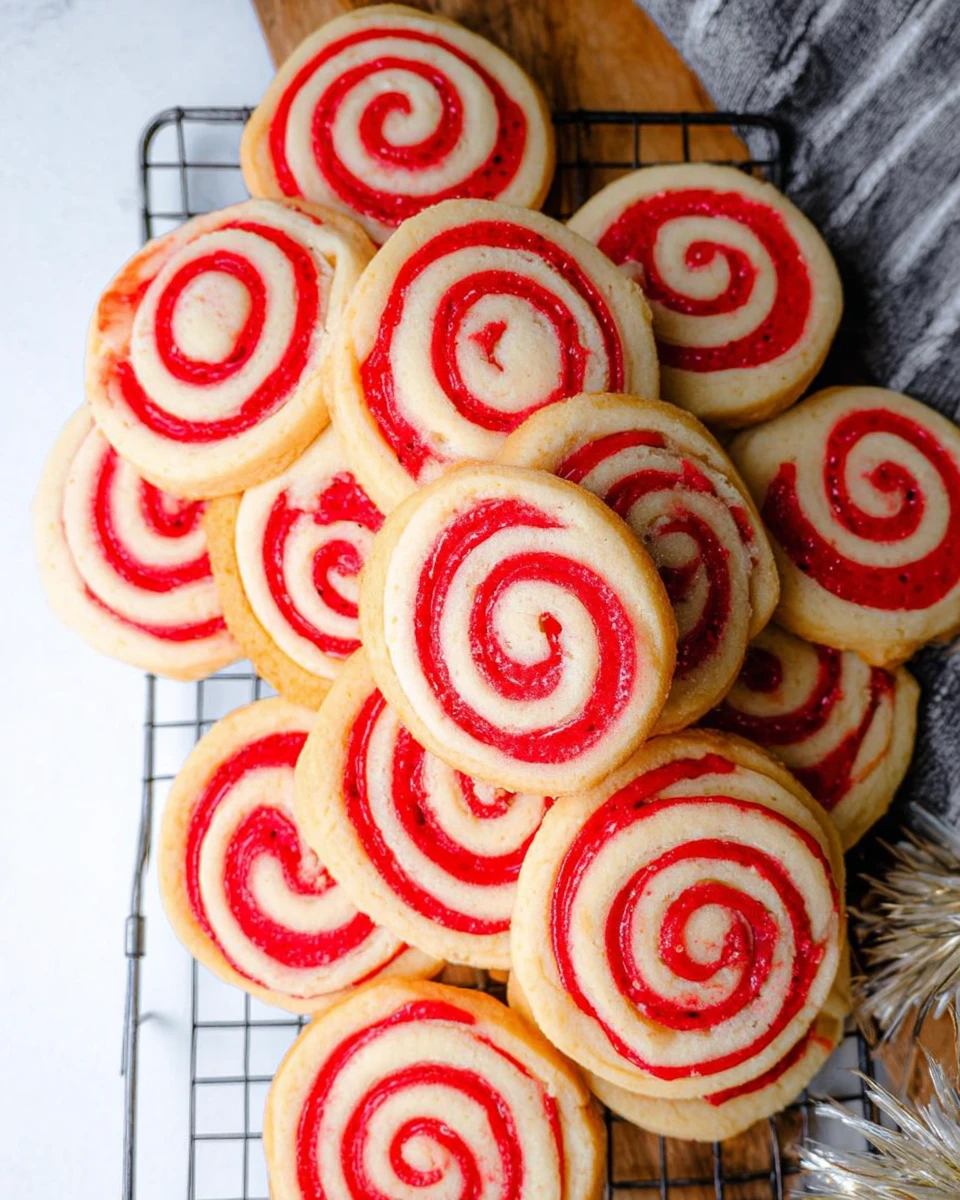
Once you try these cookies, you’ll quickly understand why they steal the spotlight at holiday gatherings. They are visually stunning, with vibrant color swirls that create an eye-catching display. You won’t be able to resist showing them off!
The texture is another standout feature. Soft and chewy, these cookies melt in your mouth, delivering that comforting, home-baked goodness we all love. Plus, they are easy to customize! You can play with colors or add festive sprinkles, making them perfect for your personal touch.
Sharing is caring, after all. These cookies make lovely gifts when placed in festive tins or boxes. Whether you want to treat coworkers, friends, or neighbors, Old Fashioned Christmas Pinwheel Cookies are a sweet way to spread goodwill during the holiday season.

Ingredients
- 1 ¾ cups all-purpose flour
- ½ teaspoon baking powder
- ¼ teaspoon salt
- 10 tablespoons unsalted butter, softened
- ¾ cup granulated sugar
- 1 large egg, room temperature
- 1 ½ teaspoons vanilla extract
- 1-2 teaspoons red food coloring, depending on desired shade
Preparing the Dough
Whisking Dry Ingredients
Begin by whisking together the flour, baking powder, and salt in a medium bowl. This simple step helps incorporate the ingredients evenly, setting the base for our delicious cookies. Once combined, set it aside so you can focus on the buttery goodness!
Creaming Butter and Sugar
Next, grab a large bowl and cream the softened butter and granulated sugar together. Keep mixing until you achieve a light and fluffy mixture. This step is crucial as it adds air to the dough, giving your cookies that delightful texture we all adore.
Adding Egg and Vanilla
Now, beat in the large egg and vanilla extract into the butter-sugar mixture. Ensure everything is fully combined for a rich flavor throughout.
Combining Dry and Wet Ingredients
Gradually add the dry flour mixture to the buttery goodness, beating just until combined. Avoid overmixing; we want the dough to be tender and not tough.
Dividing the Dough
After that, split the dough into two equal portions. Place each portion in a separate bowl, and you’re almost ready to add some color!
Coloring the Dough
In one of those bowls, add the red food coloring. Mix it in slowly, ensuring the color is evenly distributed. You can adjust the shade by adding more if you want it to pop.
Chilling the Dough
Shaping the Dough
You’ll want to line a large sheet of cling wrap on your counter. Place the red dough in the center and press it gently into a disk. Then wrap it up and seal it tight. Repeat the same process with the plain dough. This will help maintain those colors while chilling.
Refrigerating
Now, it’s time to be patient! Chill both dough disks in the refrigerator for 2 hours. If you can wait longer, up to 48 hours will deepen the flavor, enhancing your holiday treat.
Rolling and Assembling Cookies
Preparing to Roll
When you’re ready, remove the chilled dough from the fridge. Lay out two sheets of parchment paper on your counter. This will make the rolling process a breeze.
Rolling Out the Plain Dough
Unwrap the plain dough and roll it out on one sheet of parchment paper. Aim for a 12×12 inch square that’s about ½ inch thick. Don’t worry about getting it perfect; just do your best!
Rolling Out the Red Dough
Now, do the same with the red dough on another sheet of parchment paper. Once both sheets are ready, you’re ready to create that beautiful assembly!
Assembling the Pinwheel
Carefully place the red dough on top of the plain dough. Gently press them together, ensuring they stick nicely. Then, remove the parchment from the red dough and tightly roll everything from one edge. This roll should be as tight as a little gift – you want that perfect swirl!
Final Chilling
Preparing for Baking
Once rolled, wrap the entire dough log in cling wrap again. Chill it for another 2 hours. This final chill time helps the dough maintain its shape while baking.
Baking the Cookies
Preheating the Oven
About ten minutes before you’re ready to bake, preheat your oven to 350°F. This temperature will ensure your cookies bake evenly. Line two baking sheets with parchment paper to prepare for those beautiful pinwheels.
Slicing the Dough
Unwrap your chilled dough and use a sharp knife to slice it into ½ inch thick discs. As you cut, you’ll reveal the lovely pinwheel design!
Baking the Cookies
Place the sliced cookies on the prepared baking sheets, allowing space for them to spread. Bake for 8-10 minutes, keeping an eye out for that perfect light golden brown on the edges.
Cooling the Cookies
Once baked, take them out and let them cool on the pan for about 5 minutes. Then, transfer them to a cooling rack to cool completely. This part is crucial as it helps them set their delicious texture.
Serving Suggestions
These cookies shine even brighter when paired with seasonal favorites. Serve them alongside a warm cup of cocoa or festive eggnog for a warm treat. They’re also fantastic for holiday cookie exchanges, radiating charm and sweetness in decorative tins.
Tips for Success
- Make sure your butter is softened to room temperature. This ensures easy creaming and a smoother dough.
- For a more vibrant red color, you can gradually increase the amount of food coloring until it’s to your liking.
Variations
Inject some fun into your cookie making! For a different festive look, consider substituting with green food coloring. Or add sprinkles on top before baking for extra flair!
Storage Tips
Store any leftover cookies in an airtight container at room temperature for up to one week. If you want to preserve them longer, freeze them! Just thaw at room temperature before serving, and they’ll taste as fresh as the day you baked them.
Pairing Ideas
These festive cookies pair beautifully with spiced tea or sweetened almond milk, offering a delightful contrast to their sweetness. You might also want to showcase them alongside a platter of assorted holiday treats to create a delightful spread.
FAQs
- Can I use powdered sugar instead of granulated sugar?
-
No, powdered sugar will change the texture of the cookies.
-
How can I make these cookies dairy-free?
-
Use dairy-free butter or margarine as a substitute.
-
Can I freeze the dough before baking?
-
Yes, you can freeze the dough for up to 3 months. Just slice and bake from frozen, adding a couple of minutes to the baking time.
-
What’s the best way to store leftover cookies?
-
Store them in an airtight container to maintain freshness.
-
Can I make these cookies ahead of time?
- Absolutely! They can be made and stored well in advance of your holiday gatherings.
Old Fashioned Christmas Pinwheel Cookies embody the charm of the holiday season. With their soft, colorful layers, they offer a joyful experience for all who taste them. Enjoy creating these delightful cookies, and cherish the memories they inspire!
Print
Old Fashioned Christmas Pinwheel Cookies
These cookies are a holiday classic with their colorful swirls and soft, chewy texture. Perfect for sharing, gifting, or enjoying with a warm drink!
- Total Time: 40 minutes
- Yield: 24 cookies 1x
Ingredients
- 1 ¾ cups all-purpose flour
- ½ teaspoon baking powder
- ¼ teaspoon salt
- 10 tablespoons unsalted butter, softened
- ¾ cup granulated sugar
- 1 large egg, room temperature
- 1 ½ teaspoons vanilla extract
- 1–2 teaspoons red food coloring, depending on desired shade
Instructions
- Whisk together flour, baking powder, and salt.
- Cream together softened butter and sugar until light and fluffy.
- Beat in the egg and vanilla extract.
- Gradually add dry ingredients to the butter mixture until just combined.
- Divide dough into two portions; color one with red food coloring.
- Chill both portions in the refrigerator for 2 hours.
- Roll out each color of dough between parchment paper.
- Layer red dough on plain dough and roll into a log.
- Chill the rolled log for another 2 hours.
- Preheat oven to 350°F and slice chilled dough into discs.
- Bake cookies for 8-10 minutes until golden around the edges.
- Cool on baking sheets before transferring to a wire rack.
Notes
Ensure butter is at room temperature for easy mixing.
Adjust food coloring for desired vibrancy.
Store cookies in an airtight container for up to a week.
- Prep Time: 30 minutes
- Cook Time: 10 minutes
- Category: Dessert
- Method: Baking
- Cuisine: American
Nutrition
- Calories: 120
- Sugar: 8
- Sodium: 75
- Fat: 6
- Saturated Fat: 4
- Unsaturated Fat: 1
- Trans Fat: 0
- Carbohydrates: 16
- Fiber: 0
- Protein: 1
- Cholesterol: 25