Skip to content
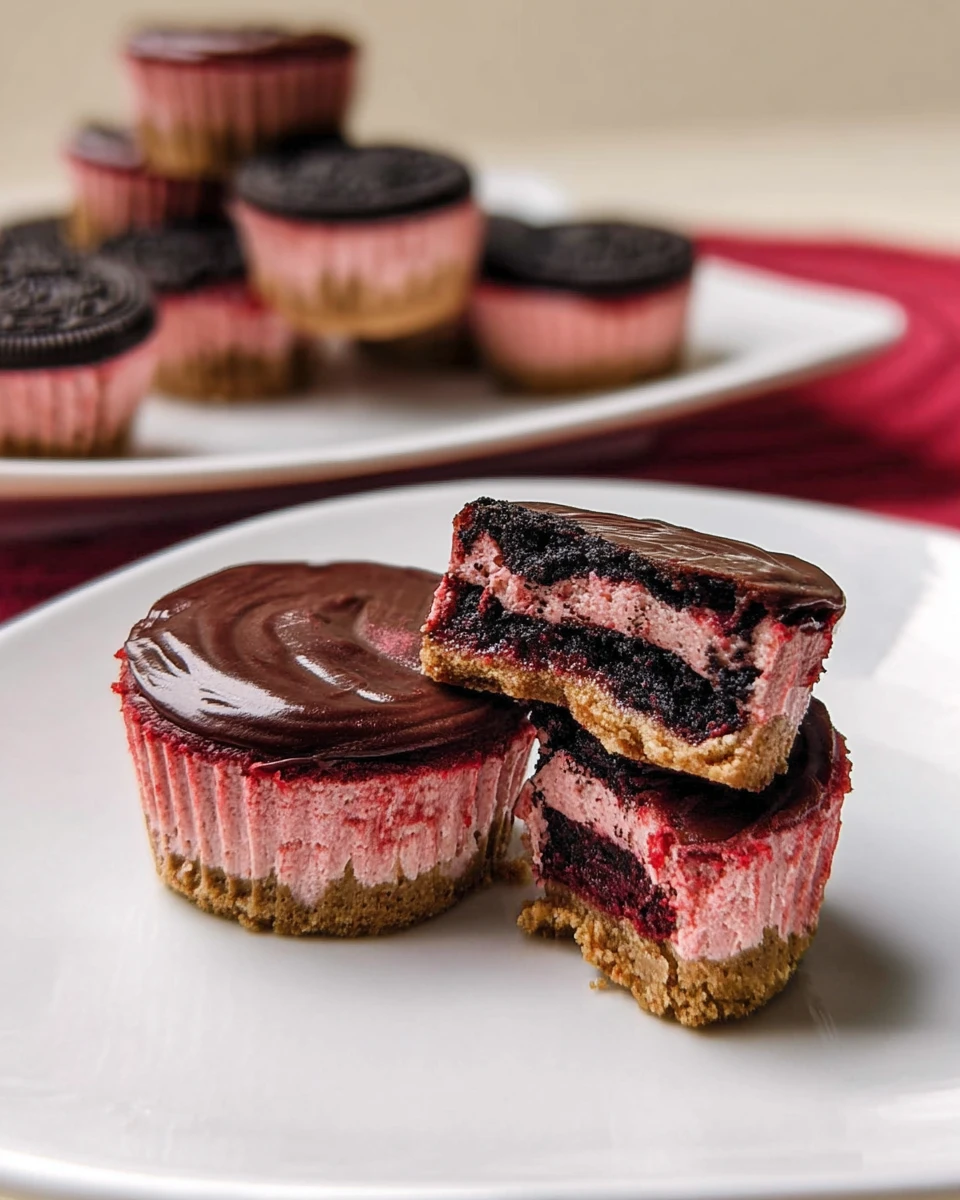
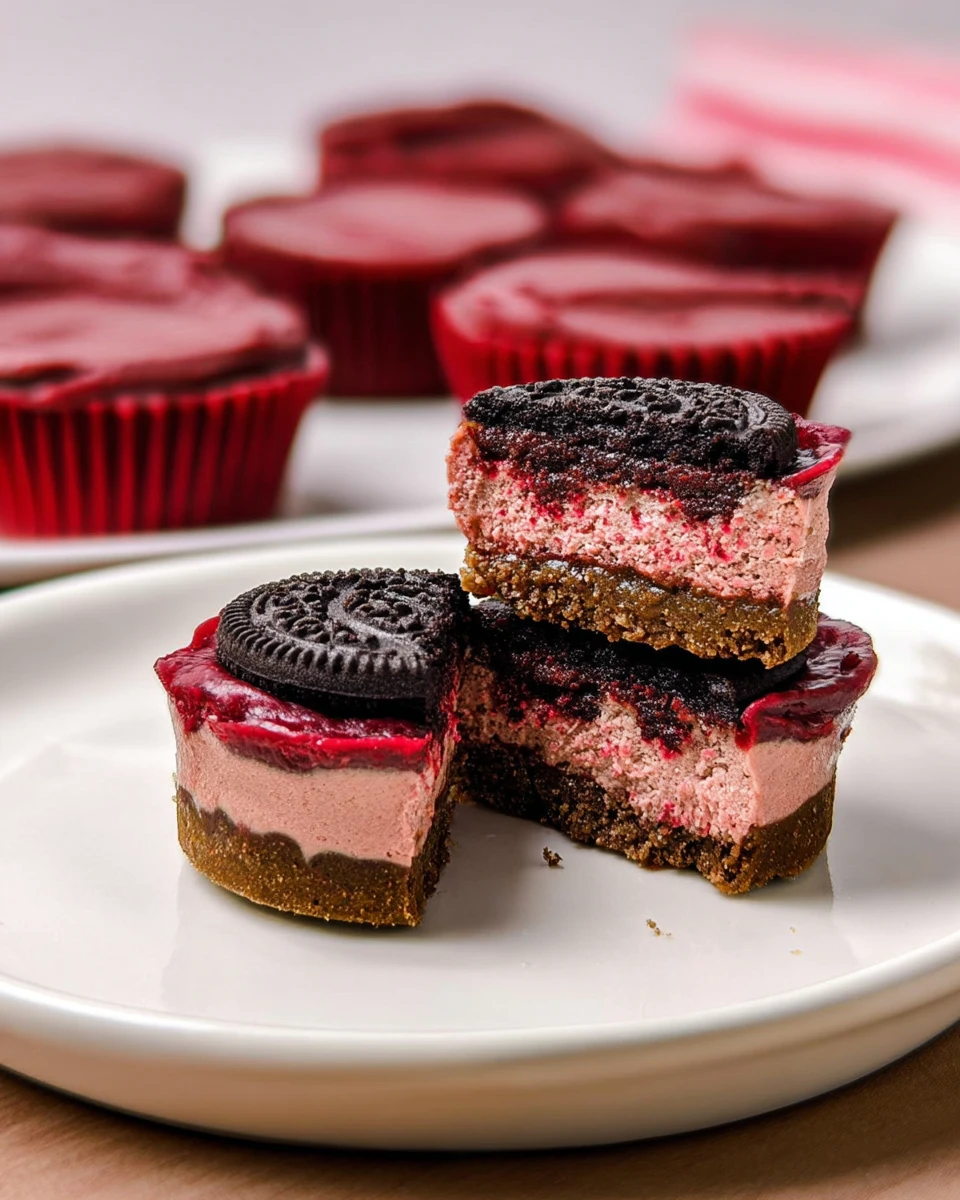
Indulging in the world of baking, have you ever considered crafting Mini Red Velvet Cheesecakes? These little delights combine the rich and creamy flavors of cheesecake with that stunning red velvet we all love. Imagine hosting a gathering, and instead of a traditional dessert, you present these charming mini cheesecakes. Not only do they look gorgeous, but they also taste heavenly with every bite. To top it off, a drizzle of Nutella elevates them to a whole new level of indulgence. It’s the perfect way to impress your friends or family, no matter the occasion. So, why not roll up your sleeves and bring some sweetness to the table with this easy and delightful recipe? Let’s get baking!
Thank you for reading this post, don't forget to subscribe!Why This Recipe Works
The combination of a rich cream cheese filling with the classic flavor of red velvet makes these mini cheesecakes irresistibly delicious. The Oreo crust provides a contrasting crunch, making every bite a delightful experience. The gentle sweetness of Nutella as a topping adds an indulgent finish that elevates this dessert beyond a traditional cheesecake. It’s all about those textures and flavors coming together in a way that makes your taste buds sing.
Why You’ll Love This Mini Red Velvet Cheesecakes
These Mini Red Velvet Cheesecakes are perfect for any occasion! Whether it’s Valentine’s Day, a holiday gathering, or simply a treat for yourself, their striking appearance and delectable taste make them a standout dessert. They are easy to make and even easier to love, sure to impress friends and family alike. Plus, their mini size allows for guilt-free indulgence – a perfect little bite that won’t weigh you down. Everyone can enjoy one (or two) without any hesitation!
Ingredients
- 12 Chocolate Oreos
- 8 oz cream cheese, softened
- 1/2 cup granulated sugar
- 1 tablespoon cocoa powder
- 1/2 teaspoon vanilla extract
- 1 large egg
- Red food coloring (to taste)
- 1/2 cup Nutella
Now that we have everything on hand, let’s get to the fun part – actually making these delightful treats!
Mini Red Velvet Cheesecakes Recipe
Preheat and Prepare the Oven
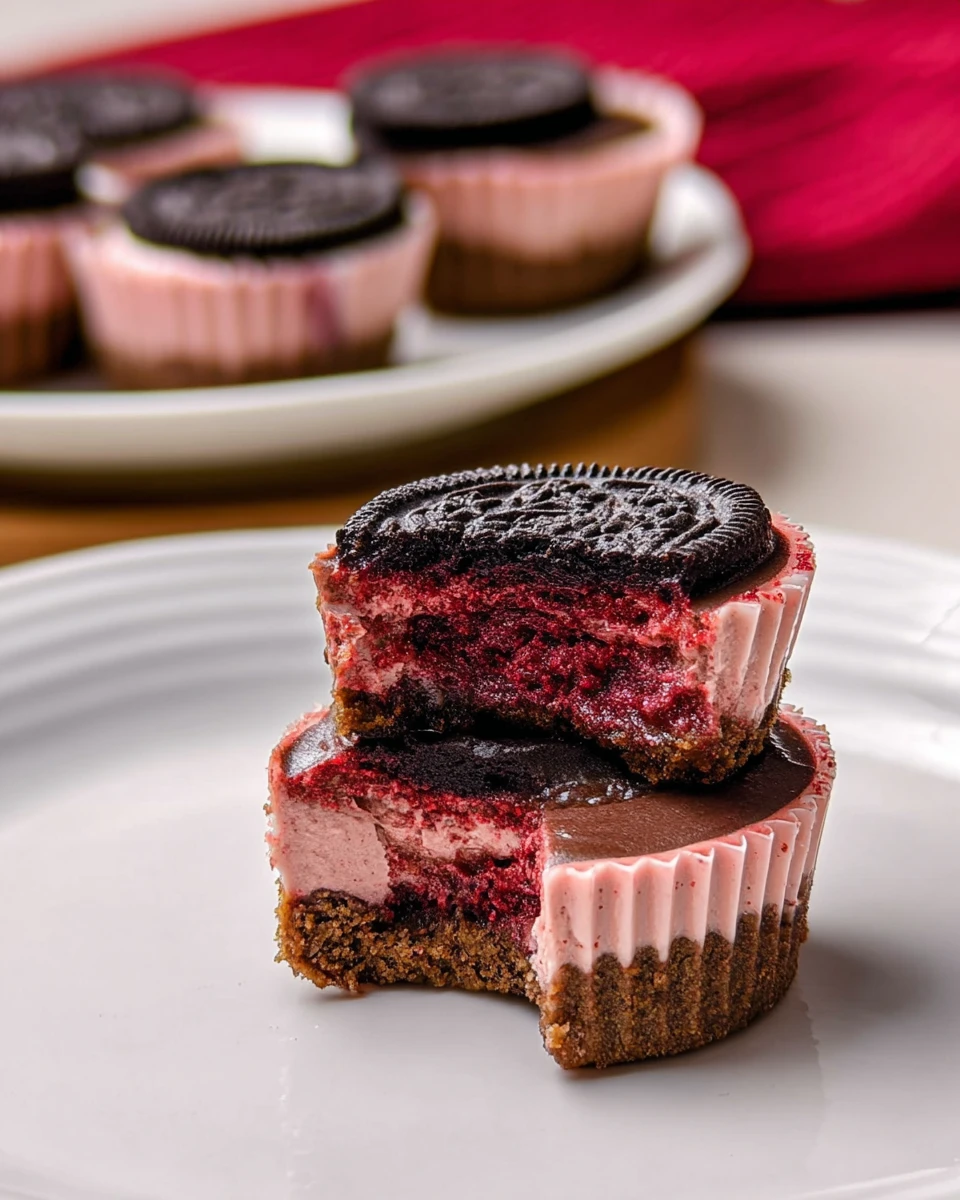
To kick things off, preheat your oven to 325°F (165°C). While it’s warming up, line a cupcake pan with paper liners. Then, place one Oreo cookie at the bottom of each liner, providing a delicious foundation for those creamy cheesecakes.
Whip Cream Cheese and Sugar Together
In a large mixing bowl, combine the softened cream cheese and granulated sugar. Using a mixer, beat these ingredients together until smooth and well-blended. This creamy base is essential for our dreamlike cheesecake texture. Don’t forget to scrape the sides to ensure everything’s mixed in!
Add Cocoa, Vanilla, Egg, and Food Coloring
Now, stir in the cocoa powder, vanilla extract, and egg. As you add the red food coloring, do so gradually until you achieve your ideal red velvet shade – bright and inviting! Mix until the batter is smooth and flawlessly combined. You should see that lovely, rich color emerge, making it hard to resist already.
Fill the Cups with Batter
Spoon the cream cheese batter over the Oreos in each cupcake liner. Fill each cup about two-thirds full, allowing space for the cheesecakes to rise as they bake. It’s mesmerizing to see the contrast of the dark Oreo bottom and the vibrant red start to take shape.
Bake Until Set
Place the cupcake pan in the preheated oven and set your timer for 20-25 minutes. Keep a close eye on them; they should be set completely in the center. When gently shaken, they should not jiggle. This step is crucial to ensure your cheesecakes maintain that ideal creamy texture.
Cool and Chill
Once baked, remove the pan from the oven and allow the cheesecakes to cool at room temperature. After they’ve cooled down, transfer them to the refrigerator to chill thoroughly. This cooling phase enhances the flavor and makes them even more delightful when served. Patience will pay off!
Top with Nutella
Right before serving, carefully remove the paper liners from the cheesecakes and place them on a serving platter. To make the Nutella spreadable, microwave it in a heat-proof bowl for a few seconds. Spoon the warm Nutella generously over each cheesecake, covering the top completely. Each bite is about to get so much better!
Serving Suggestions
While you can enjoy these Mini Red Velvet Cheesecakes on their own, pairing them with fresh berries, whipped cream, or a drizzle of chocolate sauce will take the experience to another level of indulgence. It’s all about that combination of flavors and textures, so feel free to get creative!
Tips for Success
- Ensure your cream cheese is at room temperature for smooth mixing. Cold cream cheese won’t blend well.
- Adjust the amount of food coloring to get the hue just right according to your taste.
- Keep an eye on the baking time; overbaking can lead to dry cheesecakes. Set a timer and check a bit before the end.
Variations
For those wanting to switch things up, why not swap Nutella with white chocolate ganache? It creates a unique flavor twist that’s actually quite delightful. Or, if you enjoy a bit of texture, adding crushed nuts or colorful sprinkles on top could be the perfect finishing touch.
Pairing Ideas
These cheesecakes pair beautifully with a rich cup of coffee, a glass of dessert wine, or even a scoop of vanilla ice cream. Each pairing creates a decadent dessert experience that keeps the flavor sensations interesting from start to finish.
FAQs
1. Can I make these cheesecakes ahead of time?
Yes, you can prepare these cheesecakes a day in advance and store them in the refrigerator until serving. It makes hosting easier!
2. Can I use regular Oreos instead of chocolate?
Absolutely! Regular Oreos will work just fine, though they will slightly alter the flavor profile. Either way, you’re in for a treat!
3. How long do leftovers stay good?
Leftover mini cheesecakes can be stored in an airtight container in the fridge for up to 3 days. Just remember to keep them covered!
4. Can I freeze the mini cheesecakes?
Yes, these can be frozen for up to a month. Just thaw them in the refrigerator before serving. It’s great for making ahead!
5. What can I substitute for Nutella?
You can use caramel sauce, chocolate ganache, or any sweet spread you prefer as a topping. The world is your oyster here!
Indulging in Mini Red Velvet Cheesecakes brings joy in every bite. With their vibrant color and creamy texture, they are not only a visual delight but also a decadent treat that captures the essence of celebration. Whether for a special occasion or just to satisfy your sweet tooth, these cheesecakes are sure to leave a lasting impression!
Print
Mini Red Velvet Cheesecakes
These Mini Red Velvet Cheesecakes combine a smooth cream cheese filling with the beloved flavor of red velvet. Perfect for any occasion, they are easy to make and sure to impress.
- Total Time: 0 hours
- Yield: 12 servings 1x
Ingredients
- 12 Chocolate Oreos
- 8 oz cream cheese, softened
- 1/2 cup granulated sugar
- 1 tablespoon cocoa powder
- 1/2 teaspoon vanilla extract
- 1 large egg
- Red food coloring (to taste)
- 1/2 cup Nutella
Instructions
- Preheat the oven to 325°F (165°C) and line a cupcake pan with paper liners, placing one Oreo in each.
- Beat the cream cheese and sugar together until smooth.
- Add cocoa powder, vanilla, egg, and food coloring; mix until smooth and rich in color.
- Spoon the batter into the Oreo-lined cups, filling them two-thirds full.
- Bake for 20-25 minutes until set; cool at room temperature and then chill in the refrigerator.
- Top with warmed Nutella before serving.
Notes
Ensure cream cheese is at room temperature for optimal mixing.
Monitor baking time to prevent drying out.
Nutella can be substituted with other sweet spreads if desired.
- Prep Time: 15 minutes
- Cook Time: 20-25 minutes
- Category: Dessert
- Method: Baking
- Cuisine: American
Nutrition
- Calories: 250
- Sugar: 15
- Sodium: 150
- Fat: 15
- Saturated Fat: 6
- Unsaturated Fat: 7
- Trans Fat: 0
- Carbohydrates: 25
- Fiber: 1
- Protein: 4
- Cholesterol: 30