Skip to content
Lemon balm is a delightful herb that not only brightens your garden but also has some fantastic benefits for your skin. If you’re curious about the healing potential of this aromatic plant, you’re in the right place! In this post, we’ll explore the Lemon Balm Benefits for Skin | Salve Recipe. Making your own salve is not just an enjoyable craft; it’s a wonderful way to harness the soothing properties of lemon balm while creating a nourishing remedy for your skin.
Thank you for reading this post, don't forget to subscribe!Imagine a smooth balm that melts into your skin, providing nourishment while reducing blemishes and fine lines. This lemon balm salve is packed with natural ingredients when combined, creating a silky treatment that’s simple to prepare at home. Plus, it’s free from synthetic chemicals, making it suitable for various skin types. So whether you want a little extra hydration or protection against irritations, this recipe will be your go-to solution. Let’s get started on this interesting journey of creating a skin-loving salve!
Why This Recipe Works
Lemon balm is known for its incredible therapeutic properties, especially when it comes to skin health. This delightful herb contains compounds that can soothe irritated skin, providing relief from stress and promoting overall skin wellness. The combination of lemon balm with ingredients like candelilla wax, jojoba oil, and olive oil creates a delightful synergy, enhancing the salve’s soothing effects.
Candelilla wax, a plant-derived wax, gives the salve its beautiful texture, allowing it to glide smoothly over your skin. Meanwhile, jojoba oil mimics the skin’s natural oils, providing nourishment without clogging pores. Olive oil is rich in antioxidants and further moisturizes the skin. This recipe is straightforward, making it easy for anyone to create their own skin remedy in the comfort of home.
Why You’ll Love This Lemon Balm Benefits for Skin | Salve Recipe
You’ll absolutely love this lemon balm salve because it deeply nourishes and hydrates your skin. It’s perfect for reducing blemishes and fine lines, offering a natural remedy without the risks of synthetic chemicals. This salve caters to various skin types, from dry to combination, making it an all-around favorite.
Furthermore, its versatility shines as you can use it for everyday skincare. Whether you need to soothe dry patches, calm sunburns, or simply want to give your skin a bit more love, this salve fits seamlessly into your daily routine.
Understanding Lemon Balm and Its Skin Benefits
What is Lemon Balm?
Lemon balm, scientifically known as Melissa officinalis, has been cherished since ancient times. Traditionally, it has been used to ease tension and promote relaxation. Recently, its popularity in skincare has surged. People now recognize its wonderful properties for calming irritated skin and providing soothing relief.
Skin Benefits of Lemon Balm
Lemon balm is not just a pretty herb; it packs a punch in skin benefits. First, it has strong anti-inflammatory properties that can help calm redness and irritation. Additionally, its hydrating qualities ensure that your skin stays supple and soft. When applied to minor cuts or blemishes, lemon balm can accelerate healing, making it a valuable addition to your skincare routine.
Ingredients for Lemon Balm Salve
For this easy and effective lemon balm salve, you will need the following ingredients:
- 1 tablespoon of candelilla wax
- 2 tablespoons of jojoba oil
- 2 tablespoons of olive oil
- ½ tsp of lemon balm oil (specifically, not the essential oil)
These components come together beautifully to create a soothing, emollient salve.
How to Make Lemon Balm Salve
Melting the Wax and Oils
To start, place the candelilla wax, jojoba oil, and olive oil in a small saucepan. Set the heat to low and stir continuously. It’s crucial to melt these ingredients slowly to maintain their beneficial properties. This mixture should become a smooth blend without reaching a boil.
Adding Lemon Balm Oil
Once your wax and oils are fully melted together, it’s time to add the lemon balm oil. Stir it in until fully incorporated, ensuring that the soothing scent and benefits are evenly distributed throughout the mixture.
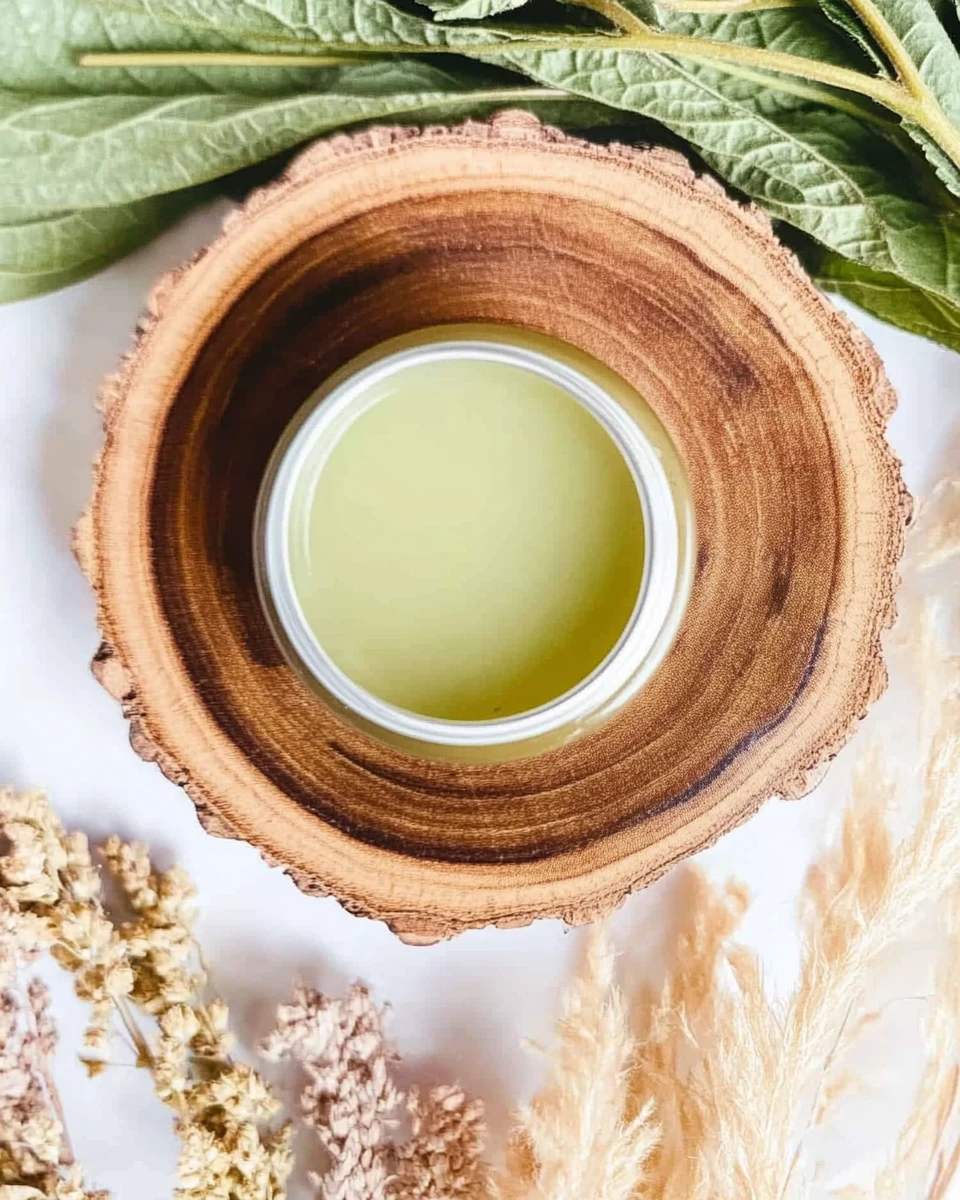
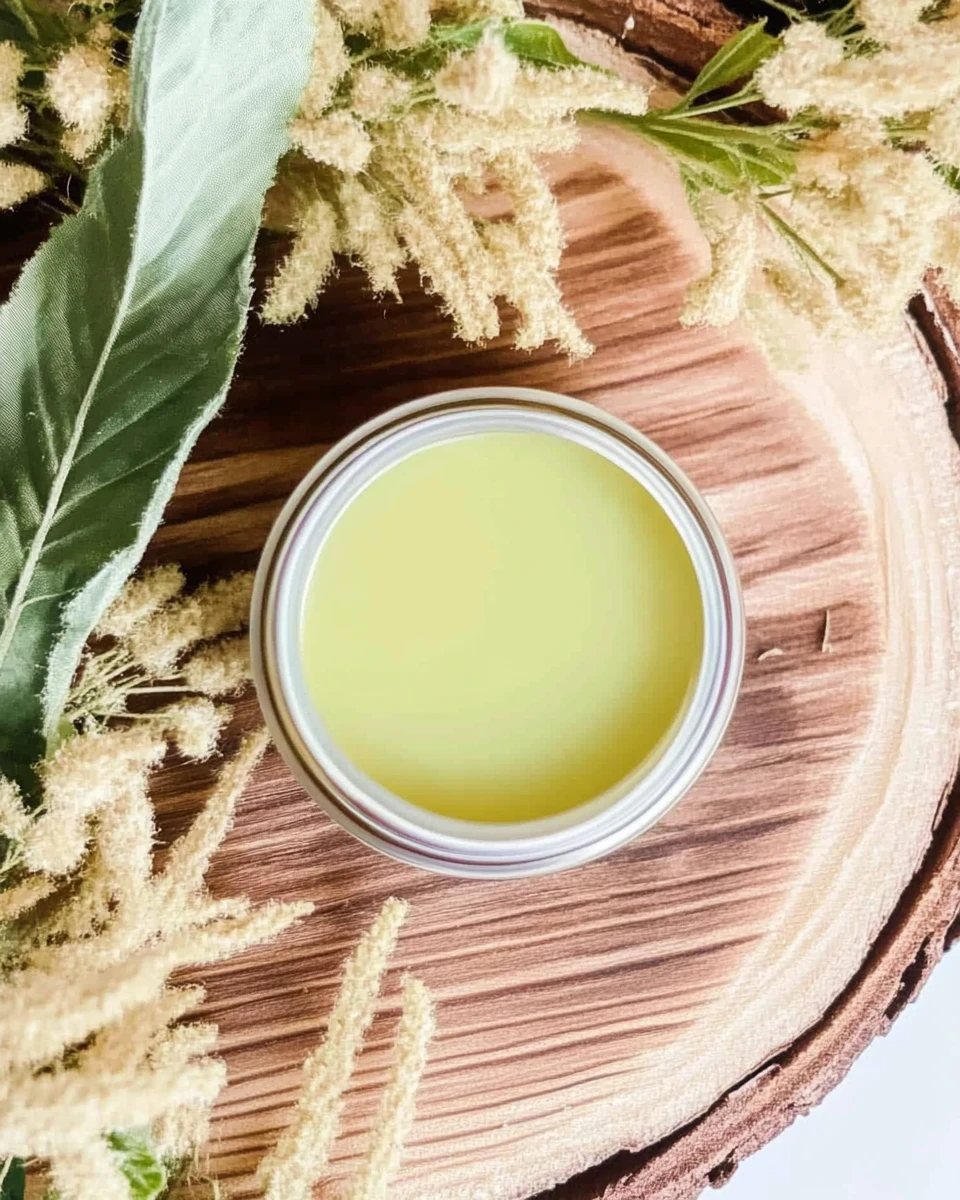
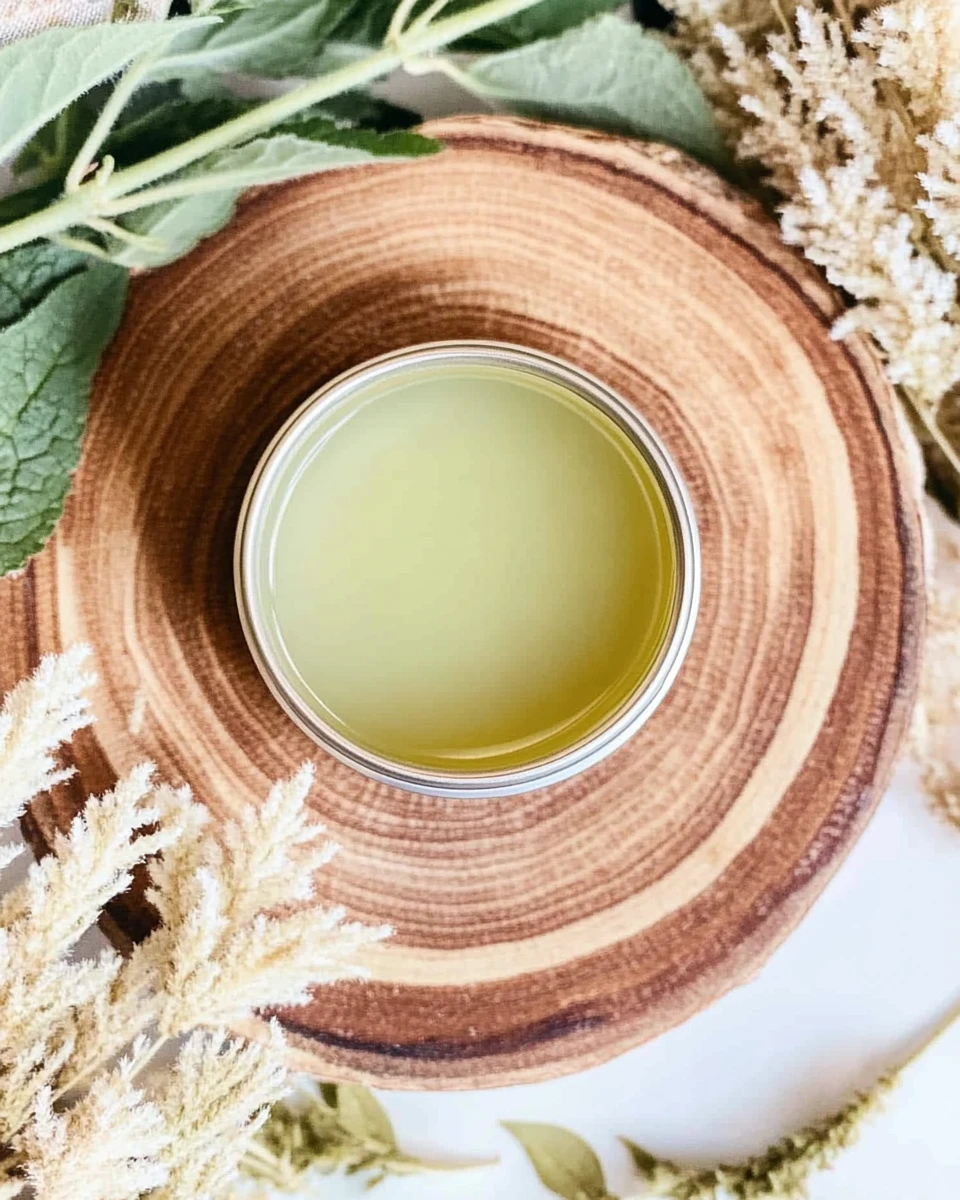
Transferring to Storage
Carefully pour the warm mixture into a metal storage tin or any container of your choice. Allow it to cool completely before sealing with a lid. You’ll see it transform into a creamy salve as it cools!
Tips for Success
To get the most from your salve, consider these tips:
- Use a kitchen thermometer to monitor your heat. Keeping oils below their smoke point ensures they retain beneficial properties.
- Experiment with different ratios of oils if you desire a softer or firmer salve.
Variations
Scented Lemon Balm Salve
For those who enjoy a touch of fragrance, consider adding essential oils like lavender or tea tree. Both offer added benefits; lavender can soothe while tea tree can fight bacteria.
Tinted Lip Balm Version
Want a pop of color? Add a small amount of natural coloring and flavoring to create a tinted, nourishing lip balm that glides on effortlessly while caring for your lips.
Storage Tips
It’s important to store your salve in a cool, dark place to maintain its shelf life. Always check for changes in color or smell before use, ensuring it remains fresh and effective.
Serving Suggestions
Apply a small amount of your homemade salve onto dry patches, sunburns, or irritated areas as needed. It acts as a protective barrier while delivering moisture and relief.
FAQs
Can I use other types of oils instead of jojoba or olive oil?
Absolutely! You can substitute with sweet almond oil or coconut oil. Just remember that the texture might vary slightly.
How often should I apply the salve?
Feel free to apply it whenever necessary, especially after washing your hands or face.
Is lemon balm safe for sensitive skin?
In general, lemon balm is safe for most skin types. However, always perform a patch test to check for any allergies.
Can I use the salve on my face?
Yes! This salve is suitable for facial use, particularly for dry spots or minor blemishes.
How long does the salve last?
When stored correctly, your salve can last up to a year. Always check for any changes before use.
Creating your own lemon balm salve connects you to nature’s healing properties and enhances your skincare routine. It’s a simple yet effective way to embrace the benefits of lemon balm. Plus, you can take pride in knowing you crafted a remedy that’s perfect for your skin. Enjoy this delightful process and let your skin revel in the nourishing goodness!
Print
Lemon Balm Benefits for Skin Salve
This lemon balm salve is a nourishing blend that hydrates your skin and helps reduce blemishes. Perfect for all skin types!
- Total Time: 20 minutes
- Yield: 1 small tin 1x
Ingredients
- 1 tablespoon of candelilla wax
- 2 tablespoons of jojoba oil
- 2 tablespoons of olive oil
- ½ tsp of lemon balm oil
Instructions
- Melt candelilla wax, jojoba oil, and olive oil in a saucepan on low heat, stirring continuously.
- Once melted, add lemon balm oil and stir until combined.
- Pour the mixture into a storage container and allow it to cool completely.
Notes
Use a kitchen thermometer to keep oils below their smoke point for maximum benefits.
Feel free to experiment with oil ratios for personal texture preference.
- Prep Time: 10 minutes
- Cook Time: 10 minutes
- Category: Skincare
- Method: Topical application
- Cuisine: N/A
Nutrition
- Calories: 25
- Sugar: 0g
- Sodium: 0mg
- Fat: 3g
- Saturated Fat: 0.5g
- Unsaturated Fat: 2g
- Trans Fat: 0g
- Carbohydrates: 0g
- Fiber: 0g
- Protein: 0g
- Cholesterol: 0mg