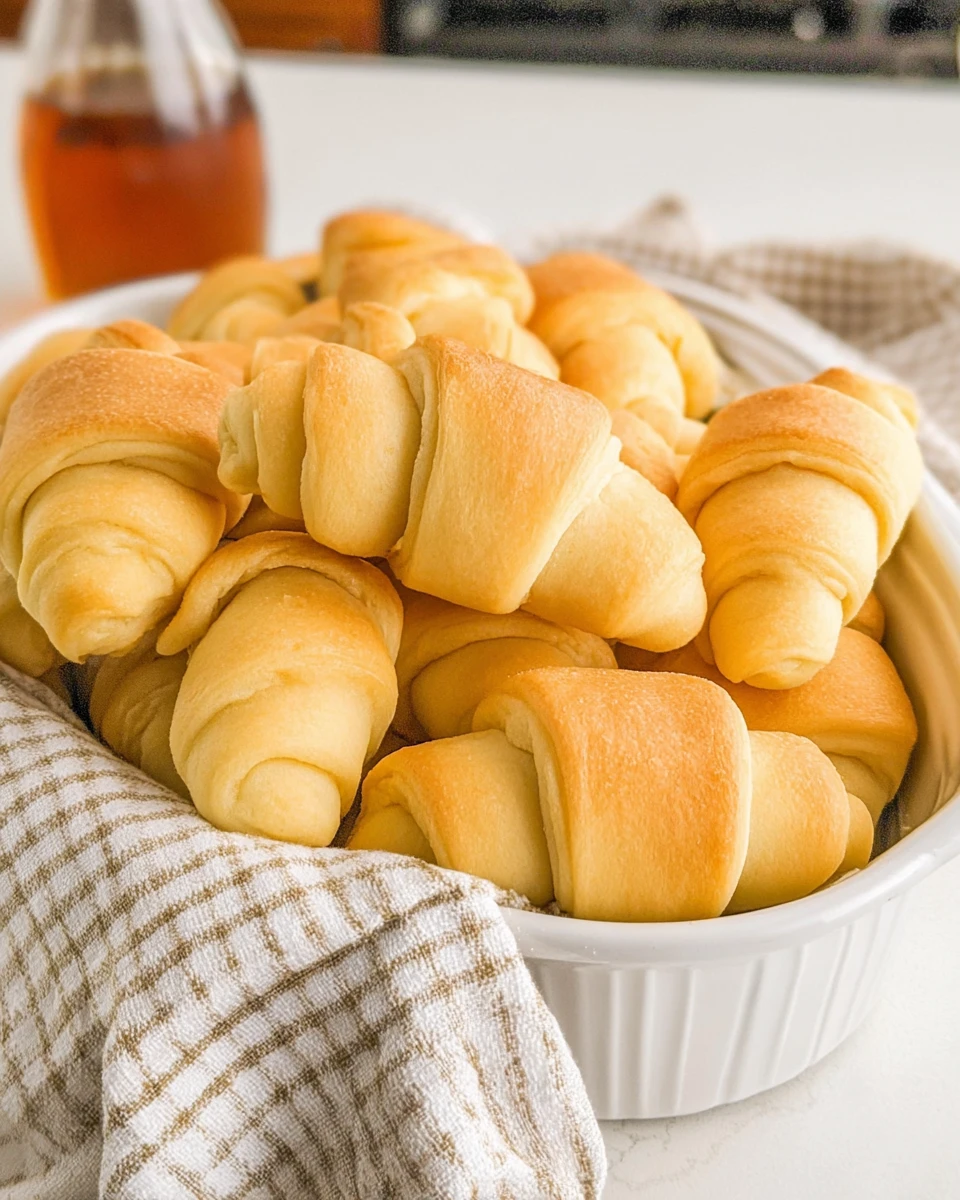
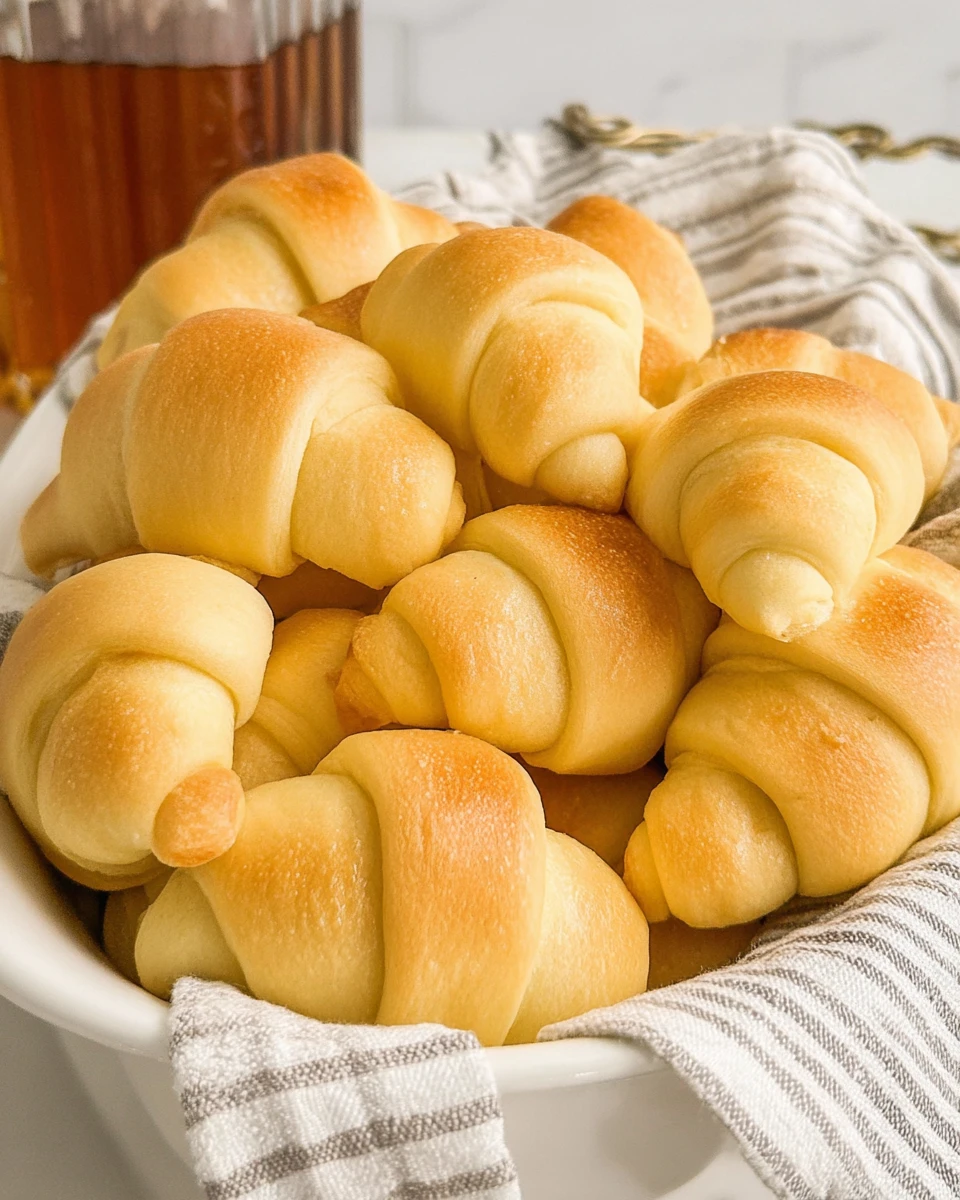
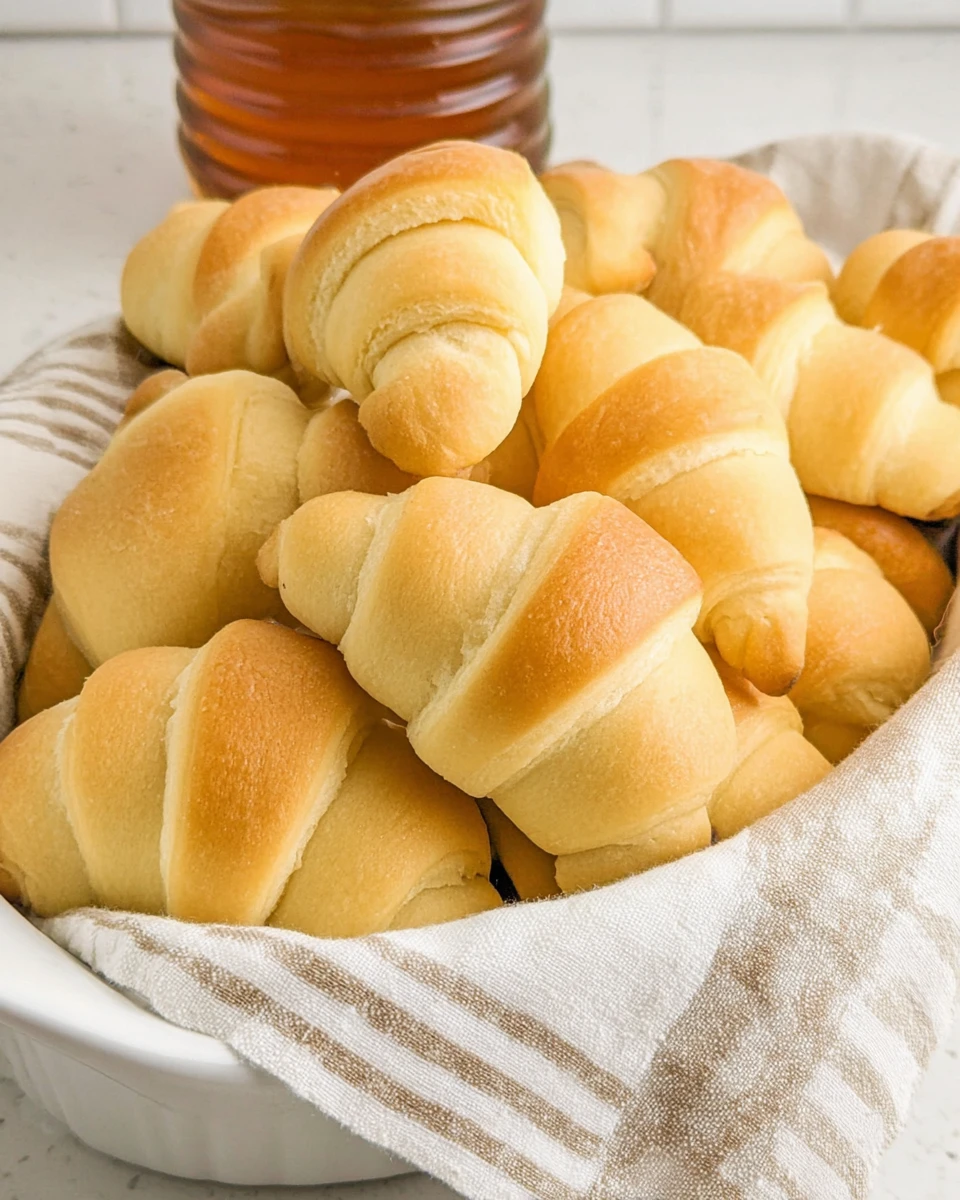
Homemade Crescent Rolls are a truly delightful treat that can elevate any meal or stand alone as a comforting snack. There’s something magical about fresh, warm rolls fresh from the oven, and this recipe brings that magic right to your kitchen. Imagine pulling them apart, the soft, fluffy bread releasing steam, and the buttery aroma wrapping around you like a warm hug. Whether you’re enjoying them for breakfast, as a side with dinner, or just as an afternoon snack, these rolls will surely impress. Not only are they delicious, but they are also easy to make, even if you’re new to baking. So, grab your apron, and let’s get started making some mouth-watering Homemade Crescent Rolls together!
Thank you for reading this post, don't forget to subscribe!Why This Recipe Works
These Homemade Crescent Rolls are all about balance. The perfect ratio of ingredients creates a fluffy, buttery texture that makes you go back for seconds. Warm milk and water are key players here, as they activate the yeast effectively. This ensures your rolls rise beautifully. Also, kneading with butter incorporates a richness that enhances the flakiness, leaving you with a roll that’s crispy on the outside and soft on the inside.
Why You’ll Love This Homemade Crescent Rolls
You’ll absolutely fall in love with these rolls! They’re irresistibly soft and fluffy, making them ideal for any meal. Whether you pair them with soups, salads, or simply enjoy them with a pat of butter, they’ll fit right in. Plus, the ingredients are super simple, so it’s accessible for cooks of all skill levels. As you bake, a delightful aroma fills your kitchen, wrapping you in warmth and comfort. It’s like a hug from your home.

Ingredients
- ⅔ cup whole milk, warmed
- ⅓ cup + 2 tablespoons warm water
- ½ cup granulated sugar
- 4 teaspoons active yeast
- 2 large eggs + 2 yolks
- 5 cups all-purpose flour
- 1 teaspoon salt
- ¾ cup salted butter, room temperature
Preparing the Dough

Activating the Yeast
Let’s get our dough started! In the bowl of your stand mixer fitted with a whisk attachment, combine warm milk, warm water, 2 teaspoons of sugar, and yeast. Gently whisk on low speed until just combined. Then, allow the mixture to rest for about 5 minutes until it becomes frothy and bubbly. This step is crucial; it means your yeast is active and ready to go!
Mixing in the Eggs
After activating the yeast, add the eggs and egg yolks into the mixture. Mix until everything is fully combined. You’ll want a smooth texture so that all the elements blend well together.
Kneading the Dough
Swap over to a dough hook attachment. Gradually add in the flour and salt. Knead on medium speed until a rough dough forms. It will take a bit of muscle, but the effort is worth it! Once you have your rough dough, incorporate that room-temperature butter. Continue kneading on medium-low speed for about 8 minutes. This helps ensure the butter is mixed in well and contributes to the overall richness of your rolls.
Rising the Dough
Now that you’ve kneaded the dough, it’s time for it to rise. Transfer your kneaded dough into a clean, greased bowl. Cover it with plastic wrap or a kitchen towel. Let it rise for 1 hour, or until it has doubled in size. This is the moment when all that love and care starts to pay off!
Preparing for Baking
Preheating the Oven
As your dough rises, go ahead and start preheating your oven to 350°F (175°C). Line a baking sheet with parchment paper and give it a light spray with baking spray. This will prevent sticking later on and make cleanup a breeze.
Shaping the Rolls
Once your dough has risen beautifully, turn it out onto a lightly floured surface. Roll it out into a rectangle that measures about 21” long by 14” wide. Now, cut the dough in half lengthwise, and then cut each strip into 12 triangles with a wide base of 3”. This is where you start imagining those lovely crescent shapes!
Rolling the Crescents
Take a triangle and press down the wide end slightly. Then, roll it up starting from that wide end. Place each rolled crescent onto your prepared baking sheet. Try to leave a little space between each roll; they’ll puff up while baking.
Final Rising
Once all the rolls are on the baking sheet, allow them to rise for about 15 minutes. This final rise will make them nice and puffy, setting the stage for a delightful baking experience.
Baking the Rolls
Now for the best part! Place your sheet in the preheated oven and bake for about 15-18 minutes, or until they turn golden brown. It’s hard not to get excited at this stage! Once they are baked to perfection, remove them from the oven and let them cool for a few minutes before serving.
Serving Suggestions
These rolls are incredibly versatile. You can pair them with your favorite soups or salads for a complete meal. For breakfast, serve them warm with butter and honey for a tasty treat that feels like a weekend indulgence any day of the week!
Tips for Success
- Make sure your liquids are at the right temperature to activate the yeast perfectly. Too hot or too cold can hinder the rising.
- Allow sufficient time for rising; it’s crucial for achieving maximum fluffiness in your rolls.
Variations
Why not mix it up a little? You can add garlic powder or herbs to the dough to pack in some extra flavor. If you’re looking for a healthier spin, consider substituting part of the all-purpose flour with whole wheat flour for a delightful, nutty twist.
Storage Tips
If you have leftovers (though they’re hard to resist), store them in an airtight container at room temperature for up to 2 days. For longer storage, you can freeze baked rolls for up to 3 months. Just remember to thaw before reheating for the best results.
Pairing Ideas
These rolls are fantastic with homemade jams or jellies. They also pair beautifully alongside roasted meats or savory casseroles, making them a perfect companion on your dinner table.

FAQs
1. Can I prepare the dough in advance?
Yes! You can refrigerate the dough overnight after kneading for easier handling.
2. What can I use if I don’t have a stand mixer?
You can mix and knead the dough by hand; just ensure to knead thoroughly for the best texture.
3. How do I know when the crescent rolls are baked properly?
They should have a golden brown top and sound hollow when tapped on the bottom.
4. Can I use unsalted butter instead?
Absolutely! You can use unsalted butter, but you might want to slightly increase the salt in the recipe.
5. Can I add fillings to the crescent rolls?
Definitely! Feel free to add cheese, chocolate, or even ham before rolling them up.
These Homemade Crescent Rolls are a comforting and delightful addition to any table. Their flaky, buttery layers make each bite a joy. The wonderful smell while baking is simply irresistible! Whether enjoyed fresh from the oven or as part of a meal, these rolls promise to please everyone. With just a few ingredients and a bit of love, you’ll create a treat that’s warm and inviting, embodying the essence of homemade goodness. Enjoy every delectable bite!
Print
Homemade Crescent Rolls
These Homemade Crescent Rolls are fluffy and buttery, making them a delightful addition to any meal or a comforting snack. Easy to bake, they promise warmth and joy.
- Total Time: 48 minutes
- Yield: 24 rolls 1x
Ingredients
- ⅔ cup whole milk, warmed
- ⅓ cup + 2 tablespoons warm water
- ½ cup granulated sugar
- 4 teaspoons active yeast
- 2 large eggs + 2 yolks
- 5 cups all-purpose flour
- 1 teaspoon salt
- ¾ cup salted butter, room temperature
Instructions
- Combine warm milk, warm water, 2 teaspoons of sugar, and yeast in a mixer bowl. Whisk gently and let rest until frothy.
- Add eggs and yolks into the mixture and mix until smooth.
- Switch to a dough hook and gradually add flour and salt. Knead until rough dough forms, then incorporate butter and continue kneading for 8 minutes.
- Transfer kneaded dough to a greased bowl, cover, and let rise for 1 hour until doubled.
- Preheat oven to 350°F (175°C) and prepare a baking sheet.
- Roll out dough into a rectangle, cut into triangles, and roll each triangle into a crescent.
- Allow rolls to rise for 15 minutes on the baking sheet.
- Bake for 15-18 minutes until golden brown. Let cool slightly before serving.
Notes
Make sure liquids are at the right temperature to correctly activate the yeast.
Allow sufficient rising time for maximum fluffiness.
- Prep Time: 30 minutes
- Cook Time: 18 minutes
- Category: Baking
- Method: Baking
- Cuisine: American
Nutrition
- Calories: 150
- Sugar: 3g
- Sodium: 150mg
- Fat: 6g
- Saturated Fat: 3g
- Unsaturated Fat: 2g
- Trans Fat: 0g
- Carbohydrates: 22g
- Fiber: 1g
- Protein: 3g
- Cholesterol: 30mg


