Skip to content
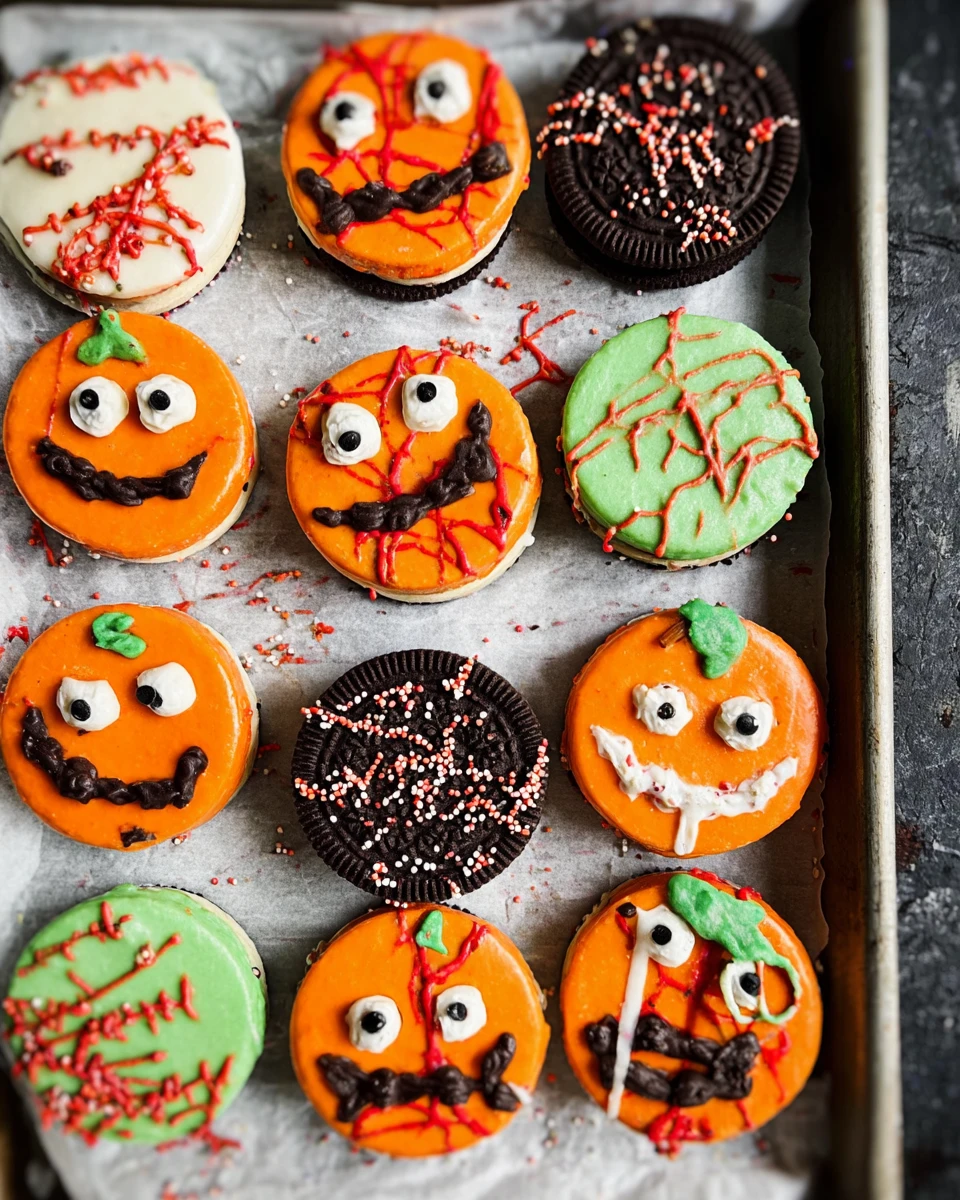
Creating Halloween Oreos is an exciting way to celebrate the spooky season, and it guarantees a delicious treat that everyone will love. With rich chocolate, colorful decorations, and a bit of creativity, these festive snacks stand out at any Halloween gathering. Whether you’re preparing for a party or simply want to indulge your sweet tooth, making these Halloween Oreos can be an enjoyable experience. Plus, they’re an ideal project for families, allowing everyone—kids included—to join in on the fun. Just imagine the joy of crafting these ghostly goodies together while laughter fills the kitchen!
Thank you for reading this post, don't forget to subscribe!So roll up your sleeves and get ready to make a batch of Halloween Oreos that’ll enchant trick-or-treaters and party guests alike. The best part is not just the delicious flavors, but the memories you create while decorating them. Let’s dive into this delightful recipe that combines fun and flavor in the most enchanting way!
Why This Recipe Works
Creating Halloween Oreos is a delightful way to embrace the spooky season while indulging your sweet tooth. The combination of rich chocolate and festive decorations makes these treats both visually appealing and incredibly delicious, sure to impress your family and friends. They’re super simple to make, allowing even novice bakers to shine, and the end result is a set of cookies that just looks like Halloween magic.
Why You’ll Love This Halloween Oreos
These Halloween Oreos are not just simple snacks; they’re a fun activity for all ages. Perfect for parties, finger-food-friendly, and customizable for personal preferences, they bring a playful spirit to any Halloween celebration. Plus, everyone can get in on the action—kids love decorating and creating their spooky designs!
Ingredients for Halloween Oreos
- 12 Oreo cookies
- 1 cup Candy Melts in various colors (orange, black, purple, green)
- Assorted decorations:
- Sprinkles
- Gel food coloring
- Candy eyes
- Edible markers
Melting the Candy Melts
Prepare Your Melting Station
Start by melting the candy melts according to the package instructions. Using paper Dixie bowls helps make cleanup easy and prevents the chocolate from burning inside the microwave. Remember, patience is key here; you want your candy melts to melt smoothly without scorching.
Fill the Molds with Candy
Scoop about 1 tablespoon of melted candy into each cavity of your mold. Then, gently press an Oreo into the melted candy, ensuring it’s evenly covered. This is the moment when the magic starts, and your Oreos begin to transform!
Coat the Oreos
Top the Oreo with more melted candy, making sure it is fully encased before chilling. A thick coat adds a lovely glossy finish and seals in the flavors, making every bite delectable.
Setting the Halloween Oreos
Chill the Mold
Place the filled molds into the refrigerator until the candy hardens completely. This step is crucial; it ensures the Oreos are set and easy to remove without losing their shape.
Remove from the Mold
Carefully pull the hardened Halloween Oreos from the molds. Take care not to break the delicate chocolate coating. The anticipation of revealing your spooky creations makes this step particularly satisfying!
Decorating Your Halloween Oreos
Prepare Your Decor
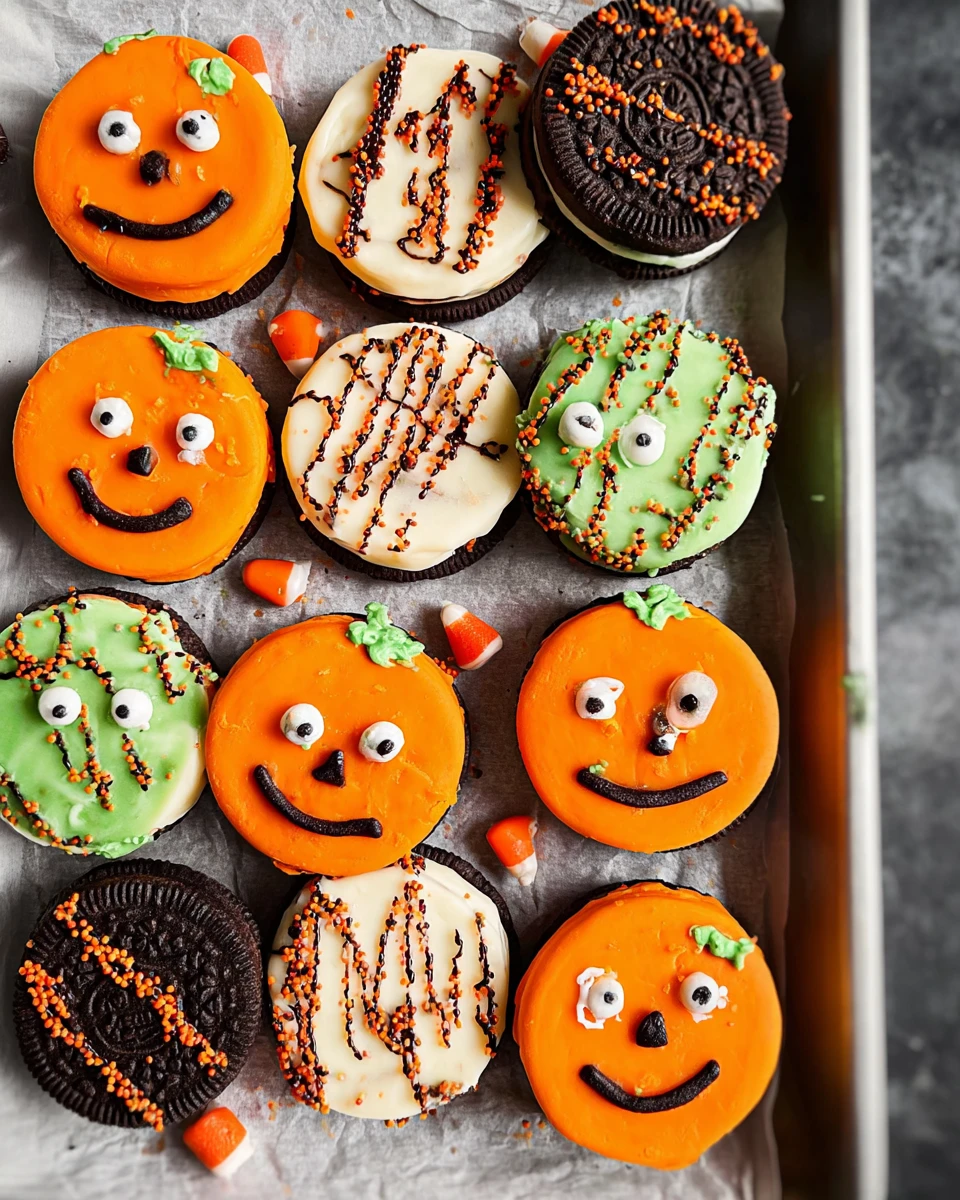
Melt additional candy melts in your choice of colors for decorating. For fun designs like jack-o’-lanterns, using dark chocolate or black candy melts brings those spooky vibes to life.
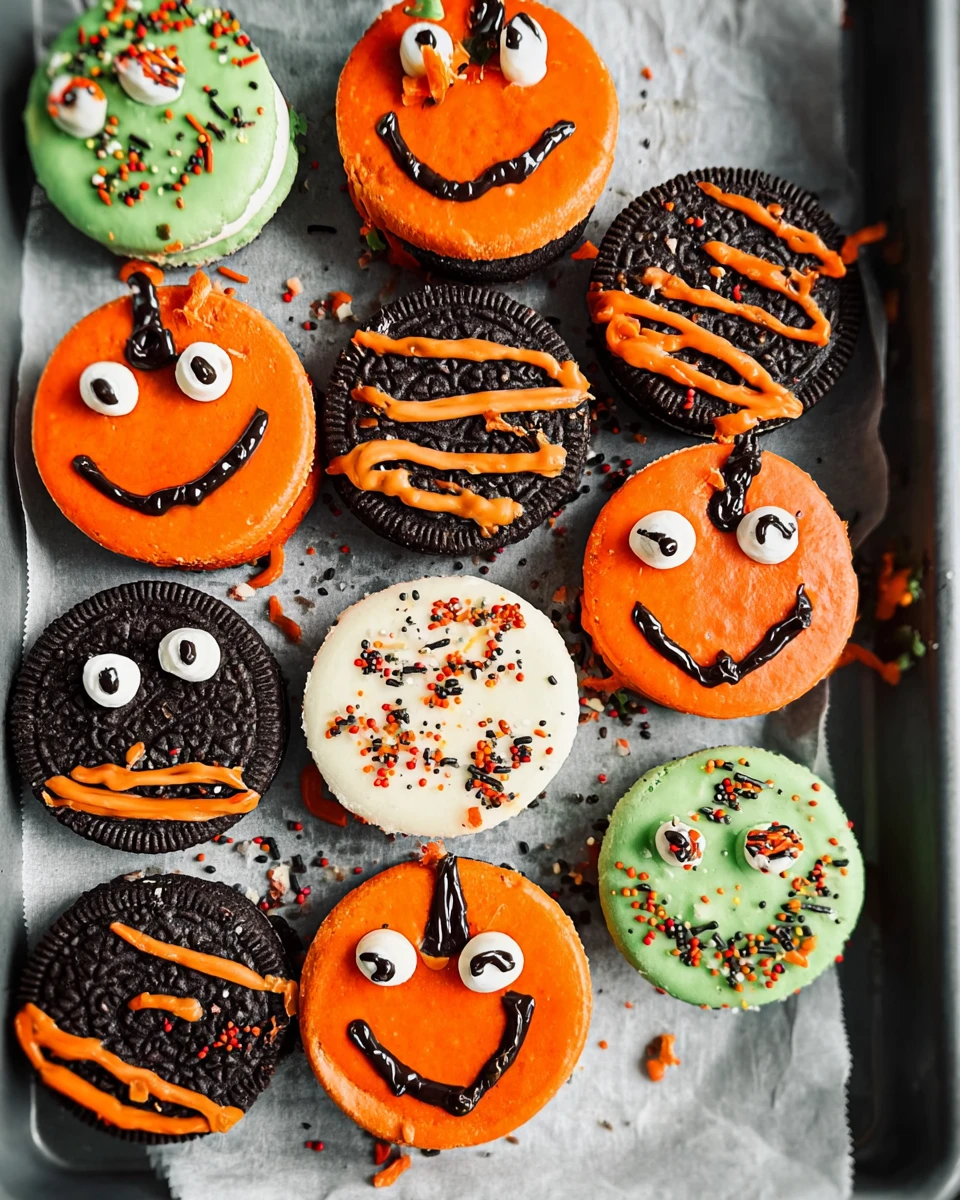
Create Fun Faces
Using a small piping bag or a cut corner of a plastic bag, pipe on eyes and mouths for Jack-o’-lanterns or spooky faces. Alternatively, you can use edible markers for precise designs that pop! Don’t be afraid to get creative; each Oreo can tell its own Halloween story.
Chilling for Hardness
Final Chill
Once decorated, chill the Halloween Oreos again to ensure the decorations set properly. This final touch helps everything stay in place, so your creations look as fabulous as they taste.
Serving Suggestions for Halloween Oreos
Serve these festive treats on a decorative platter at your Halloween party. Pair them with other themed snacks like pumpkin spice cupcakes or ghoulish gummy worms for a complete spooky spread. Everyone will love the festive atmosphere!
Tips for Success
- Use Quality Candy Melts: They melt smoother and provide a better coating for the Oreos.
- Experiment with Colors: Mix and match various colors for a more vibrant display that captures the Halloween spirit.
- Temperature Control: Make sure your candies are not too hot when applying to prevent melting the Oreo cookies.
Variations of Halloween Oreos
- Spider Oreos: Decorate with black melting chocolate and use licorice for spider legs to give your Oreos a creepy twist.
- Monster Cookies: Create a variety of spooky creatures using different colors and candy decorations; each one can look completely unique!
Storage Tips for Halloween Oreos
Store your Halloween Oreos in an airtight container at room temperature for up to one week. If you want them to last longer, keep them in the refrigerator. Just be sure to let them sit out a little before serving; they taste even better at room temperature!
FAQs
1. Can I use regular chocolate instead of candy melts?
Yes, but candy melts provide a smoother finish and are easier to work with. This helps maintain their delightful appearance.
2. How long do the Halloween Oreos last?
They can last up to a week when stored properly in an airtight container. Perfect for enjoying bit by bit!
3. What other decorations can I use?
You can use mini chocolate chips, edible glitter, or any Halloween-themed candy for creative decorations. The options are endless!
4. Can children help make these Oreos?
Absolutely! Making Halloween Oreos is a fun family activity, perfect for kids to assist with decorating. They’ll love contributing their personal touch.
5. Do these need to be refrigerated?
They do not need refrigeration but will stay fresher longer if stored in a cool place. Keep an eye on them; they might disappear quickly!
Halloween Oreos are a fantastic way to celebrate the seasonal festivities while showcasing your creativity. With simple ingredients and a few techniques, you can whip up these spooky delights that will enchant all trick-or-treaters and guests alike. Enjoy the process of making these whimsical treats, and let the joy of Halloween fill your home through these delicious creations!
Print
Halloween Oreos
These Halloween Oreos are visually appealing and delicious, making them a fun activity for the whole family. Perfect for gatherings and customizable for everyone!
- Total Time: 30 minutes
- Yield: 12 servings 1x
Ingredients
- 12 Oreo cookies
- 1 cup Candy Melts in various colors (orange, black, purple, green)
- Assorted decorations:
- Sprinkles
- Gel food coloring
- Candy eyes
- Edible markers
Instructions
- Melt the candy melts according to package instructions.
- Scoop melted candy into molds and press an Oreo into each mold.
- Coat the Oreos with more melted candy and chill until set.
- Remove from molds carefully.
- Melt additional candy for decorating and create fun faces on Oreos.
- Chill again to set decorations before serving.
Notes
Use quality candy melts for easier melting and better coating.
Experiment with colors and designs for a vibrant display.
Keep candies at a controlled temperature to avoid melting the Oreos.
- Prep Time: 20 minutes
- Cook Time: 10 minutes
- Category: Dessert
- Method: No bake
- Cuisine: American
Nutrition
- Calories: 120
- Sugar: 10
- Sodium: 95
- Fat: 5
- Saturated Fat: 2.5
- Unsaturated Fat: 1.5
- Trans Fat: 0
- Carbohydrates: 20
- Fiber: 0
- Protein: 1
- Cholesterol: 0