Skip to content
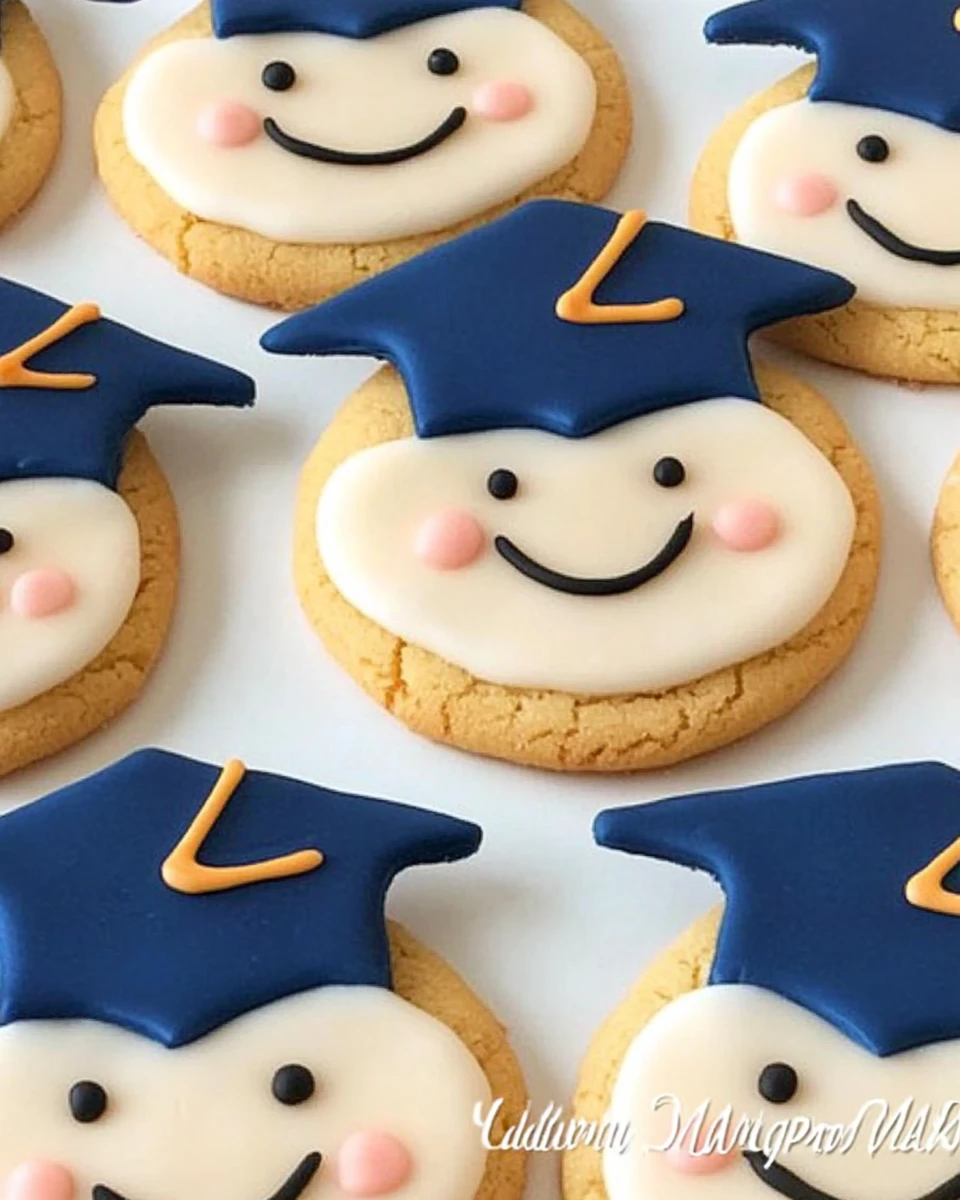
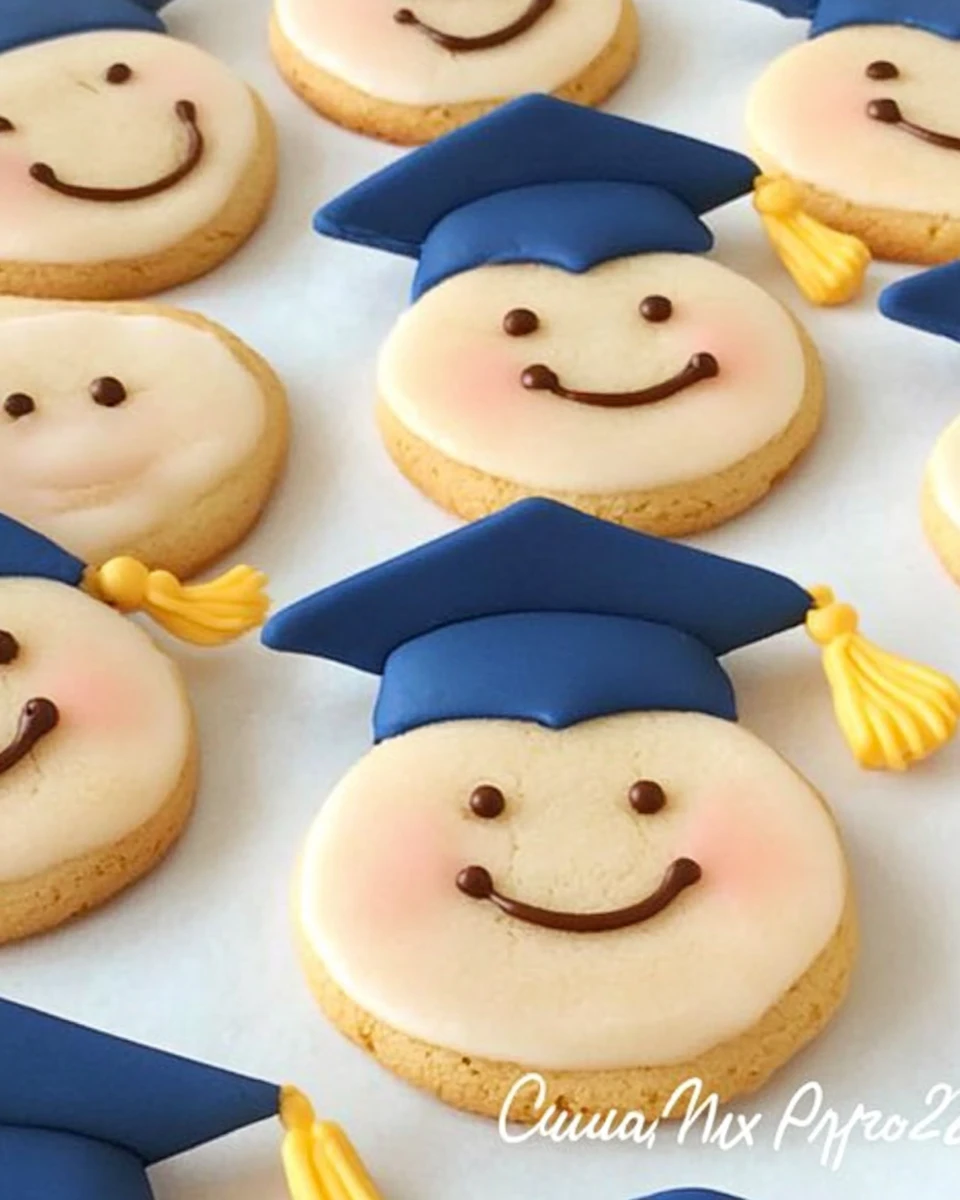
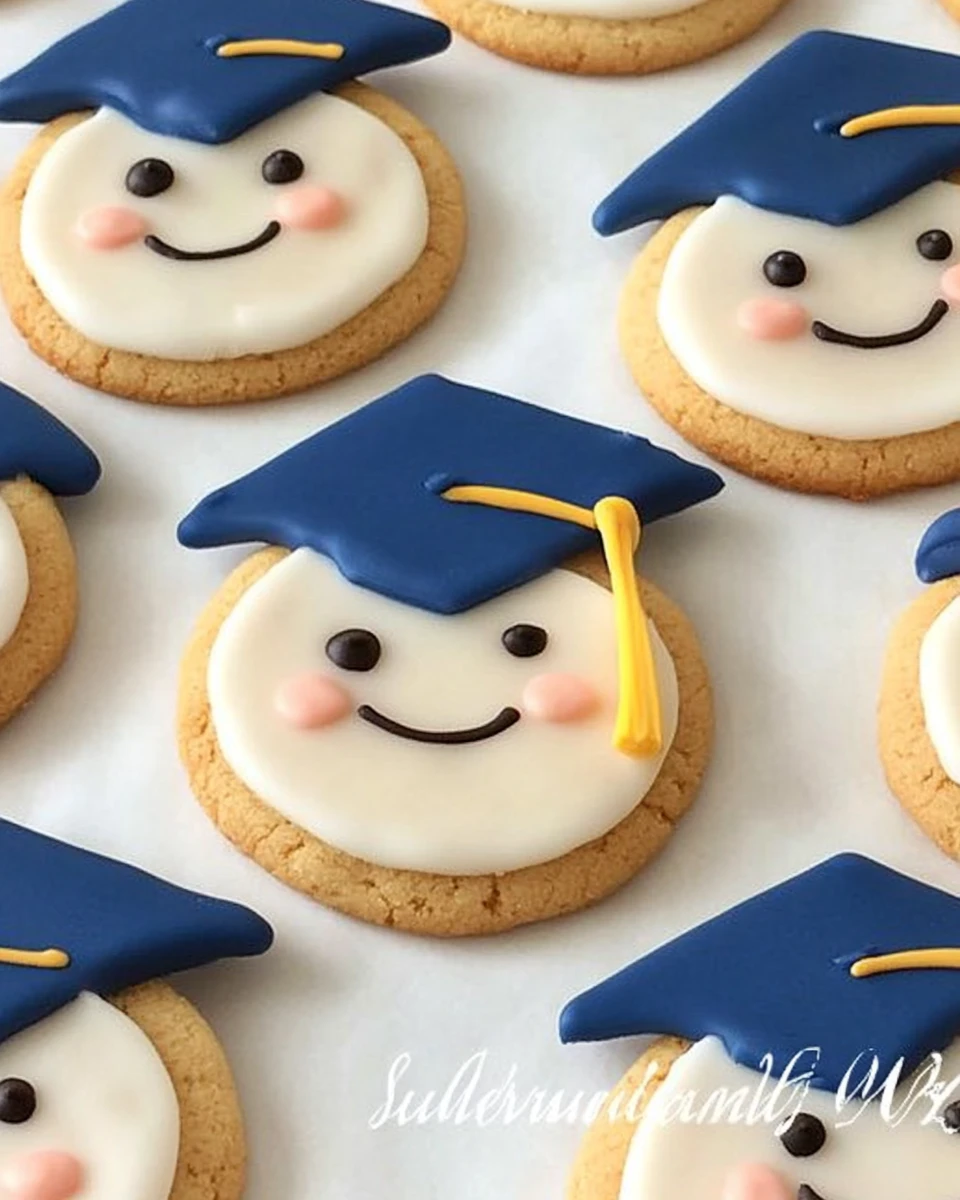
Graduation season is a time for celebration, and what better way to sweeten the occasion than with some delightful Graduation Cookies – Cute Smiling Graduates? Picture this: you’re surrounded by friends and family, all gathered to celebrate a milestone. These cookies not only taste amazing but also add a festive flair. They’re shaped like adorable little graduates with happy faces and classic caps, making them perfect for any graduation party.
Thank you for reading this post, don't forget to subscribe!Whether you’re honoring a high school graduate, a college graduate, or someone celebrating their hard-earned degree, these cookies are a hit. Plus, they bring a creative and playful spirit to your gathering. You can even customize the colors to match school colors or themes! So, let’s roll up our sleeves and get baking. I promise this journey through cookie-making is as fun as it is delicious!
Why This Recipe Works
This recipe for Graduation Cookies – Cute Smiling Graduates combines classic cookie-making techniques with creative decorating ideas. The balance of butter and sugar creates a rich, tender cookie that holds its shape while baking. Adding the unique elements of modeling chocolate ensures that each cookie is not only delicious but also visually captures the celebration of graduation.
Why You’ll Love This Graduation Cookies – Cute Smiling Graduates
Perfect for honoring graduates of all ages, these delightful cookies bring a fun and personalized touch to any graduation party. With their charming design and customizable colors, they are sure to win over friends and family alike. Plus, decorating the cookies is an enjoyable activity that can be shared with loved ones, making your celebration even more memorable.
Ingredients
- 2 cups all-purpose flour (plus more if needed)
- ¼ teaspoon salt
- ¼ teaspoon baking powder
- ½ cup butter (softened slightly)
- ¾ cup sugar
- 1 large egg
- ¾ teaspoon pure vanilla extract
- ½ teaspoon almond extract
- 16 ounces white chocolate
- ⅓ cup light corn syrup (plus more if needed)
- Food coloring (flesh tone and other colors for grad caps)
Creating the Cookie Dough
Combine Dry Ingredients
First, preheat your oven to 350°F. In a bowl, mix together the flour, salt, and baking powder—set this mixture aside for now.
Cream Butter and Sugar
In a mixing bowl, cream the softened butter and sugar together until light and fluffy. This step really brings out the sweet flavors in the cookies.
Add Egg and Extracts
Next, beat in the egg, vanilla extract, and almond extract to the creamed mixture until everything is well combined. This adds both flavor and moisture to your cookies.
Incorporate Dry Ingredients
Gradually add the flour mixture to the wet ingredients. Stir gently, just until combined. If the dough feels sticky, don’t worry! You can add a small amount of flour as needed to get it just right.
Roll and Shape Cookies
Now it’s time to have some fun! On a floured surface, roll out the cookie dough to about ⅛ inch thickness. Use a round cutter to cut out twelve 3-inch circles. With the remaining dough, grab a diamond-shaped cutter and cut out twelve grad caps.
Create the Grad Cap Notches
Taking the same diamond-shaped cutter, create a triangular notch in each circle of dough. Brush the edges of each diamond with corn syrup and insert it carefully into the notch of the circle. Don’t forget to press the seams together to keep everything secure.
Bake the Cookies
Bake your cookies for about 10-14 minutes. You’ll know they’re done when the edges are set, and the tops feel dry. After baking, let them cool completely before you start decorating.
Making the Modeling Chocolate
Prepare Modeling Chocolate
Reserve 2 tablespoons of white modeling chocolate for coloring. Color about ⅔ of the remaining white modeling chocolate with flesh tone food coloring. Then, color the last portion with your chosen shades for the grad caps.
Roll and Cut
Let the colored modeling chocolate rest at room temperature for 30 minutes. After that, roll the flesh-colored modeling chocolate to 1/16 inch thickness and cut out twelve 3-inch circles. Repeat with the colored modeling chocolate for your grad caps.
Assemble the Cookies
Lightly brush a coating of corn syrup over each cookie. Stack the circles and diamond shapes on top of each other, pressing the seams together firmly to create your cute smiling graduates.
Create the Tassels
For the tassels, color additional modeling chocolate. Shape it into a tube, then use an extruder to create strands. Cut twelve 1-inch pieces for the tassel tops, adding a charming detail to each cookie.
Finish the Graduates
Attach a single strand of modeling chocolate to the center of each grad cap using corn syrup. After that, create multiple strands and attach them the same way, finishing off with a flattened piece at the end, which gives it that final touch.
Serving Suggestions
You can serve these playful cookies at graduation parties alongside themed drinks, like sparkling lemonade or party punch. Present them beautifully on decorative platters, or even in personalized cookie bags tied with ribbons in school colors. They’ll be a delightful addition to your celebrations.
Tips for Success
- It’s important to ensure your butter is softened but not melted; this makes for the best texture in your cookies.
- Feel free to use different colors of food coloring for unique grad cap designs to match different schools.
- Always allow your cookies to cool completely before decorating, as this prevents melting the chocolate.
Variations
If you’re feeling adventurous, substitute vanilla extract with lemon extract for a citrusy twist on flavor. You can also use colored sugar or edible glitter for added sparkle on the cookies after decorating.
Storage Tips
To keep your cookies fresh, store the decorated treats in an airtight container at room temperature for up to one week. If you’re looking to preserve them for longer, keep undecorated cookies in the freezer for up to three months.
FAQs
Q1: Can I use a different type of chocolate for decorating?
A1: Yes, you can use milk or dark chocolate instead of white chocolate based on your preference.
Q2: How long will it take to make these cookies?
A2: The entire process, including baking and decorating, typically takes about 2-3 hours.
Q3: Can I freeze the cookies after decorating?
A3: It’s best to freeze undecorated cookies. Decorated cookies may lose their texture and appearance if frozen.
Q4: What type of food coloring should I use?
A4: Gel food coloring works best for vibrant colors without affecting the consistency of the modeling chocolate.
Q5: Can I make the dough in advance?
A5: Yes, you can refrigerate the dough for up to 2 days before rolling and baking.
Crafting these Graduation Cookies – Cute Smiling Graduates offers not only a sweet treat but a heartfelt way to celebrate achievement. The combination of playful designs and delicious flavors will certainly add a memorable touch to your graduation festivities. Whether for a party or as a thoughtful gift, these cookies can be the highlight of any celebration. Enjoy the deliciousness and creativity as you commemorate such an important milestone!
Print
Graduation Cookies – Cute Smiling Graduates
These adorable Graduation Cookies are perfect for any celebration! Their charming design and customizable colors make them a hit at parties, ensuring memorable moments with friends and family.
- Total Time: 1 hour 14 minutes
- Yield: 12 cookies 1x
Ingredients
- 2 cups all-purpose flour (plus more if needed)
- ¼ teaspoon salt
- ¼ teaspoon baking powder
- ½ cup butter (softened slightly)
- ¾ cup sugar
- 1 large egg
- ¾ teaspoon pure vanilla extract
- ½ teaspoon almond extract
- 16 ounces white chocolate
- ⅓ cup light corn syrup (plus more if needed)
- Food coloring (flesh tone and other colors for grad caps)
Instructions
- Preheat your oven to 350°F.
- Mix flour, salt, and baking powder in a bowl; set aside.
- Cream together softened butter and sugar until light and fluffy.
- Beat in the egg, vanilla extract, and almond extract until combined.
- Gradually add the flour mixture, stirring until combined; add more flour if needed.
- Roll out the dough and cut out circles and grad caps.
- Create notches in the circles and attach the caps with corn syrup.
- Bake for 10-14 minutes until edges are set; cool before decorating.
- Prepare modeling chocolate in desired colors and assemble cookies.
- Add tassels and finish your charming graduates.
Notes
Ensure butter is softened but not melted for best texture.
Consider using different food coloring for unique designs.
Cool cookies completely before decorating to avoid melting.
- Prep Time: 1 hour
- Cook Time: 14 minutes
- Category: Dessert
- Method: Baking
- Cuisine: American
Nutrition
- Calories: 200
- Sugar: 12g
- Sodium: 100mg
- Fat: 10g
- Saturated Fat: 6g
- Unsaturated Fat: 2g
- Trans Fat: 0g
- Carbohydrates: 25g
- Fiber: 1g
- Protein: 2g
- Cholesterol: 20mg