Skip to content
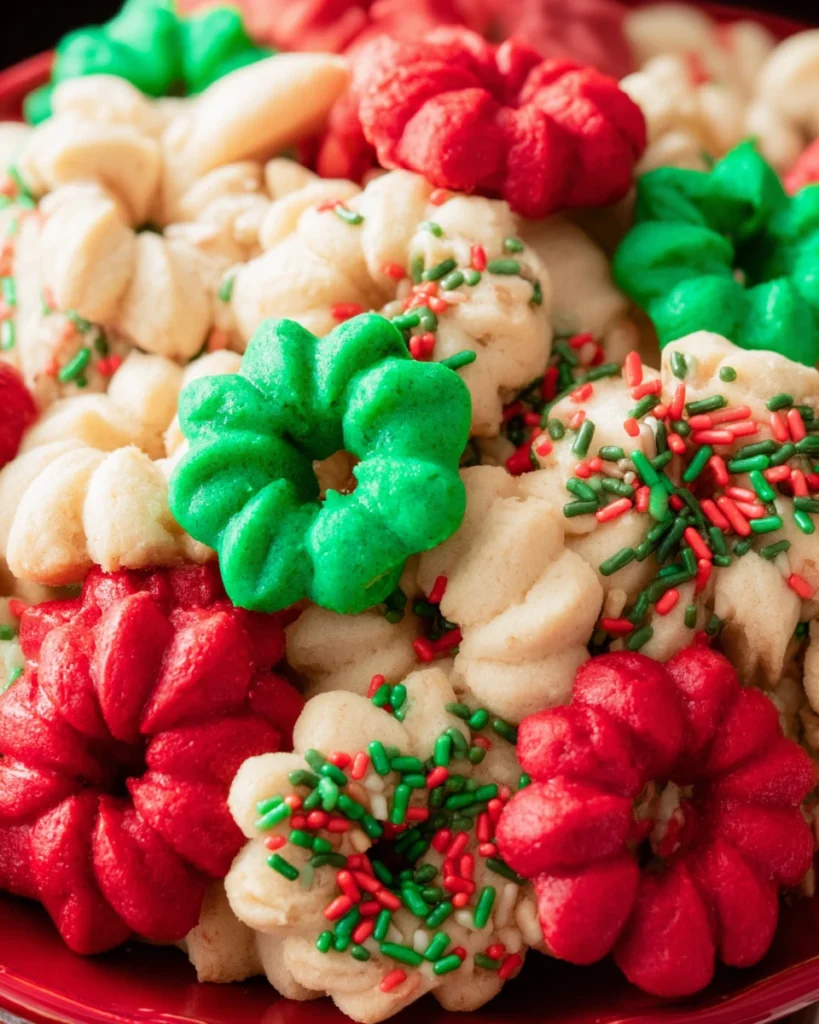
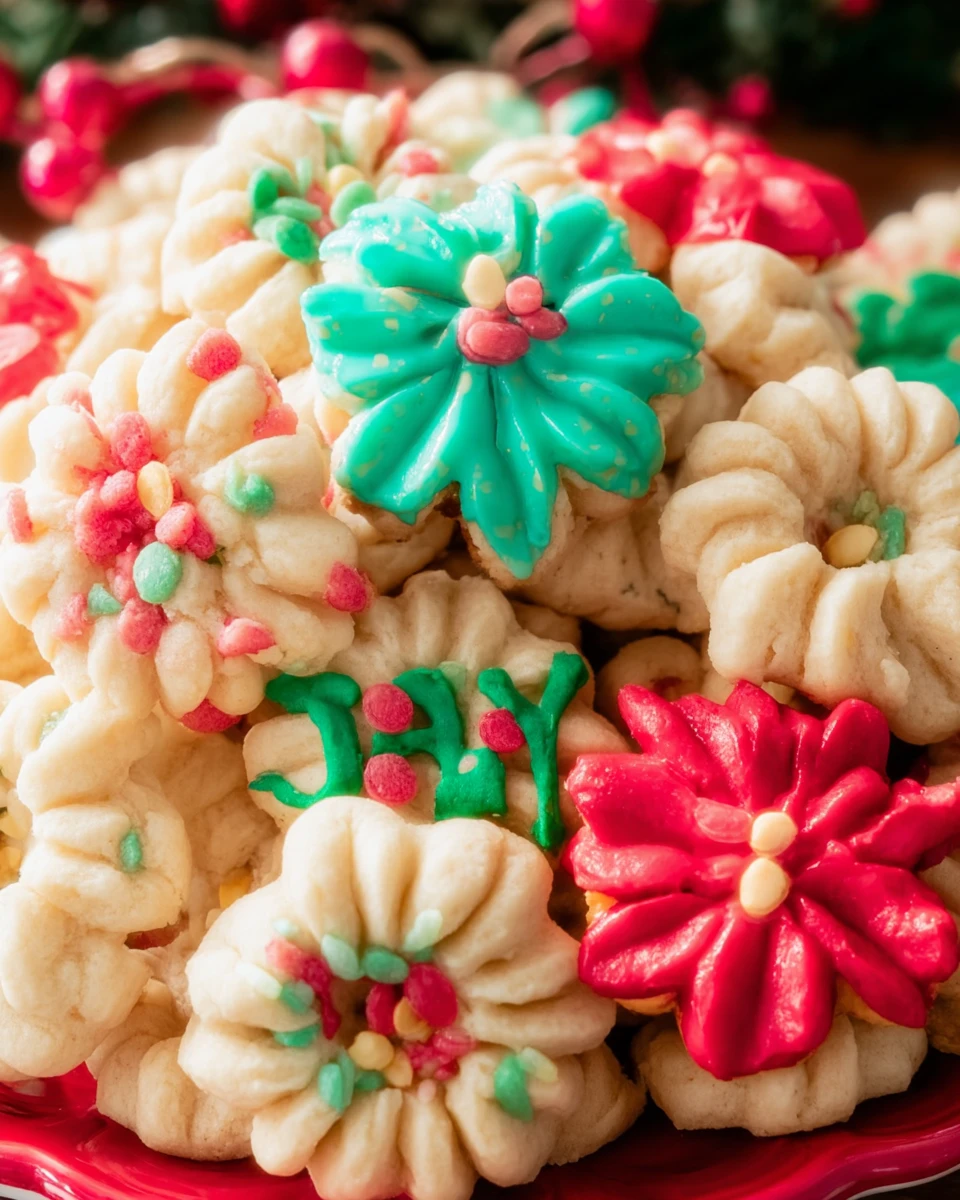
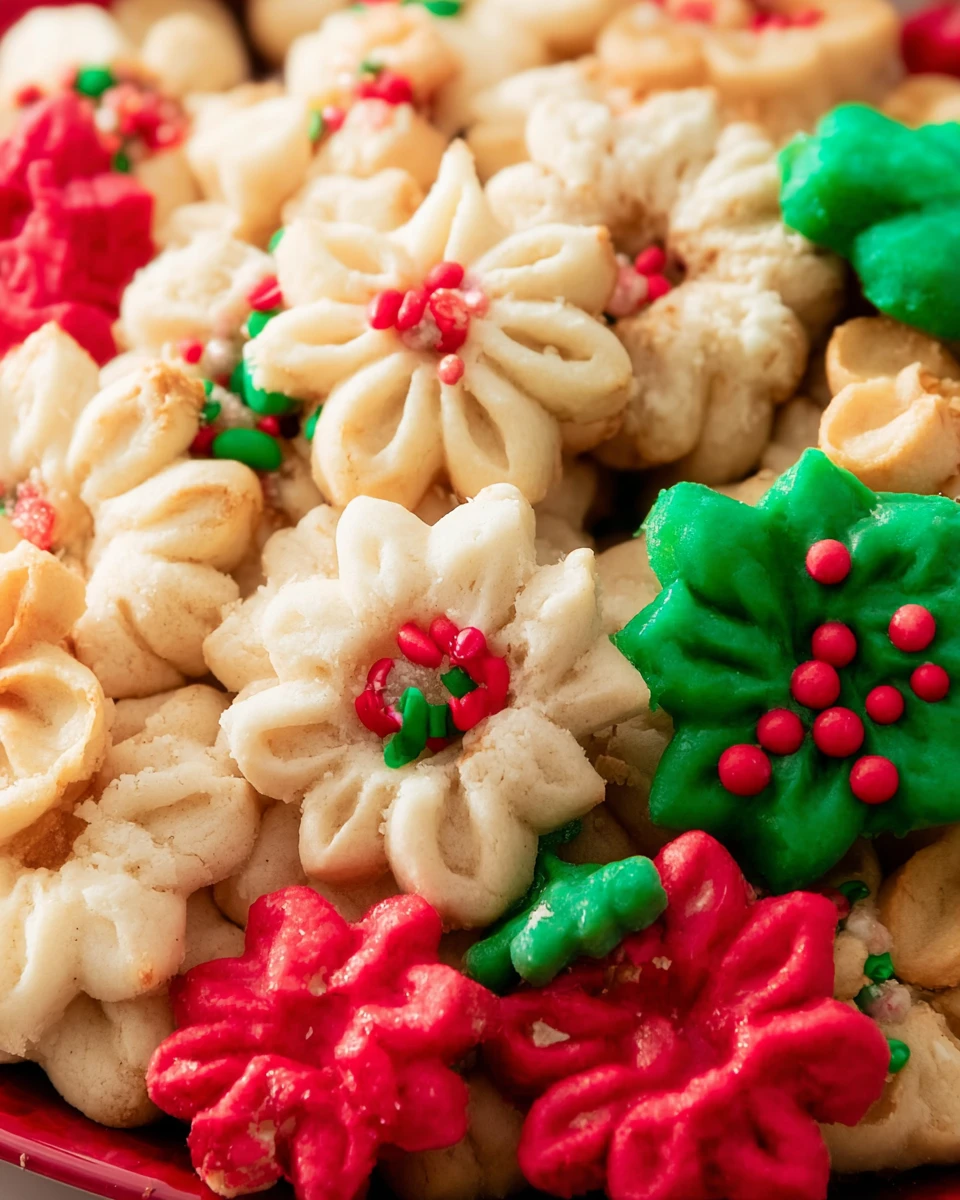
Christmas Spritz Cookies are a timeless treat that skillfully balances sweetness, taste, and the essence of holiday joy. If you’ve ever gathered around the stove during the chilly season with loved ones, you might remember the aroma that wafts through the house when baking these delightful cookies. They aren’t just food; they symbolize family moments and warmth during Christmas time. The crisp edges, buttery texture, and sweet flavors make them irresistible treats. You can customize them by adding sprinkles, choosing various extracts, or even coloring the dough. It’s all about creating a cookie that feels like a hug from a warm oven. So, let’s dive into the festive spirit and bake a batch of these Christmas Spritz Cookies together!
Thank you for reading this post, don't forget to subscribe!Why This Recipe Works
The magic of Christmas Spritz Cookies lies in the blend of ingredients that work harmoniously. The rich combination of butter and sugar gives a depth of flavor that feels comforting, especially during the holidays. Extracts, like vanilla and almond, add a festive touch that makes each cookie taste special.
Using a cookie press is another highlight. It guarantees that your cookies are uniform in size and shape. This uniformity helps them bake evenly, which means you get that classic, appealing look we all associate with festive cookies. What’s more, the dough’s stability means those delicious shapes don’t lose their form during baking. So, every batch comes out perfectly shaped and utterly delightful!
Why You’ll Love This Christmas Spritz Cookies
These cookies evoke a sense of nostalgia, reminding us of childhood memories and warm gatherings with friends and family. Their familiar flavors resonate with the holiday spirit, making them ideal for sharing. Imagine having a cookie that offers a blank canvas for creativity. You can decorate them with colorful icing, sprinkle on some festive bits, or shape them into anything that inspires you.
Additionally, their light, buttery texture complements heavier holiday treats. After indulging in richer desserts, a bite of these delicate cookies provides just the right contrast. Trust me; they’ll quickly become a favorite among your loved ones!
Ingredients for Christmas Spritz Cookies
- 2 cups of all-purpose flour
- ¼ teaspoon of salt
- ¾ cup (1 ½ sticks) of softened butter
- ¾ cup of granulated sugar
- 1 large egg
- 1 teaspoon of vanilla extract
- ¼ teaspoon of almond extract
- Food coloring (optional)
- Sprinkles (optional)
- Icing (homemade or store-bought, optional)
Preparing Christmas Spritz Cookies
Preheat Your Oven
First things first! Preheat your oven to 350°F (175°C). This essential step ensures your cookies bake evenly, giving them a lovely golden edge.
Cream the Butter and Sugar
In a mixing bowl, grab your hand mixer and cream the softened butter and granulated sugar together until the mixture appears smooth and creamy. This process incorporates air and creates a fluffy texture.
Incorporate Egg and Extracts
Next, add the large egg along with your vanilla and almond extracts into the creamed mixture. Beat everything together until well blended. The aroma from the extracts will fill your kitchen with sweet anticipation!
Combine Flour and Salt
In a separate bowl, whisk together the all-purpose flour and salt. This step makes sure that your dry ingredients mix well and helps maintain the cookie’s lovely texture.
Mix Dry and Wet Ingredients
Gradually mix the flour mixture into the wet ingredients. Just combine until the dough holds together. Make sure not to overmix; a little love goes a long way!
Add Food Coloring (Optional)
If you’re feeling festive, this is the time to add some color! Divide your dough into small bowls and mix in a few drops of food coloring. You can get creative and make multiple colors for a fun twist!
Prepare the Cookie Press
Spoon your delightful dough into the cookie press. Attach your chosen disk, then you’re almost there.
Press Cookies onto Baking Sheet
With the cookie press perpendicular to the ungreased baking sheet, press the release trigger and watch those lovely shapes come to life. Leave about one inch between each cookie to give them space to spread just a tad while baking.
Add Sprinkles
If you want to amp up the festive vibe, sprinkle some decorative sprinkles on top of each cookie before popping them into the oven.
Bake the Cookies
Now, it’s time for baking! Place the cookies in your preheated oven for 7-9 minutes. Keep an eye on them; you want the edges to turn lightly golden, signifying that they’re perfectly baked.
Cool the Cookies
Once baking time is up, take the cookies out and allow them to cool on a wire rack for about 5 minutes. This initial cooling allows them to firm up a bit before you transfer them to the rack to cool completely.
Decorate (Optional)
Once your cookies have cooled, this is your moment to shine! Feel free to decorate them with icing or more sprinkles. Let your creativity flow!
Serving Suggestions
Pair these delightful cookies with a warm glass of milk or hot cocoa. There’s something comforting about enjoying them with a beverage on a cold day. Presentation also matters! Serve them on a decorative platter; they make a beautiful centerpiece at holiday gatherings. Plus, consider using them in gift boxes or tins. Homemade gifts always come with a personal touch!
Tips for Success
- Make sure your butter is at room temperature for easy creaming with sugar.
- Don’t use parchment paper; the dough grips better directly on the baking sheet. This helps maintain those lovely shapes.
- Feel free to experiment with different disk shapes in your cookie press for some fun variations!
Variations
If you want to shake things up, try using different extracts like peppermint or orange. These variations bring a unique twist to the traditional flavors we all know and love. For even more fun, use multiple shades of food coloring to create a rainbow of cookies!
Storage Tips
Keep your uniced cookies in an airtight container at room temperature. They should stay fresh for up to a week. If you’ve decorated them with icing, it’s best to refrigerate them in a single layer. This preserves their design and keeps them looking pretty.
Pairing Ideas
For an added festive flair, complement your Christmas Spritz Cookies with holiday-themed tea blends or seasonal cocktails. Your gatherings will feel that much more special!

FAQs
1. Can I freeze Christmas Spritz Cookies?
Yes, you can freeze baked cookies in an airtight container for up to three months. Just thaw them at room temperature before enjoying.
2. What can I substitute for almond extract?
Try using additional vanilla extract or even hazelnut extract if you prefer a different flavor profile.
3. How can I make these cookies gluten-free?
Simply replace the all-purpose flour with a gluten-free flour blend. They’ll still be delicious!
4. Can I make the dough ahead of time?
Absolutely! You can prepare the dough, wrap it tightly, and refrigerate for up to 3 days or freeze it for up to 3 months.
5. What types of decorations should I use?
You can stick with icing, sprinkles, and even edible glitter! Crushed peppermint candies add a nice touch too.
Making these Christmas Spritz Cookies is more than just baking; it’s creating memories and joy during the holiday season. Have fun with the process, share them with those you love, and savor the sweet moments they bring to your celebrations!
Print
Christmas Spritz Cookies
Christmas Spritz Cookies bring together sweetness and nostalgia with their buttery texture and festive flavors. A perfect treat for holiday celebrations!
- Total Time: 29 minutes
- Yield: Yield varies based on cookie size
Ingredients
- 2 cups of all-purpose flour
- ¼ teaspoon of salt
- ¾ cup (1 ½ sticks) of softened butter
- ¾ cup of granulated sugar
- 1 large egg
- 1 teaspoon of vanilla extract
- ¼ teaspoon of almond extract
- Food coloring (optional)
- Sprinkles (optional)
- Icing (homemade or store-bought, optional)
Instructions
- Preheat your oven to 350°F (175°C).
- Cream softened butter and granulated sugar until smooth.
- Add egg, vanilla, and almond extracts; blend well.
- Whisk together flour and salt in a separate bowl.
- Gradually mix dry ingredients into the wet mixture.
- Optionally, add food coloring to create colorful dough.
- Spoon dough into the cookie press and form shapes on a baking sheet.
- Add sprinkles on top if desired.
- Bake for 7-9 minutes until edges are lightly golden.
- Cool on a wire rack and decorate if you like.
Notes
Ensure butter is at room temperature for easy mixing.
Do not use parchment paper; the dough sticks better to the baking sheet.
Experiment with different disk shapes for varied cookie styles.
- Prep Time: 20 minutes
- Cook Time: 9 minutes
- Category: Dessert
- Method: Baking
- Cuisine: American
Nutrition
- Calories: 80
- Sugar: 4g
- Sodium: 40mg
- Fat: 4g
- Saturated Fat: 2.5g
- Unsaturated Fat: 1g
- Trans Fat: 0g
- Carbohydrates: 10g
- Fiber: 0g
- Protein: 1g
- Cholesterol: 15mg