Skip to content
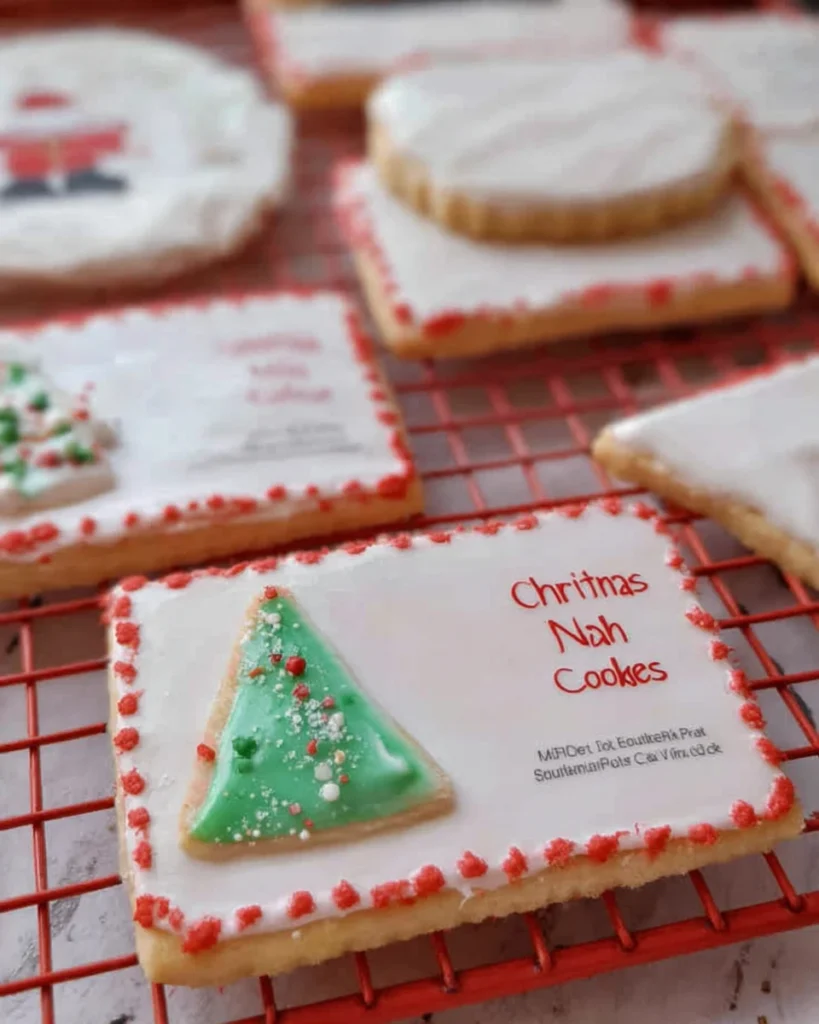
These Christmas Celebration Cookies are a delightful way to ring in the holiday season! Imagine the warm aroma filling your kitchen as you whip up a batch of these sweet treats, perfect for sharing with family and friends. With their festive decorations and scrumptious flavor, they’re sure to become a favorite tradition. The combination of gluten-free flour ensures everyone can join in on the fun, while the unique touch of almond extract elevates the classic cookie taste. Whether you’re sipping hot cocoa or wrapping them as gifts, these cookies will add a touch of joy to your holiday celebrations. So, let’s gather our ingredients and get ready to create some holiday magic together!
Thank you for reading this post, don't forget to subscribe!Why This Recipe Works
One standout feature of this recipe is its use of gluten-free flour alongside carefully measured ingredients. This magic combination ensures your cookies not only maintain their shape but also boast a perfect texture. Nobody wants cookies that crumble, right? A solid base with proper measurements leads to mouth-watering cookies.
Another reason to love this recipe is the addition of almond extract. This simple ingredient introduces a delightful depth of flavor, enhancing the classic Christmas cookie taste. Just imagine biting into a cookie with that comforting, rich flavor. It’s a small addition that makes a world of difference!
Why You’ll Love This Christmas Celebration Cookies
The visual appeal of these cookies is simply enchanting. Bright decorations and festive shapes make them a joy to behold. But there’s more! They cater to various dietary preferences, meaning everyone can indulge and enjoy. So whether you’re gluten-free or just love a good cookie, these treats won’t disappoint.
Moreover, decorating these cookies is an absolute blast. It’s an activity that families can bond over. Kids especially revel in making these festive creations, ensuring that your kitchen is filled with laughter and cheer. Creating lasting holiday memories has never been easier!

Ingredients
- 2 cups Gluten Free 1:1 Flour (such as Cup4Cup)
- 1 cup sugar
- 1 large egg (room temperature)
- 1 teaspoon Vanilla Extract
- 1 teaspoon OliveNation almond extract
- 1 stick salted butter (softened)
- 1 tablespoon milk
- 4 oz OliveNation premium royal icing
- 2 ¼ tablespoons water
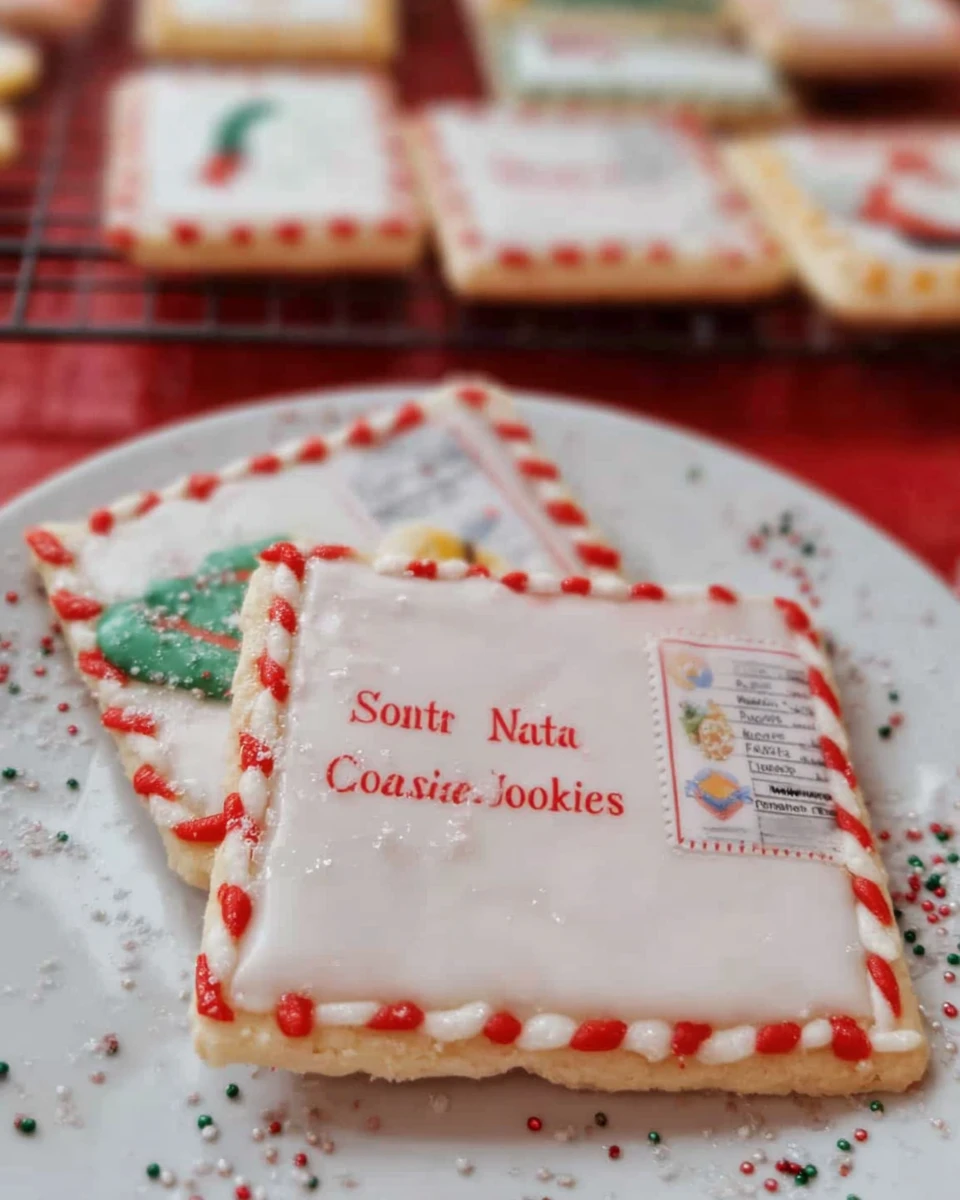
- Letter to Santa edible wafer paper
- White sparkling sugar
Prepare Your Dough
Combining Wet Ingredients
Start by whisking together the softened butter and sugar in a mixer for about three minutes until the mixture becomes light and fluffy. This fluffy base is key to achieving that perfect cookie texture, so don’t rush this step!
Incorporating Eggs and Extracts
Next, it’s time to add in the fun ingredients! Mix in the milk, vanilla extract, almond extract, and room temperature egg. Blend everything together until all the ingredients are well combined. This mixture smells amazing, and it’s hard to resist!
Adding the Flour
Now, gradually add half of the gluten-free flour to your wet ingredients, mixing on low speed until it’s all incorporated. Scrape down the sides and bottom of the bowl to ensure everything is mixed in. After that, add the remaining flour and beat it on medium-low speed. This step is crucial for achieving that perfect cookie mix!
Chilling the Dough
Once your dough is complete, cover the bowl tightly with plastic wrap. Refrigerate for one and a half hours or pop it in the freezer for 45 minutes. Chilling the dough is key for its shape and helps the cookies hold together while baking.
Baking Instructions
Preheat and Prepare
Preheat your oven to 350°F (175°C). While it’s warming up, prepare your baking sheets with parchment paper. This step ensures easy cleanup later on!
Rolling the Dough
Once your dough is nicely chilled, roll out half of it on a floured surface or silicone mat. Aim for about a ¼ inch thickness. This rolled-out dough will be the canvas for your festive shapes!
Cutting Shapes
Using a square cookie cutter, cut out shapes from the dough. Be sure to leave space between each cookie on the baking sheets. This helps them bake evenly without sticking together.
Baking the Cookies
Now, it’s time to bake! Place the sheets in your preheated oven and bake for 11-12 minutes. You’re looking for lightly golden edges. Once they’re done, let them cool for about 5 minutes on the sheets before transferring them to a wire rack.
Decorate Your Cookies
Preparing the Icing
With the cookies cooling down, it’s a great time to whip up the icing! Blend the royal icing in your mixer on low speed, then gradually increase to medium speed for about 5 minutes until it’s fluffy. This icing will be the star of your decoration.
Icing the Cookies
Once your cookies are completely cool, brush them with the prepared icing. Aim for a nice, even coating. This will serve as the foundation for your decorations.
Adding Wafer Paper and Sprinkles
Finally, place the edible wafer paper firmly onto the icing. Instead of stopping there, roll the edges of the cookies in white sparkling sugar for added flair. Not only do they look festive, but they also add a sweet crunch!
Serving Suggestions
Why not pair these Christmas Celebration Cookies with a warm cup of cocoa? Or perhaps a festive eggnog for that holiday spirit? Serving them in decorative holiday tins makes for a lovely gift for family and friends. Everyone appreciates the gesture of homemade treats!
Tips for Success
- Ensure your butter is adequately softened for the best texture. It makes a real difference!
- Use precise measurements for your gluten-free flour. This helps achieve the right consistency.
- Don’t skip chilling the dough! It’s essential for maintaining the cookie shape during baking.
Variations
Feel free to mix it up! You can add festive spices like cinnamon or nutmeg. This twist provides a warm flavor that complements the sweetness of the cookies perfectly. Alternatively, try substituting different extracts, such as peppermint, for a fresh, holiday-led flavor that will surprise everyone.
Storage Tips
To keep your cookies fresh and delicious, store the cooled ones in an airtight container at room temperature for up to a week. If you’re planning ahead, freeze the unfrosted cookies, then ice them when you’re ready to serve. This way, they remain fresh and tasty!

FAQs
Can I use regular flour instead of gluten-free flour?
Yes! However, the texture and overall outcome may not be the same.
How can I make these cookies dairy-free?
Substituting the butter with a dairy-free alternative, like coconut oil, will do the trick, along with using a non-dairy milk.
What if my cookie dough is too sticky?
If you find that your dough is sticky, consider chilling it longer or sprinkling a bit more gluten-free flour as needed.
Are these cookies suitable for kids to decorate?
Absolutely! This recipe is fantastic for kids, leading to a fun and creative holiday activity.
Can I make these cookies ahead of time?
Yes, the dough can be prepared in advance and frozen, or you can bake the cookies and store them for several days.
These Christmas Celebration Cookies will surely bring joy to your holiday season. With their delightful flavors and festive decorations, they’re perfect for sharing or simply enjoying with loved ones. Baking these cookies isn’t just about the sweet treats; it’s about creating cherished memories during this magical time of year. Happy holiday baking!
Print
Christmas Celebration Cookies
These Christmas Celebration Cookies are a delightful treat for the holiday season! With festive decorations and gluten-free options, they bring joy to everyone.
- Total Time: 1 hour 42 minutes
- Yield: 24 cookies 1x
Ingredients
- 2 cups Gluten Free 1:1 Flour (such as Cup4Cup)
- 1 cup sugar
- 1 large egg (room temperature)
- 1 teaspoon Vanilla Extract
- 1 teaspoon OliveNation almond extract
- 1 stick salted butter (softened)
- 1 tablespoon milk
- 4 oz OliveNation premium royal icing
- 2 ¼ tablespoons water
- Letter to Santa edible wafer paper
- White sparkling sugar
Instructions
- Whisk butter and sugar until light and fluffy.
- Add milk, vanilla, almond extract, and egg; blend well.
- Gradually mix in flour until combined.
- Chill the dough for 1.5 hours or 45 minutes in the freezer.
- Preheat oven to 350°F; prepare baking sheets with parchment paper.
- Roll out dough to ¼ inch thick and cut with cookie cutters.
- Bake for 11-12 minutes until edges are lightly golden.
- Cool for 5 minutes, then transfer to a wire rack.
- Prepare icing and coat cooled cookies evenly.
- Decorate with wafer paper and roll in sparkling sugar.
Notes
Ensure butter is softened for best texture.
Use precise measurements for gluten-free flour.
Chilling the dough is crucial for maintaining cookie shape.
- Prep Time: 1 hour 30 minutes
- Cook Time: 12 minutes
- Category: Dessert
- Method: Baking
- Cuisine: American
Nutrition
- Calories: 120
- Sugar: 8
- Sodium: 70
- Fat: 5
- Saturated Fat: 3
- Unsaturated Fat: 2
- Trans Fat: 0
- Carbohydrates: 17
- Fiber: 1
- Protein: 2
- Cholesterol: 25