Skip to content
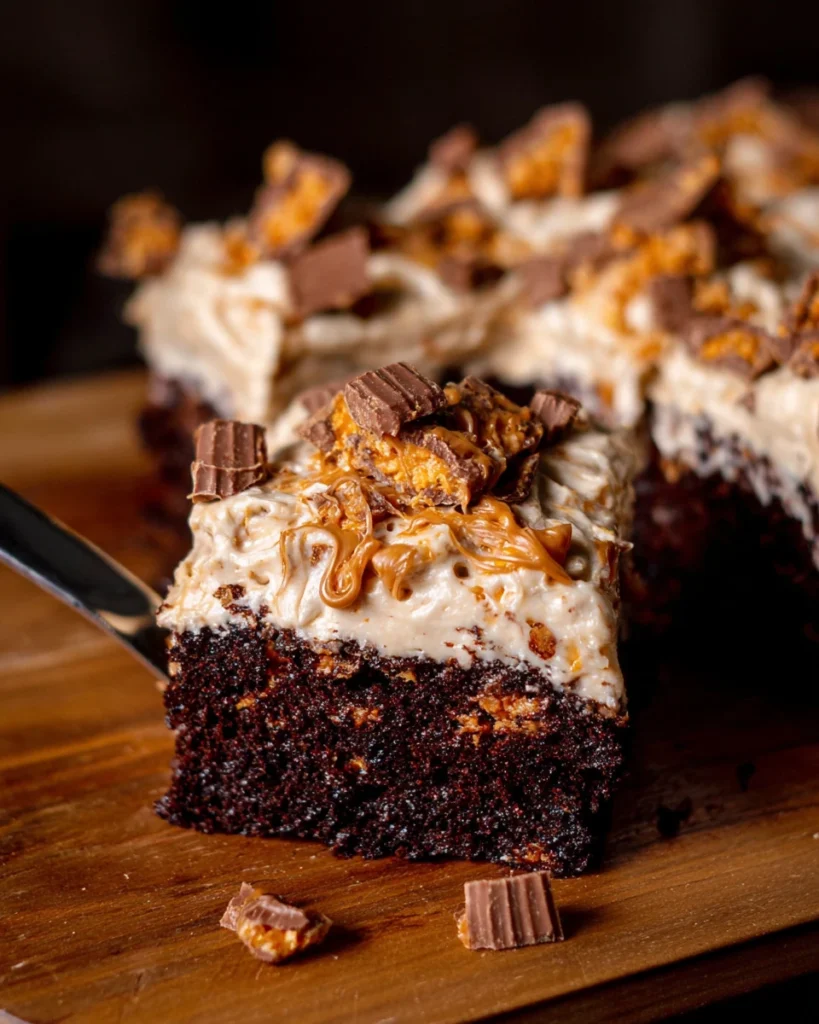
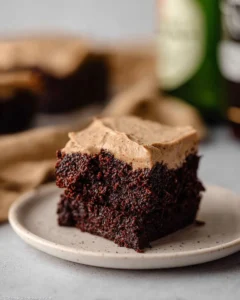
Butterfinger Cake is a showstopper that will bring smiles to everyone’s faces! If you’ve ever savored a Butterfinger candy bar, you know that delightful blend of chocolate, peanut butter, and that irresistible crunch. Now imagine capturing all those flavors into a cake! This recipe is a fun way to create something delicious and memorable for any occasion. Whether you’re planning a birthday party, a family gathering, or just want to treat yourself, this cake fits the bill perfectly. It’s rich, decadent, and surprisingly easy to whip up. Plus, it’s a great way to get the kids involved in baking! So, grab your apron, and let’s roll up our sleeves to make this delightful Butterfinger Cake together.
Thank you for reading this post, don't forget to subscribe!Why This Recipe Works
This Butterfinger Cake stands out due to its rich chocolate flavor paired with a creamy peanut butter filling and a decadent Butterfinger cream cheese frosting. The combination of textures and tastes creates a dessert that not only satisfies chocolate cravings but also delivers a nostalgic twist with the signature Butterfinger crunch.
Why You’ll Love This Butterfinger Cake
You’ll fall in love with this Butterfinger Cake not just because it’s easy to make but also because it pleases both kids and adults alike. Its moist cake layers and creamy filling make it a perfect centerpiece for celebrations or a delightful treat any day of the week.
Ingredients
- 1 1/2 cups all-purpose flour
- 2 tablespoons cornstarch
- 3/4 cup Dutch process cocoa powder
- 1 teaspoon baking powder
- 1/2 teaspoon baking soda
- 1/2 teaspoon salt
- 3/4 cup canola or vegetable oil
- 1 1/4 cups white granulated sugar
- 1 teaspoon pure vanilla extract
- 3 large eggs, room temperature
- 1/3 cup sour cream or Greek yogurt, room temperature
- 3/4 cup buttermilk, room temperature
- 3/4 cup hot water
- 1/2 cup creamy peanut butter
- 6 ounces sweetened condensed milk (half of 1 can)
- 1 tablespoon milk
- 8 ounces cream cheese, room temperature
- 1 cup unsalted butter, room temperature
- 3 cups sifted powdered sugar
- 1 teaspoon pure vanilla extract
- 3/4 cup Butterfinger crumbs (about 5 fun-size Butterfingers)
- Extra Butterfingers for decoration
Making the Chocolate Cake

Preheat and Prepare the Oven
Preheat your oven to 350°F (175°C). Start by spraying a 9×9-inch baking pan with nonstick spray. Line the bottom with parchment paper, then spray again. This step ensures easy removal later.
Combine Dry Ingredients
In a medium mixing bowl, sift together the flour, cornstarch, cocoa powder, baking powder, baking soda, and salt until everything is well mixed.
Mix Wet Ingredients
In a separate large bowl, combine the oil, sugar, eggs, vanilla extract, sour cream, and buttermilk. Heat the water until steaming, then gradually incorporate it into the wet mixture. This will help with a smoother batter.
Combine Both Mixtures
Pour the dry ingredients into the wet mixture. Whisk everything together until smooth and fully combined. This is where the magic begins!
Bake the Cake
Transfer the batter into your prepared pan. Bake for 33-38 minutes. You’ll know it’s ready when a toothpick inserted into the center comes out clean. After baking, allow the cake to sit in the pan for about 10 minutes. Then, transfer it to a cooling rack to cool completely.
Creating the Peanut Butter Filling
Mix Ingredients
In a medium bowl, combine the creamy peanut butter, sweetened condensed milk, and milk. Use a hand mixer on high speed to beat this mixture until creamy. Set it aside so it’s ready for assembly.
Preparing the Butterfinger Cream Cheese Frosting
Blend Butterfingers
Sift the powdered sugar into a mixing bowl. In a food processor, finely crush the Butterfinger candies, then mix them with the powdered sugar. This will infuse the frosting with delightful Butterfinger bits.
Beat the Butter and Cream Cheese
In a large bowl, beat the unsalted butter on high speed for 2 minutes until it becomes creamy. Scrape down the sides of the bowl and add in the cream cheese. Continue mixing until it’s smooth and well combined.
Combine Frosting Ingredients
Gradually mix in half of the powdered sugar until just combined. Then add the remaining sugar along with the vanilla extract. Beat on high speed until the frosting becomes fluffy and creamy. You’ll want to take a moment here to enjoy the divine smell of this frosting!
Assembling the Butterfinger Cake
Level the Cake
Using a serrated knife, cut off a thin layer from the top of the cooled cake to level it. This will help all layers fit together beautifully.
Poke the Cake
Place the cake onto your desired serving dish. Then, using the handle of a wooden spoon, poke holes evenly across the surface. This will allow the peanut butter filling to soak in and enhance the flavor.
Fill with Peanut Butter
Transfer the peanut butter filling into a piping bag and fill the holes in the cake. Once filled, use the rest of the filling to spread evenly over the top. This step promises an indulgent bite every time!
Frost the Cake
Spread the Butterfinger cream cheese frosting over the cake until smooth and beautiful. To finish, sprinkle extra Butterfinger pieces on top for that final touch of crunch.
Serving Suggestions
This cake pairs beautifully with a scoop of vanilla ice cream or a dollop of whipped cream for an extra touch of indulgence. You could even consider adding some chocolate syrup drizzle for good measure!
Tips for Success
- Ensure all ingredients are at room temperature for better mixing.
- Don’t overbake the cake; you want it to remain moist and tender.
- When crushing Butterfinger, pulse gently to avoid turning it into dust. This way, you’ll have those delightful chunks in your frosting.
Variations
You can substitute the creamy peanut butter with crunchy peanut butter if you’re after an added texture. For a more intense chocolate flavor, consider adding chocolate chips directly into the batter.
FAQs
-
Can I use other types of chocolate cake recipes for this cake?
Yes, feel free to swap this recipe with your favorite chocolate cake if desired. -
How can I store the Butterfinger Cake?
Store the cake in an airtight container in the fridge for up to 5 days. It stays delicious! -
Can I freeze leftover Butterfinger Cake?
Yes, this cake can be frozen. Wrap it tightly in plastic wrap, then in aluminum foil to protect it from freezer burn. -
What can I use instead of buttermilk?
You can substitute buttermilk with a mixture of milk and vinegar; combine 3/4 cup milk with 1 tablespoon vinegar and let it sit for 5-10 minutes. -
Is it possible to make this cake gluten-free?
Yes, you can use a gluten-free all-purpose flour blend in place of the regular flour.
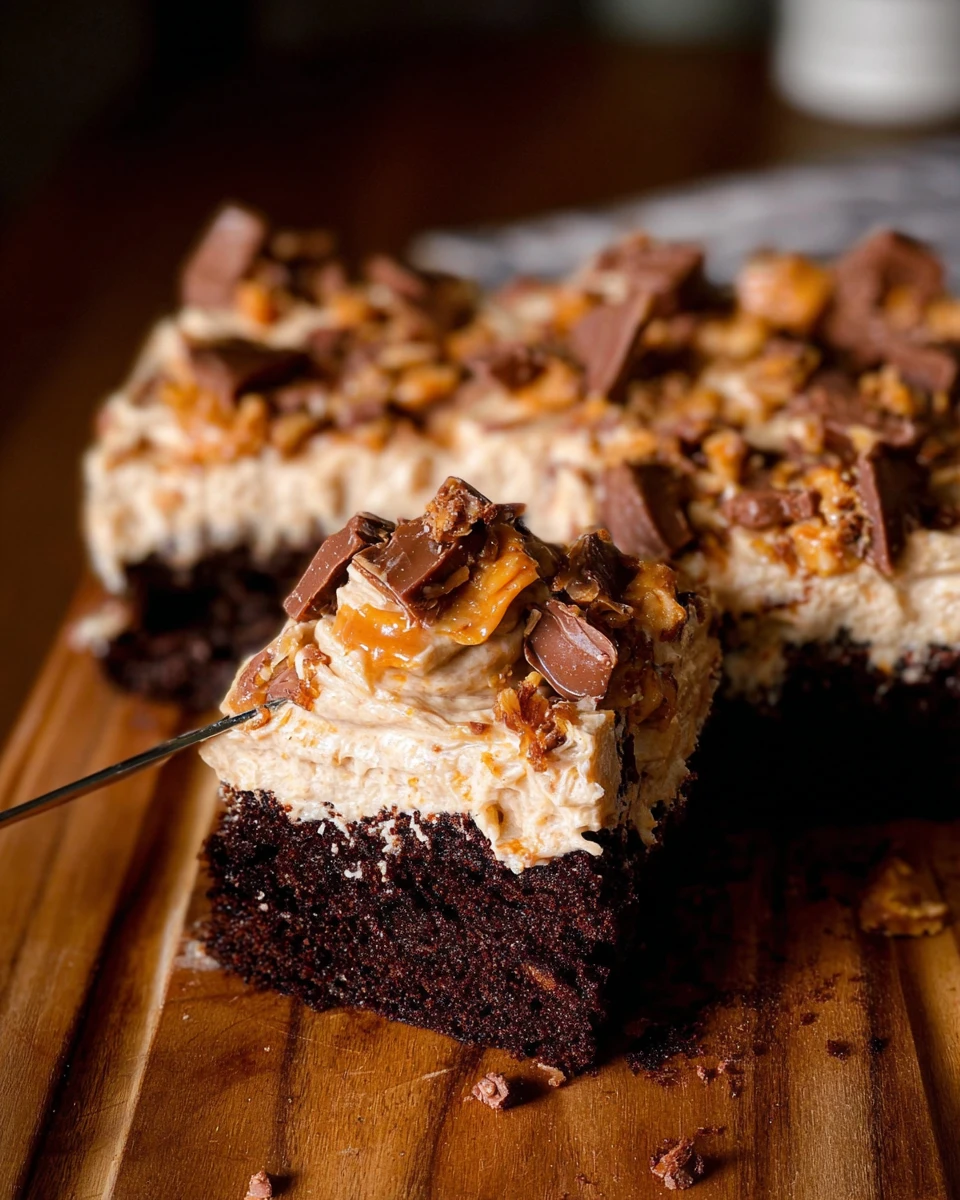
This Butterfinger Cake is not only a visual delight but also a perfect blend of flavors that beckon everyone to take a bite. With its moist chocolate layers filled with creamy peanut butter and topped with a luscious Butterfinger cream cheese frosting, this cake is sure to become a family favorite and a staple at gatherings. Enjoy the rich, nostalgic flavors, and celebrate sweet moments with loved ones.
Print
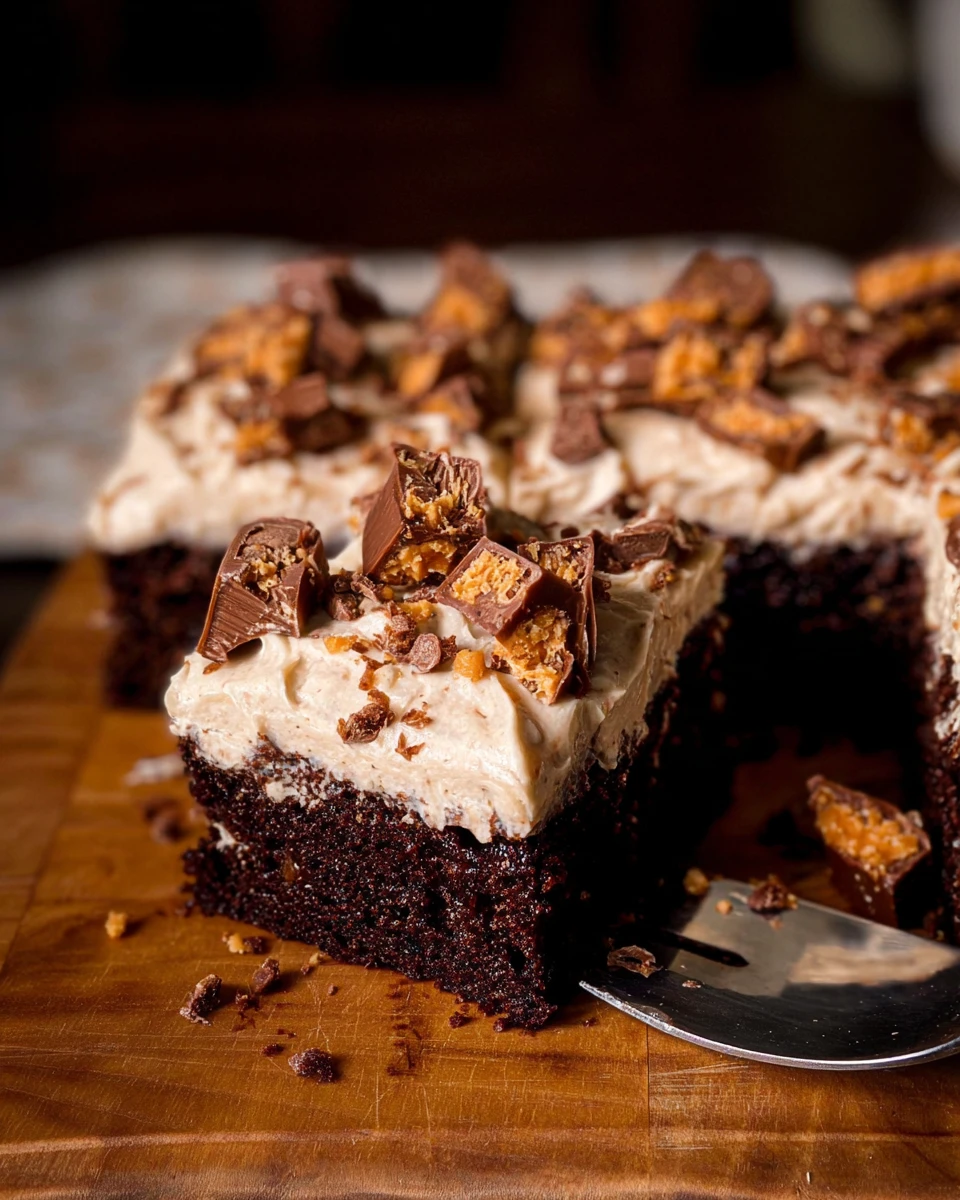
Butterfinger Cake
This Butterfinger Cake is a moist chocolate creation filled with creamy peanut butter and topped with a delicious Butterfinger frosting, making it a beloved treat for all.
- Total Time: 58 minutes
- Yield: 12 servings 1x
Ingredients
- 1 1/2 cups all-purpose flour
- 2 tablespoons cornstarch
- 3/4 cup Dutch process cocoa powder
- 1 teaspoon baking powder
- 1/2 teaspoon baking soda
- 1/2 teaspoon salt
- 3/4 cup canola or vegetable oil
- 1 1/4 cups white granulated sugar
- 1 teaspoon pure vanilla extract
- 3 large eggs, room temperature
- 1/3 cup sour cream or Greek yogurt, room temperature
- 3/4 cup buttermilk, room temperature
- 3/4 cup hot water
- 1/2 cup creamy peanut butter
- 6 ounces sweetened condensed milk (half of 1 can)
- 1 tablespoon milk
- 8 ounces cream cheese, room temperature
- 1 cup unsalted butter, room temperature
- 3 cups sifted powdered sugar
- 1 teaspoon pure vanilla extract
- 3/4 cup Butterfinger crumbs (about 5 fun-size Butterfingers)
- Extra Butterfingers for decoration
Instructions
- Preheat oven to 350°F (175°C). Prepare a 9×9-inch baking pan.
- Sift together dry ingredients in a bowl.
- Combine wet ingredients in a separate bowl and add hot water.
- Mix wet and dry ingredients until smooth.
- Bake for 33-38 minutes until a toothpick comes out clean.
- Combine filling ingredients until creamy.
- Crush Butterfinger for frosting and mix with powdered sugar.
- Beat butter until creamy, then add cream cheese and mix.
- Gradually mix in powdered sugar and vanilla until fluffy.
- Cut the top off the cake, poke holes, and fill with peanut butter filling.
- Frost the cake with Butterfinger frosting and top with extra Butterfinger pieces.
Notes
Ensure all ingredients are at room temperature.
Do not overbake for a moist cake.
Pulse Butterfinger gently to keep chunks in frosting.
- Prep Time: 20 minutes
- Cook Time: 38 minutes
- Category: Dessert
- Method: Baking
- Cuisine: American
Nutrition
- Calories: 420
- Sugar: 32
- Sodium: 320
- Fat: 20
- Saturated Fat: 8
- Unsaturated Fat: 10
- Trans Fat: 0
- Carbohydrates: 57
- Fiber: 2
- Protein: 6
- Cholesterol: 70