Skip to content
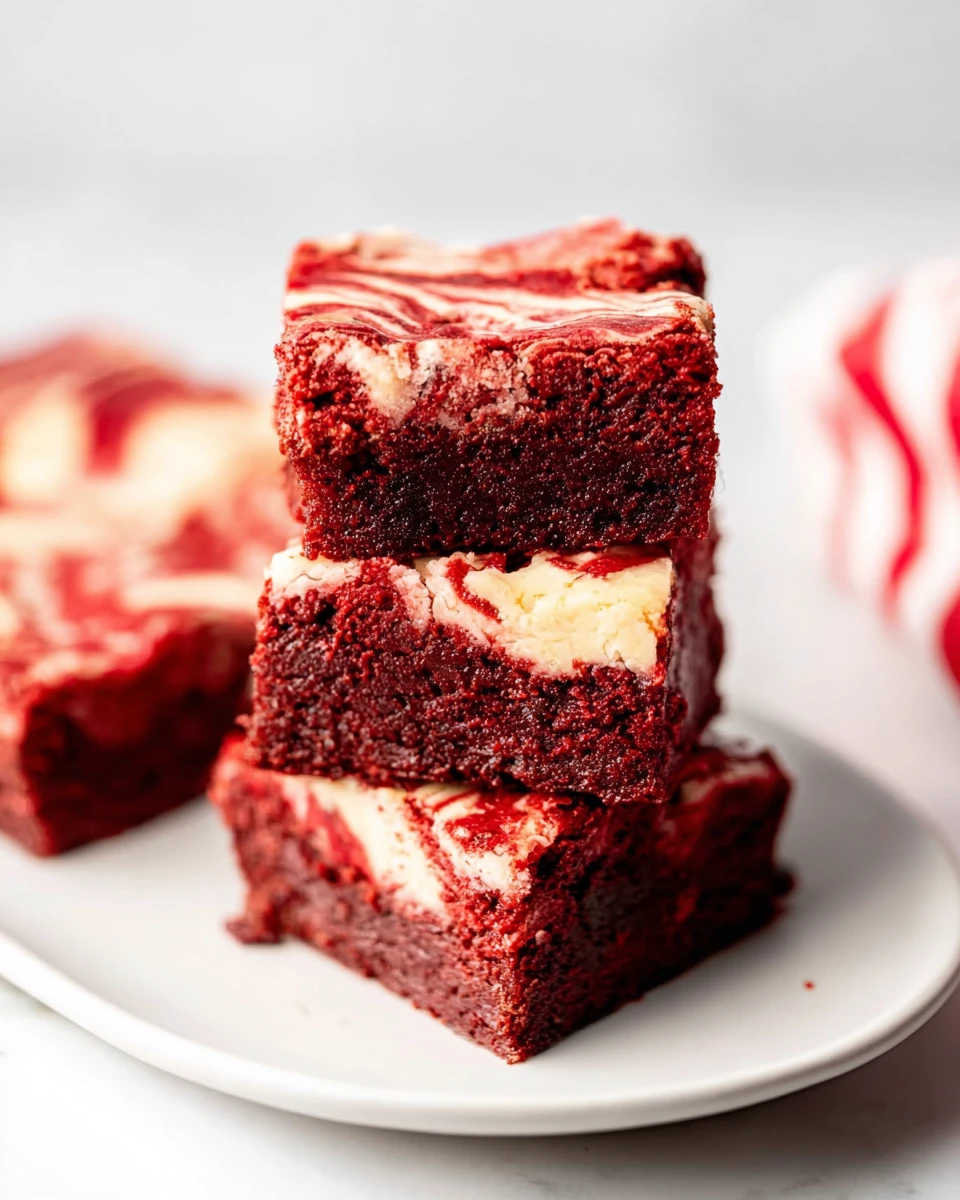
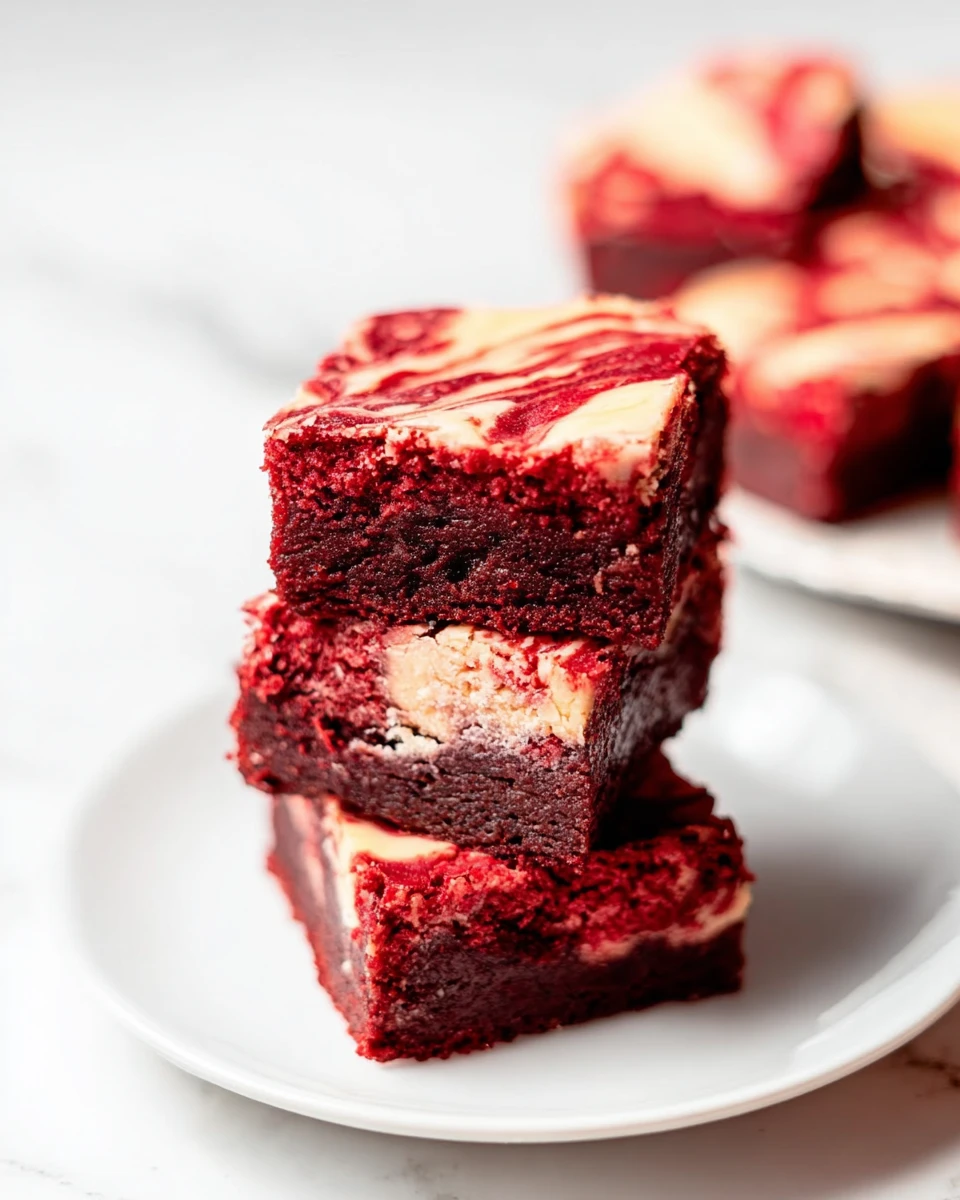
Experience the rich and indulgent flavor of Red Velvet Cheesecake Brownies; they are a delightful fusion that captures both the essence of traditional red velvet and the creamy smoothness of cheesecake. Imagine biting into a wonderfully fudgy brownie enriched with the vibrant red hue of red velvet, layered with a silky cheesecake filling that adds just the right amount of tang. It’s a dessert that not only tastes amazing but also looks stunning. Perfect for a birthday, holiday, or just because, these brownies truly cater to every sweet tooth. The best part? They’re straightforward to whip up, making them accessible for bakers of all skill levels. So roll up your sleeves and let’s get baking!
Thank you for reading this post, don't forget to subscribe!Why This Recipe Works
Perfect balance of rich flavors
The combination of red velvet, creamy cheesecake, and a fudgy brownie base creates a dessert that is both indulgent and comforting. Each bite offers a medley of flavors that dance together beautifully.
Easy-to-follow steps
This recipe simplifies the process, making it accessible for both novice and experienced bakers. The clear instructions ensure that anyone can produce these brownies without stress.
Visual appeal
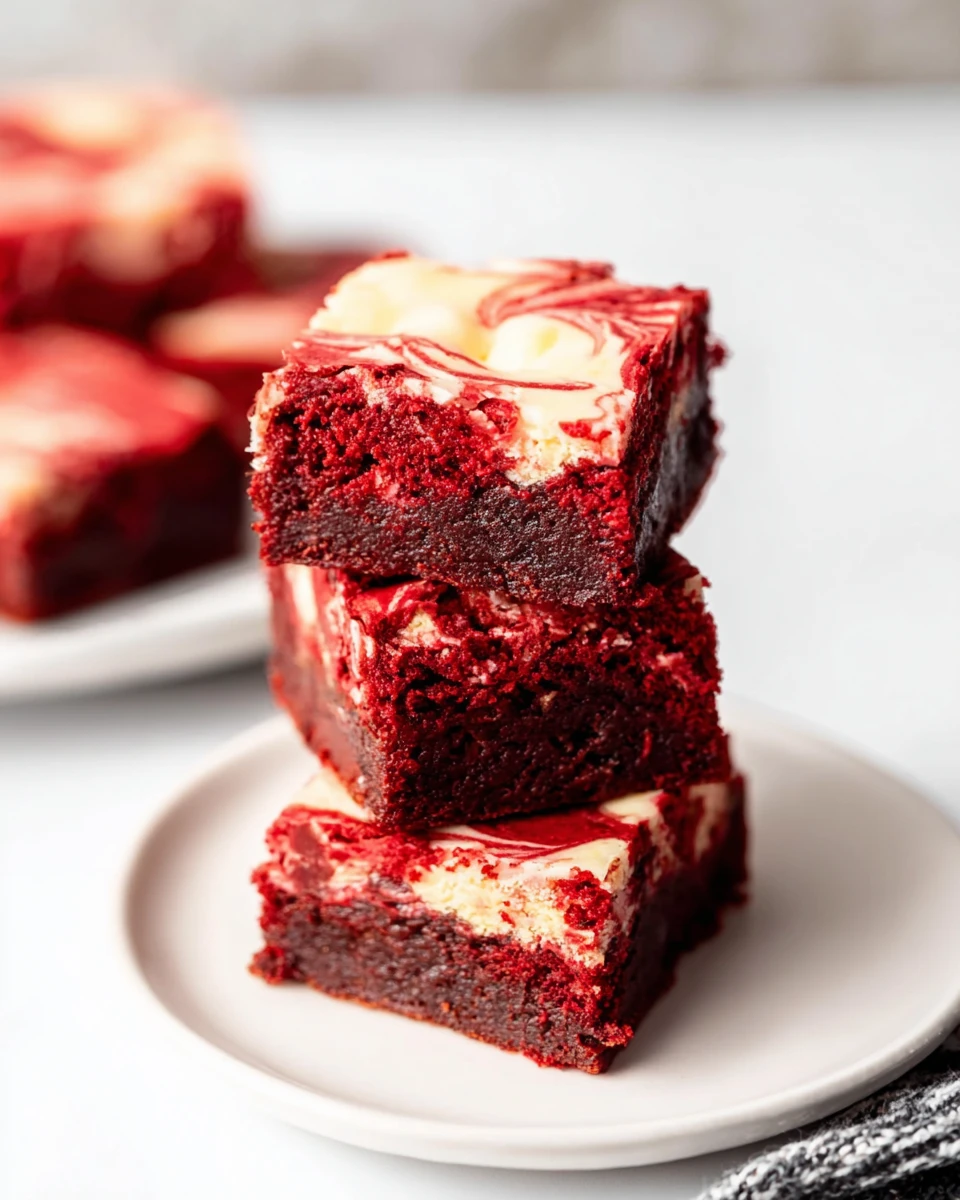
The vibrant red color and creamy white layers create an eye-catching dessert perfect for any occasion. Guests will be drawn in just by looking at these luxurious brownies, eager to taste their deliciousness.
Why You’ll Love This Red Velvet Cheesecake Brownies
A crowd-pleaser
These brownies are ideal for gatherings, holidays, or simply as a treat to enjoy at home. They never fail to impress, leaving everyone wanting more.
Versatile dessert
Suitable for various occasions, from birthdays to casual get-togethers, there’s always a reason to indulge in these tasty bites.
Unique twist
Enjoy the classic flavors of red velvet cake and cheesecake in brownie form, offering a delightful surprise. They provide a wonderful spin on traditional desserts, making them memorable.
Ingredients
For the Red Velvet Brownie Layer:
– 1 cup granulated sugar
– 1/2 cup unsalted butter (melted)
– 1 teaspoon vanilla extract
– 2 teaspoons red food coloring
– 1/4 teaspoon salt
– 1/4 cup cocoa powder
– 1 teaspoon white vinegar
– 2 large eggs
– 3/4 cup all-purpose flour
For the Cheesecake Layer:
– 8 ounces cream cheese (softened)
– 1/4 cup granulated sugar
– 1 large egg
– 1/2 teaspoon vanilla extract
Preparing the Red Velvet Brownie Base
Preheat and Prepare Your Pan
Preheat the oven to 350°F. While the oven warms up, line an 8-inch square baking pan with parchment paper or spray it with non-stick cooking spray for easy removal later.
Mix Sugar and Butter
In a medium bowl, whisk together the granulated sugar and melted butter until well blended. This will create a rich base for the brownies.
Incorporate Wet Ingredients
Add the vanilla extract, red food coloring, salt, cocoa powder, and white vinegar one at a time. Be sure to stir until the mixture is smooth and fully combined, which helps enhance the flavors.
Add Eggs and Flour
Mix in the eggs until everything is fully incorporated. Gradually fold in the all-purpose flour until the batter is just combined, being careful not to overmix to preserve that lovely fudgy texture.
Pour Into Prepared Pan
Transfer the brownie batter to the lined baking pan, reserving about 1/4 cup of the mixture for topping later. Spread the batter evenly, ensuring a solid base for your cheesecake layer.
Making the Cheesecake Filling
Beat the Cream Cheese
In a separate bowl, beat the softened cream cheese with an electric mixer until smooth and creamy. This ensures a luscious filling that complements the brownies beautifully.
Add Sugar and Eggs
Mix in the granulated sugar, egg, and vanilla extract until well combined. Aim for a smooth cheesecake batter; it should fold seamlessly with the brownie base.
Layering and Swirling
Dollop Cheesecake on Brownies
Dollop the cheesecake mixture over the red velvet brownie layer in the pan. Use a spatula to spread it slightly, covering the brownie layer evenly.
Add Remaining Brownie Batter
Take the reserved 1/4 cup of brownie batter and dollop it on top of the cheesecake layer. This will add a beautiful contrast and make swirling fun.
Create Swirls
With a butter knife, gently swirl the two mixtures together for a marbled effect. Don’t overdo it; the goal is to create swirls while keeping some distinct layers.
Baking the Brownies
Bake to Perfection
Bake in the preheated oven for 28-32 minutes or until a toothpick inserted into the center comes out clean. The top should look set with slight cracks forming.
Cool and Cut
Once baked, allow the brownies to cool completely in the pan. After cooling, cut them into nine evenly sized squares for serving.
Serving Suggestions
- Serve warm with a scoop of vanilla ice cream or a dollop of whipped cream that melts into the brownies.
- Drizzle with chocolate or cream cheese frosting for added decadence, elevating the dessert experience.
Tips for Success
- Ensure cream cheese is softened to room temperature for a smooth filling. It makes a big difference in the texture.
- Avoid overmixing the brownie batter to maintain a fudgy texture. Mixing just until combined is key.
Variations
- You might want to add crushed walnuts or pecans for a bit of crunch and additional flavor.
- For a healthier option, substitute red food coloring with natural beet juice. It adds a sweet earthiness without compromising color.
Storage Tips
- Store brownies in an airtight container in the fridge for up to one week, maintaining their freshness.
- These brownies freeze well; wrap each square individually and place them in a freezer-safe bag for up to three months.
FAQs
- Can I use a boxed brownie mix instead?
-
Yes! Feel free to substitute it with a boxed mix for a quicker version, just follow the layering process.
-
Is there a gluten-free option available?
-
Substitute all-purpose flour with a gluten-free blend to make these brownies gluten-free.
-
How do I achieve a deeper red color?
-
You can slightly increase the amount of red food coloring for a deeper hue; however, be careful not to change the flavor.
-
Can I make these in advance?
-
Absolutely! Prepare them a day before serving and store them refrigerated for the best flavor, allowing the ingredients to meld beautifully.
-
Are these brownies suitable for special occasions?
- Absolutely! Their striking appearance and delicious taste make them perfect for any celebration, turning heads wherever they are served.
These Red Velvet Cheesecake Brownies are perfect for any moment, captivating with their beautiful layers and delightful taste. They could easily become your new favorite dessert. So, ready your ingredients and treat yourself to this lovely, rich dessert that brings joy with every bite. Enjoy every moment of the baking process, and watch your loved ones dig into these incredible brownies!
Print
Red Velvet Cheesecake Brownies
These Red Velvet Cheesecake Brownies offer a delightful combination of rich, fudgy brownie and creamy cheesecake layers. They’re visually stunning and a crowd favorite.
- Total Time: 50 minutes
- Yield: 9 squares 1x
Ingredients
- 1 cup granulated sugar
- 1/2 cup unsalted butter (melted)
- 1 teaspoon vanilla extract
- 2 teaspoons red food coloring
- 1/4 teaspoon salt
- 1/4 cup cocoa powder
- 1 teaspoon white vinegar
- 2 large eggs
- 3/4 cup all-purpose flour
- 8 ounces cream cheese (softened)
- 1/4 cup granulated sugar
- 1 large egg
- 1/2 teaspoon vanilla extract
Instructions
- Preheat the oven to 350°F and prepare the baking pan.
- Whisk together sugar and melted butter until blended.
- Incorporate wet ingredients, mixing until smooth.
- Add eggs and fold in flour gently until combined.
- Pour brownie batter into the pan, reserving some for topping.
- Beat cream cheese until smooth in a separate bowl.
- Mix in sugar, egg, and vanilla until well combined.
- Dollop cheesecake mixture over the brownie layer and spread.
- Dollop reserved brownie batter on top and create swirls.
- Bake for 28-32 minutes until a toothpick comes out clean.
- Cool completely and cut into squares for serving.
Notes
Soften cream cheese for the smoothest filling.
Avoid overmixing the brownie batter for a fudgy texture.
- Prep Time: 20 minutes
- Cook Time: 30 minutes
- Category: Dessert
- Method: Baking
- Cuisine: American
Nutrition
- Calories: 250
- Sugar: 20
- Sodium: 200
- Fat: 15
- Saturated Fat: 8
- Unsaturated Fat: 5
- Trans Fat: 0
- Carbohydrates: 28
- Fiber: 1
- Protein: 3
- Cholesterol: 50