 Skip to content
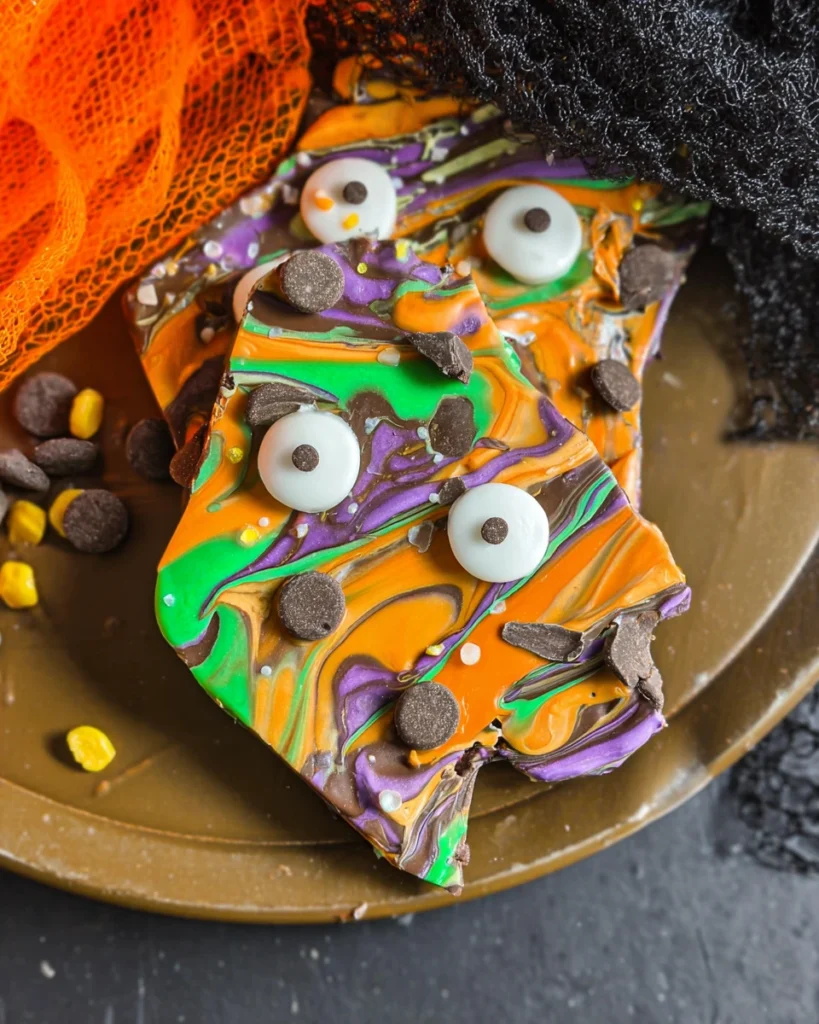
Halloween Bark is a delightful treat that captures the spirit of the spooky season. If you’ve ever indulged in the joy of candy and chocolate, this recipe is for you! It brings together vibrant colors and a delightful mix of flavors, making it a perfect option for Halloween festivities. You’ll have a ton of fun putting it together, and the best part? It doesn’t require any baking! Just melt, mix, and let it set for a Halloween dessert that’s sure to be a hit. So, gather your little helpers, roll up your sleeves, and let’s create some irresistible Halloween Bark that will not only satisfy your sweet tooth but also add a festive touch to your celebrations.
Thank you for reading this post, don't forget to subscribe!Why This Recipe Works
Halloween Bark combines favorite flavors and vibrant colors, making it an eye-catching treat that’s both fun to prepare and delicious to indulge in. The melting chocolates are easy to work with and create a visually stunning result, while the addition of various candies adds delightful textures and tastes to every bite. Plus, it’s a no-bake recipe, making it perfect for quick preparations. You’ll be amazed at how simple it is to elevate ordinary chocolate into something festive and fun.
Why You’ll Love This Halloween Bark
Halloween Bark is ideal for family bonding in the kitchen, allowing kids to unleash their creativity with colors and decorations. Simple yet festive, this recipe transforms ordinary chocolate into a whimsical treat that not only delights the taste buds but also serves as a fantastic Halloween centerpiece. Picture this: a colorful, spooky dessert that doubles as an exciting activity for the family. Everyone can personalize their own bark, making it even more special!

Ingredients
To make your own Halloween Bark, you’ll need:
- 12 ounces purple melting chocolate
- 12 ounces green melting chocolate
- 12 ounces orange melting chocolate
- 12 ounces black melting chocolate
- 6 chocolate sandwich cookies (like Oreos)
- 6 mini chocolate sandwich cookies
- 1 cup mini M&Ms
- 1 cup regular M&Ms
- ½ cup Halloween sprinkles
These ingredients are easily found at your local grocery store, or you might even have some leftovers from past Halloweens. Get creative with your toppings; it’s all about what you enjoy the most!
How to Make Halloween Bark
Melt the Chocolates
To kick things off, gather four microwave-safe bowls. Each bowl should hold a different color of melting chocolate. Microwave each bowl in 30-second intervals. After each interval, give it a good stir to ensure everything melts smoothly. This method will keep your chocolate from burning. Once each bowl is all melted and smooth, you’re ready for the next step.
Create the Colorful Swirl
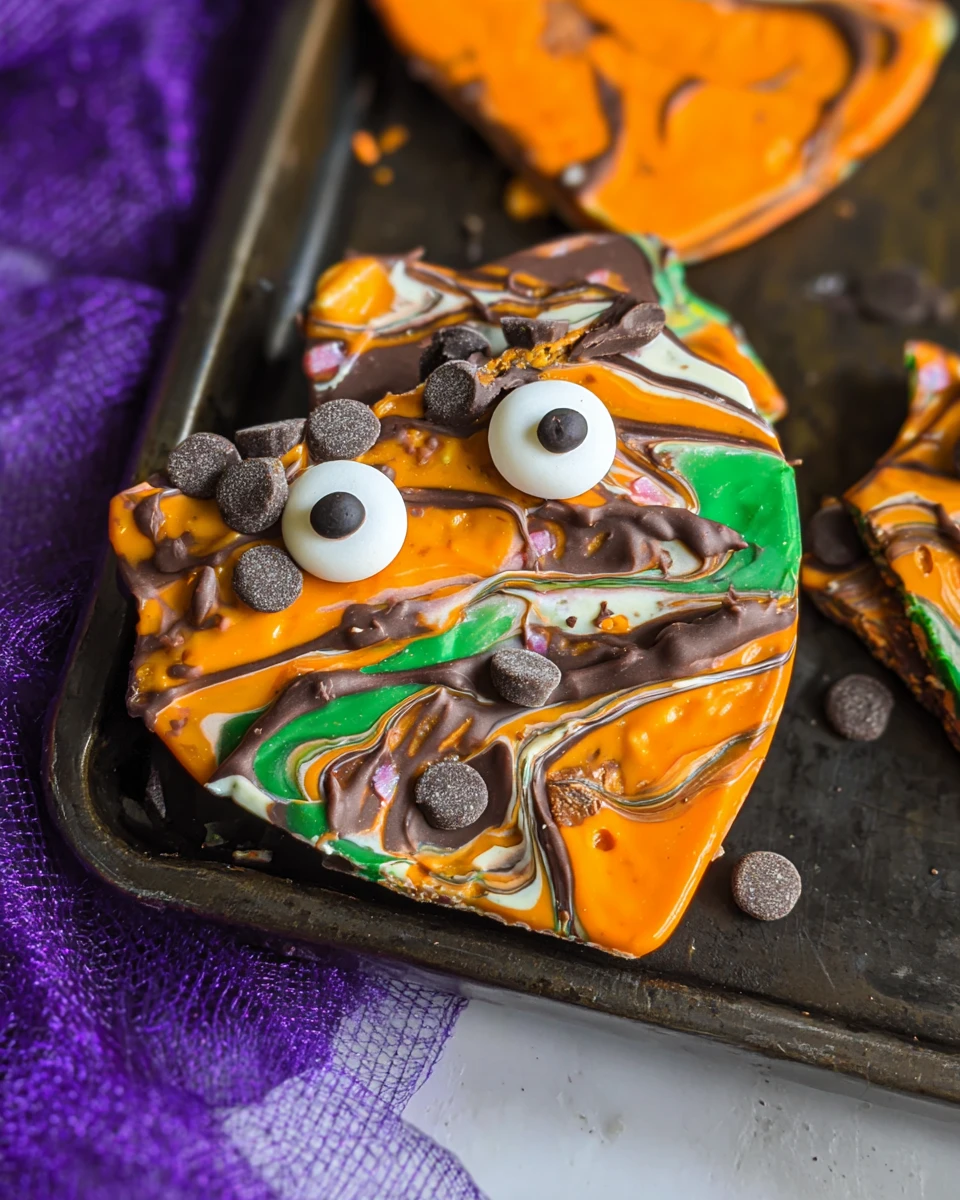
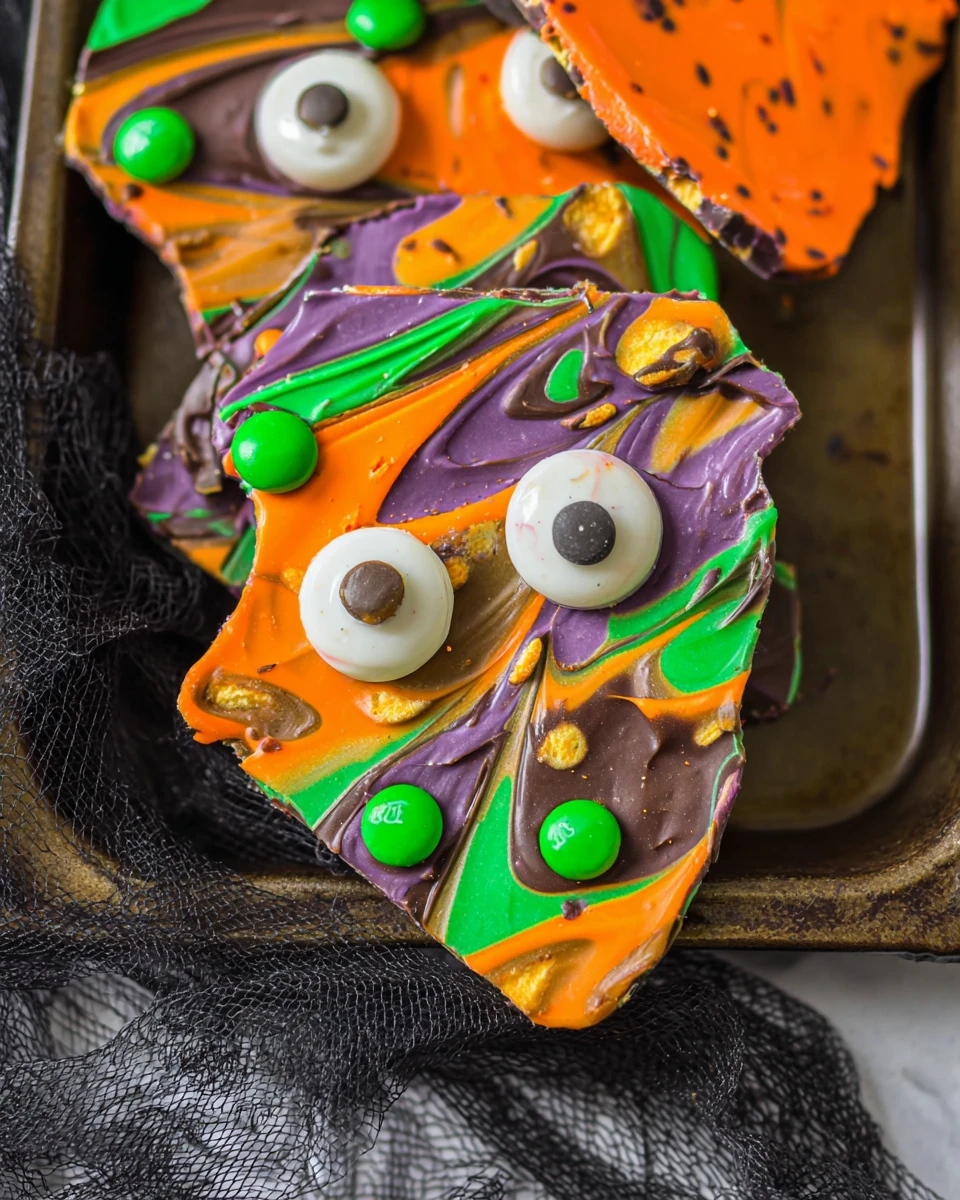
Now, grab a baking sheet and line it with parchment paper. This step is crucial because it keeps your bark from sticking. Carefully dollop the melted purple, green, orange, and black chocolates randomly across the surface. Once you’ve added all the colors, take a knife or toothpick and gently swirl the colors together. You’ll create a beautiful marbled effect that’s not just delicious but visually striking too!
Form the Creepy Eyes
Next, let’s add a fun touch to your Halloween Bark. Take the chocolate sandwich cookies and separate them. Place two cream sides up beside each other to create eyes. For a more adorable look, repeat this process with the mini chocolate sandwich cookies. Use the mini M&Ms as pupils to bring your creepy eyes to life. Arrange them on the swirled chocolate, ensuring they stand out against the colors. Your bark will become a spooktacular scene in no time.
Add the Festive Touch
Now it’s time to sprinkle some Halloween magic on your creation! Generously add the Halloween sprinkles over the melted chocolate. This step not only adds a pop of color but also gives a little crunch, making each bite even more enjoyable.
Let It Set
Patience is key! Allow the Halloween Bark to set at room temperature for about 30 minutes. If you’re in a hurry, placing the baking sheet in the refrigerator for about 20 minutes works wonders. Once the bark feels firm, you can break it into pieces, revealing all the colorful layers and decorations you’ve created.
Serving Suggestions
Your Halloween Bark is now ready, and it looks amazing! Serve it in festive bowls or treat bags to share with friends and family. You can send it to school parties, serve it at Halloween gatherings, or simply enjoy it at home. Pair your delicious bark with popcorn for a spooky movie night or alongside warm cider for a cozy autumn gathering. The possibilities are endless!
Tips for Success
- Ensure your bowls are completely dry before adding chocolate. This prevents any seizing and makes for a smoother melt.
- Feel free to use different-shaped Halloween candies for a more varied presentation. Your bark can reflect your personality or even a theme!
- Adjust the color combinations based on what’s available at your local store or your own taste preferences.
Variations
Stir things up by swapping out candies. Consider using Halloween-themed gummies or chocolate-covered pretzels for a fun twist. If you’re looking to add a hint of flavor, mixing in extracts like peppermint or orange can bring a delightful twist to your bark. Don’t hesitate to personalize the design, too! You can use cookie cutters on the set bark to create themed shapes or letters.
Storage Tips
To keep your Halloween Bark fresh and tasty, store it in an airtight container at room temperature for up to two weeks. However, if the humidity is high, consider refrigerating it to maintain its texture. This way, it’ll be ready for whenever your sweet tooth strikes!
FAQs
1. Can I use different types of chocolate?
Absolutely! You can swap in dark, milk, or white chocolate for varied flavors that suit your palate.
2. Is there a way to make this recipe vegan?
Yes, simply use dairy-free chocolate melts and skip any candies that contain animal products.
3. Can I freeze Halloween Bark?
You sure can! While it’s best enjoyed fresh for texture, freezing is an option if you want to save it for later.
4. How do I make my Halloween Bark look more festive?
Get playful with your toppings! A mix of colorful toppings or even edible glitter can enhance the visual appeal.
5. How long does the Halloween Bark last?
When stored properly, your tasty bark can last up to two weeks at room temperature.
Get ready to enjoy a fun-filled cooking adventure with your Halloween Bark! It’s a sweet creation that brings joy to the entire family. With endless possibilities for personalization, this recipe is sure to become a beloved Halloween tradition in your home. Enjoy making and sharing this festive treat as you celebrate the spooky season!
Print
Halloween Bark
Halloween Bark combines vibrant colors and flavors into a no-bake treat that’s a festive favorite. Perfect for family fun and spooky celebrations.
- Total Time: 15 minutes
- Yield: Varies based on breaking size
Ingredients
- 12 ounces purple melting chocolate
- 12 ounces green melting chocolate
- 12 ounces orange melting chocolate
- 12 ounces black melting chocolate
- 6 chocolate sandwich cookies (like Oreos)
- 6 mini chocolate sandwich cookies
- 1 cup mini M&Ms
- 1 cup regular M&Ms
- ½ cup Halloween sprinkles
Instructions
- Melt each color of chocolate in separate bowls using a microwave.
- Line a baking sheet with parchment paper.
- Dollop the melted chocolates on the parchment and swirl together.
- Create eyes using sandwich cookies and M&Ms.
- Sprinkle Halloween sprinkles over the melted chocolate.
- Let the bark set at room temperature for 30 minutes or refrigerate for 20 minutes.
Notes
Ensure bowls are dry to prevent chocolate from seizing.
Substitute with different Halloween candies for variety.
Adjust colors based on availability and preference.
- Prep Time: 15 minutes
- Cook Time: 0 minutes
- Category: Dessert
- Method: No-bake
- Cuisine: American
Nutrition
- Calories: 150
- Sugar: 14
- Sodium: 50
- Fat: 7
- Saturated Fat: 4
- Unsaturated Fat: 3
- Trans Fat: 0
- Carbohydrates: 20
- Fiber: 1
- Protein: 1
- Cholesterol: 0


