Skip to content
Why This Recipe Works
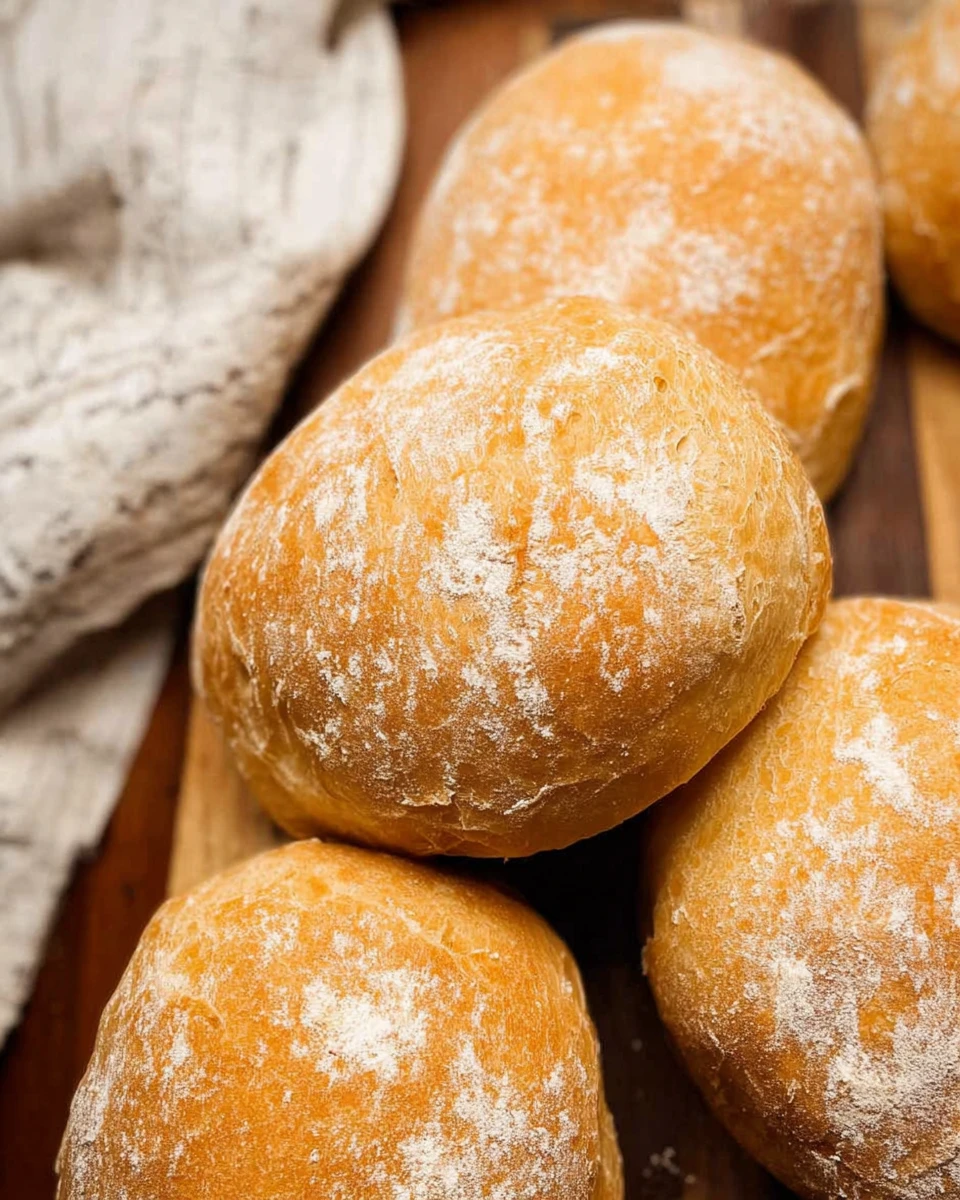
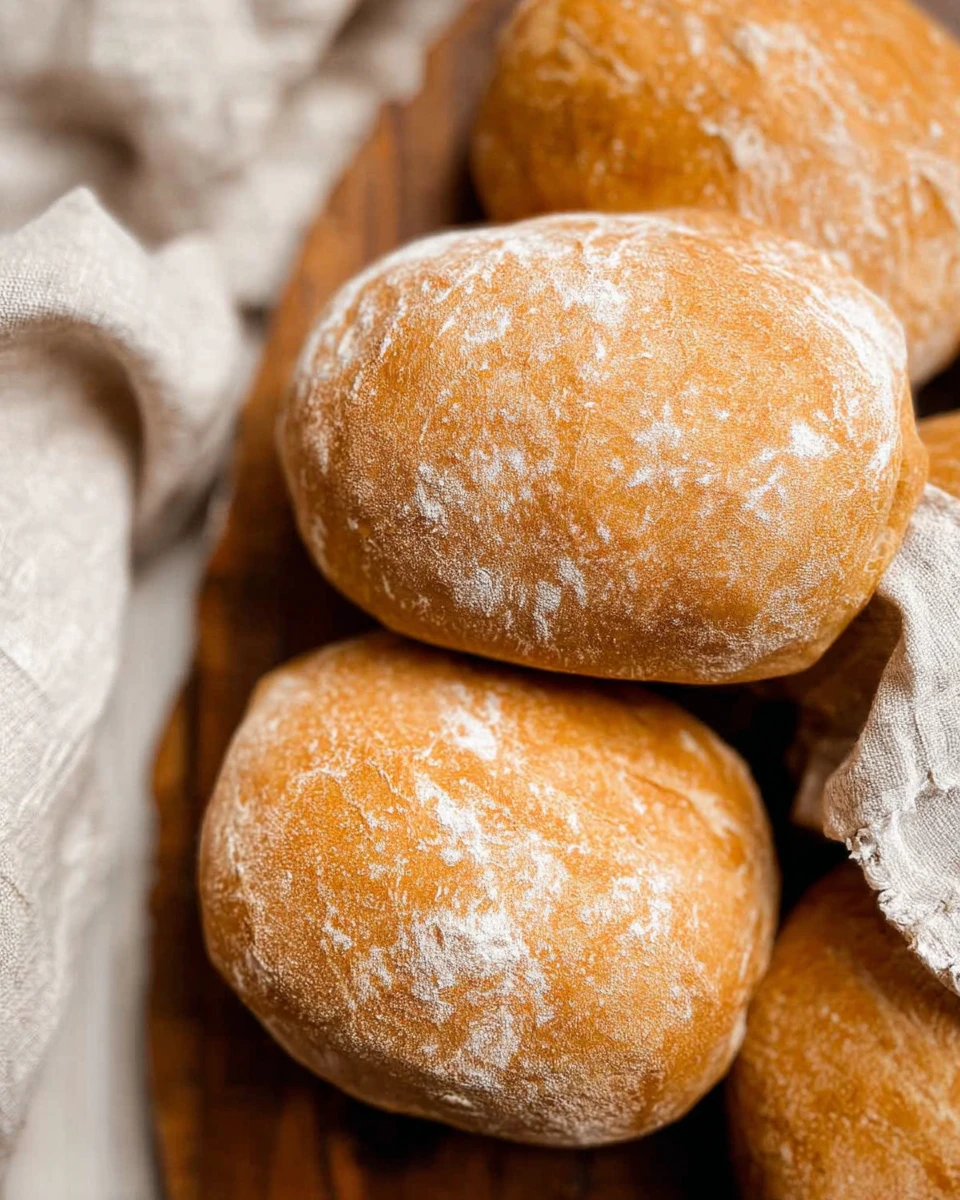
Understanding the science behind ciabatta rolls is key to achieving that perfect blend of texture and flavor. Ciabatta is all about hydration, fermentation, and proper kneading. The high water content creates an open crumb structure, which gives these rolls their airy feel. Meanwhile, fermentation allows yeast to develop flavors, making your rolls taste incredible.
Thank you for reading this post, don't forget to subscribe!Having a good balance between hydration and fermentation practices ensures a crunchy crust paired with a fluffy interior. When you let the dough rise and fold it multiple times, you create those lovely air pockets. So, every bite becomes a delightful experience, and that’s what makes Easy Small Batch Ciabatta Rolls special.
Why You’ll Love This Easy Small Batch Ciabatta Rolls
You’re going to love how quick and hassle-free this recipe is. With just a little bit of planning, you can have warm, fresh ciabatta rolls baked right at home. It’s fantastic for family dinners or special gatherings, especially when you want to impress guests with homemade goodness without a tons of effort.
Imagine tearing into one of these fluffy rolls, with that delightful crunch on the outside. It’s the kind of bread that enhances any meal, whether you’re serving it for an ordinary dinner or a celebratory feast. You’ll find yourself reaching for these ciabatta rolls for all occasions.
Ingredients for Easy Small Batch Ciabatta Rolls
- 1 teaspoon instant yeast
- 1 cup (240 grams) room temperature water
- 2.5 cups (300 grams) all-purpose flour
- 1 teaspoon salt
These are simple ingredients you likely already have in your pantry. Making these Easy Small Batch Ciabatta Rolls is accessible for everyone, even beginner bakers!
Prepare the Dough

Activate the Yeast
Start by dissolving the instant yeast in lukewarm water. Wait about 2 minutes until it gets nice and bubbly. This step is crucial because it wakes up the yeast, ensuring your rolls rise beautifully.
Combine the Ingredients
In a large bowl, mix the flour and salt together. Once combined, pour the yeast mixture into the bowl. Whisk it together until no dry flour remains. It’ll be a sticky mess, but that’s how it should be!
Initial Rise
Cover the bowl with plastic wrap and let it sit at room temperature for about an hour. During this time, the dough will rise and get all puffy, which is a great sign that the yeast is doing its job.
Stretch and Fold the Dough
First Stretch and Fold
Once the hour is up, it’s time for the fun part. Wet your hands—this will help keep the dough from sticking—and gently fold the edges of the dough into the center. Cover it again and let it rest for another 30 minutes. This folding strategy develops gluten and creates a better texture.
Second Stretch and Fold
Repeat that same folding process after the first rest. Yes, it’s simple, but it’s good for building structure! Let it rest again, this time for another 30 minutes.
Final Stretch and Fold
For the last time, perform a stretch and fold. Cover it once more and let it rest for yet another 30 minutes. After this step, your dough will be strong, airy, and ready for shaping.
Shape the Dough
Transfer to Floured Surface
When you’re ready to shape, move your sticky dough onto a floured surface. Be gentle; you don’t want to deflate it too much. Form it into a rough rectangle, but don’t press it down too hard.
Divide and Final Proof
Roll the dough into a log. Then, carefully divide it into 4-5 equal pieces. Let them rest on a floured work surface for about 40 minutes. This final proof allows the rolls to rise once more and become fluffy.
Bake the Ciabatta Rolls
Prepare for Baking
Place the rolls onto a parchment-lined baking tray. Dust them lightly with flour and set them aside as you preheat your oven.
Create Steam in the Oven
To get that perfect crust, fill a pan with water and preheat the oven to 420°F. Steam helps create that crisp outer layer that everyone loves.
Bake and Cool
Now it’s time to bake! Pop your rolls into the oven and let them bake for about 20 minutes. When they’re finished, they should be golden brown. Let them cool for 20 minutes. You can check for doneness by giving them a tap; if you hear a hollow sound, they’re ready!
Serving Suggestions
These rolls are best served fresh. Enjoy them warm with butter or a splash of olive oil. You can pair them with soups or salads for a light meal. They’ve got that inviting aroma and taste that make any dish feel special.
Tips for Success
- Ensure your room temperature is warm enough for effective fermentation. A cozy kitchen is ideal for bread-making.
- Don’t skip the steam in the oven; it’ll give your rolls the coveted crunchy crust that adds to the experience.
Variations
Feel free to experiment! You can add herbs or cheese to the dough for added flavor. If you’re looking for a different taste, try using whole wheat flour; it gives a nutty flavor that works perfectly in ciabatta rolls.
Storage Tips
Store your fresh ciabatta rolls in an airtight container for 1-2 days. If you can’t eat them all, freeze them for up to a month. When you want to enjoy one again, just reheat it in the oven for a freshly baked feel.
Pairing Ideas
These rolls find their place alongside a creamy soup or a rustic pasta dish. They also make fantastic sandwiches packed with your favorite deli meats. Whether you’re going for a casual meal or something a bit more special, these rolls are versatile enough to fit any meal.
FAQs
Can I use active dry yeast instead of instant yeast?
Yes, you can! Just proof it first in warm water with a pinch of sugar before mixing it into the dough.
How do I know if my dough has risen enough?
If it has doubled in size and feels airy and light, you’re good to go!
Can I make these rolls ahead of time?
Absolutely! You can prepare the dough and then refrigerate it for up to 12 hours before shaping and baking.
What should I do if my dough is too sticky?
Just use well-floured hands while handling it, and don’t hesitate to add a bit more flour during the shaping process if needed.
What if I don’t have a baking pan for steam?
No worries! You can place a heatproof dish with hot water at the bottom of the oven instead.
With these Easy Small Batch Ciabatta Rolls, you’re in for a treat that fills your kitchen with warmth and joy. They’re straightforward to make and will quickly become a staple in your home. So roll up those sleeves and get ready to bake! Enjoy the adventure of creating something special in your kitchen today!
Print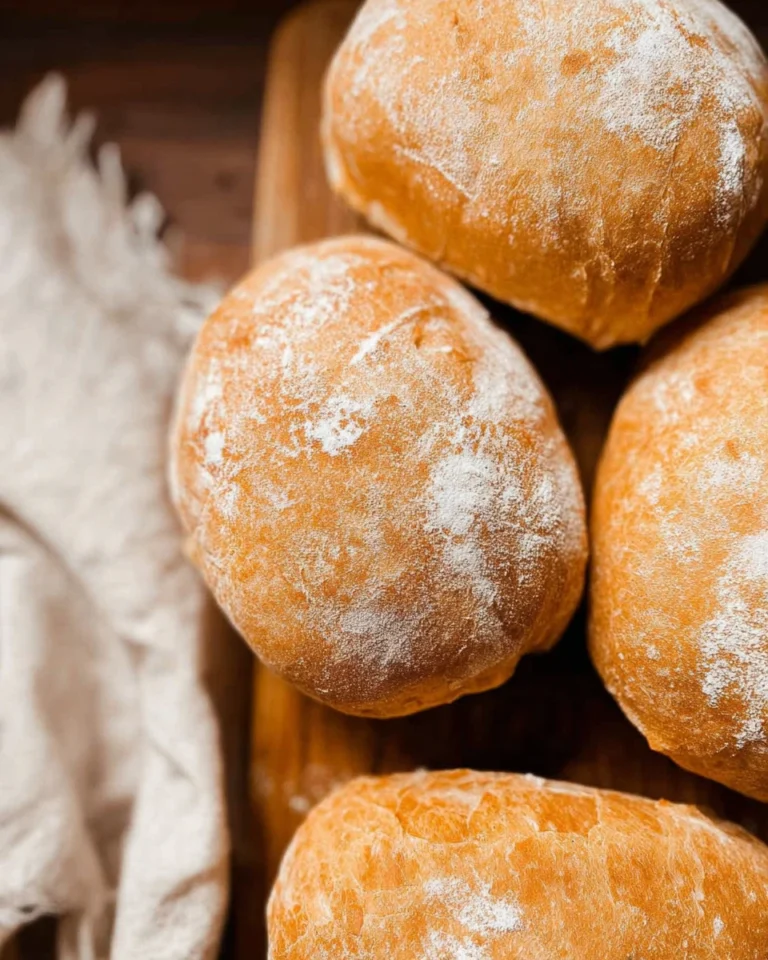
Easy Small Batch Ciabatta Rolls
These ciabatta rolls are a delightful blend of crunch and fluffiness. They’re easy to make and perfect for enhancing any meal, from casual dinners to celebrations.
- Total Time: 1 hour 20 minutes
- Yield: 4-5 rolls 1x
Ingredients
- 1 teaspoon instant yeast
- 1 cup (240 grams) room temperature water
- 2.5 cups (300 grams) all-purpose flour
- 1 teaspoon salt
Instructions
- Activate the yeast by dissolving it in lukewarm water and let it bubble for 2 minutes.
- Mix flour and salt in a bowl, then add the yeast mixture until no dry flour remains.
- Cover and let the dough rise for 1 hour.
- Perform the first stretch and fold, rest for 30 minutes; repeat twice more.
- Transfer dough to a floured surface, shape into a rectangle, and divide into 4-5 pieces.
- Let rolls rest for 40 minutes.
- Preheat oven to 420°F, prepare baking tray, and create steam.
- Bake rolls for about 20 minutes until golden brown, then cool for 20 minutes.
Notes
Ensure your kitchen is warm for better fermentation.
Always create steam in the oven for a crispy crust.
- Prep Time: 1 hour
- Cook Time: 20 minutes
- Category: Bread
- Method: Baking
- Cuisine: Italian
Nutrition
- Calories: 150
- Sugar: 0g
- Sodium: 200mg
- Fat: 1.5g
- Saturated Fat: 0.3g
- Unsaturated Fat: 1.2g
- Trans Fat: 0g
- Carbohydrates: 30g
- Fiber: 1g
- Protein: 4g
- Cholesterol: 0mg