Skip to content
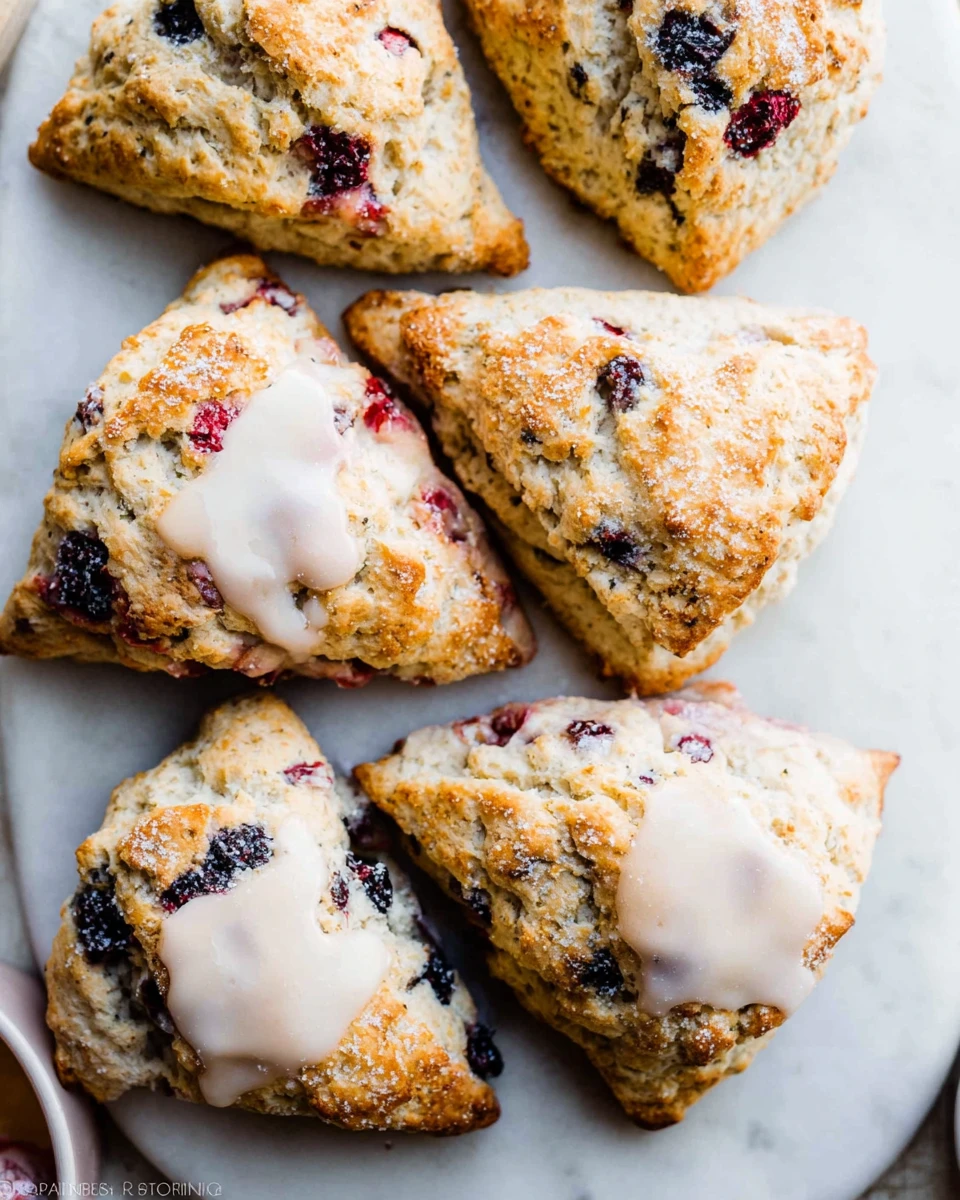
Master Scones Recipe is a delightful way to warm up your kitchen and create something truly special. These little treats aren’t just about a quick snack; they’re about comfort and warmth, perfect for busy mornings or cozy afternoons. Imagine biting into a freshly baked scone, the buttery layers melting in your mouth, announcing the start of a lovely day or the perfect ending to a meal. They can be sweet, savory, or a fantastic mix of both depending on what you choose to add. Plus, the process of making these scones can be quite fun! Whether you’re a seasoned baker or just starting, you’ll find this recipe easy to follow and so rewarding. So, let’s get together and explore the steps to make the most delicious Master Scones you’ve ever tasted!
Thank you for reading this post, don't forget to subscribe!Why This Recipe Works
The beauty of this Master Scones Recipe lies in its simplicity. Each ingredient plays a crucial role in creating that perfect balance of flavor and texture. The frozen butter, for instance, is key to achieving that desired flakiness. Grating the butter ensures it blends seamlessly into the dry ingredients, keeping pockets of fat that will melt while baking. This, in turn, gives the scones their fluffy height.
Moreover, using heavy cream or buttermilk adds richness which enhances the overall taste. This combination of cold butter and wet ingredients helps form a tender dough without making it dense. You’ll also appreciate how the right ratios and a gentle hand work together to create those beautiful, golden scones we all love.
Why You’ll Love This Master Scones Recipe
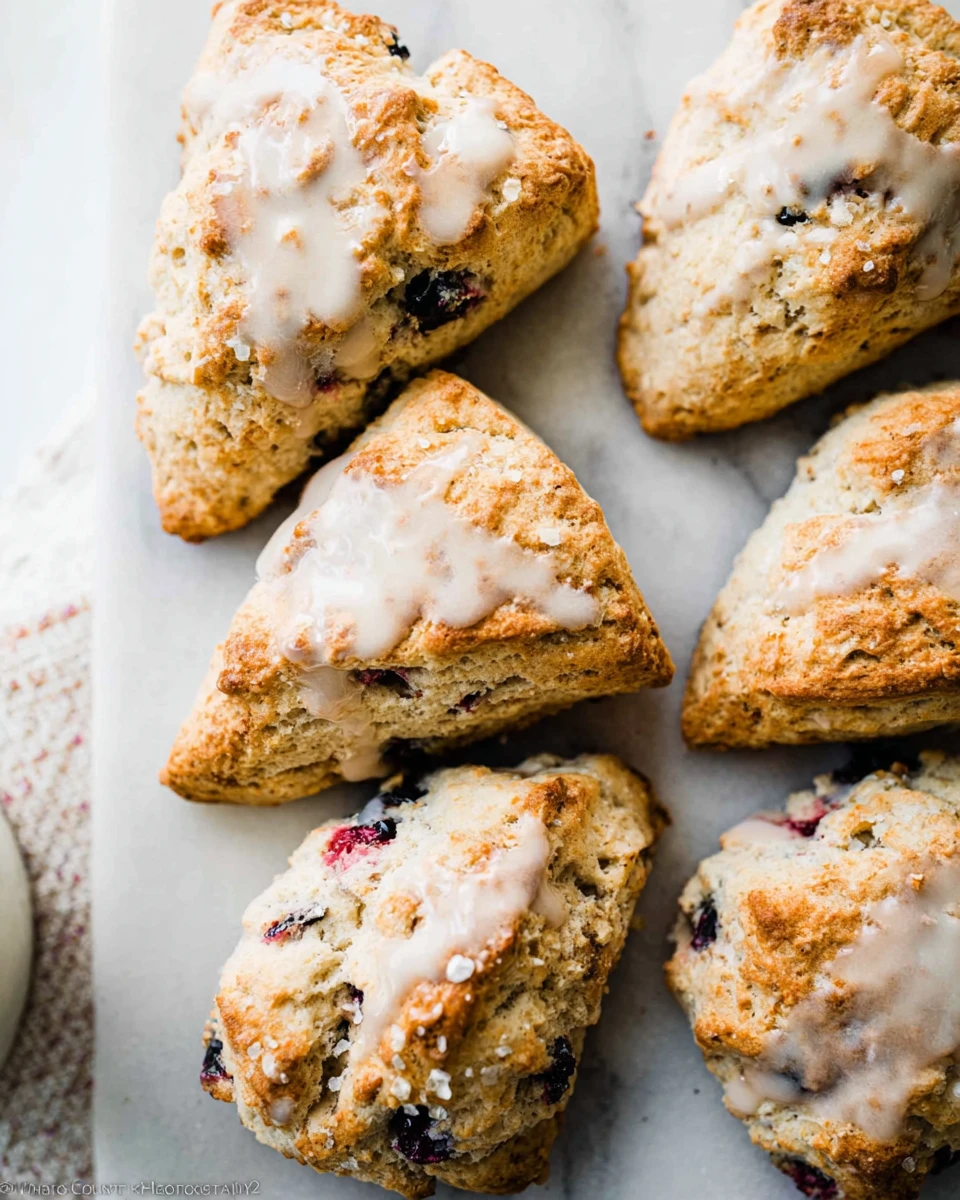
You’ll adore this Master Scones Recipe not just for its fantastic taste but also for its versatility. Whether you’re a fan of classic flavors like blueberry or chocolate chip, or you enjoy getting adventurous with add-ins like dried fruit or nuts, this recipe caters to all. You can easily switch up ingredients based on what you have on hand or what your guests love.
Another huge plus is that these scones are incredibly quick to make. With just a few ingredients and steps, you’re only about 30 minutes away from enjoying warm, fluffy scones. Perfect for brunch get-togethers, lazy weekend mornings, or any time you crave something homemade. Plus, they’re a crowd-pleaser that brings everyone together, making every bite feel like a hug.
Ingredients
- 2 cups (250g) all-purpose flour (spooned & leveled), plus more for hands and work surface
- 1/2 cup (100g) granulated sugar
- 1/2 teaspoon salt
- 2 and 1/2 teaspoons baking powder
- 1/2 cup (8 Tbsp; 113g) unsalted butter, frozen
- 1/2 cup (120ml) heavy cream or buttermilk (plus 2 Tbsp for brushing)
- 1 large egg
- 1 and 1/2 teaspoons pure vanilla extract
- 1 to 1.5 cups add-ins (chocolate chips, berries, nuts, fruits, etc.)
- Optional: coarse sugar for topping
Making the Perfect Scone Dough
Combine Dry Ingredients
To start, whisk together the flour, sugar, salt, and baking powder in a large mixing bowl. This step is essential for ensuring everything is evenly distributed. A well-mixed dry base leads to scones with the right balance of sweetness and flavor.
Grate and Incorporate Butter
Next, grab your frozen butter. Using a grater, shred it directly into the flour mixture. Yes, it feels a bit unusual, but this method is your best friend for flaky scones! Once the butter is in, use a pastry cutter, two forks, or even your hands to blend it in. You want the texture to resemble pea-sized crumbs. This is crucial. Don’t rush through this step, as it directly impacts how fluffy your scones will turn out.
Prepare the Wet Ingredients
In another small bowl, whisk together the 1/2 cup of heavy cream, the egg, and the pure vanilla extract. This mixture adds flavor and moisture, helping bind everything together. On days you feel like switching it up, buttermilk works beautifully here too!
Combine Wet and Dry Mixtures
Now, drizzle that lovely wet mixture over your dry ingredients. If you’re adding chocolate chips, berries, or nuts, toss them in as well. Stir gently until the dough is just moistened. A gentle touch here is key. Over-mixing can lead to dense scones, which we certainly want to avoid!
Shape the Scones
Transfer your dough to a floured work surface. With floured hands, gently knead it a few times just until it comes together into a ball. If the dough feels sticky, sprinkle on a bit more flour. If it feels too dry, add a tablespoon of cream. Shape it into an 8-inch disc, or split it into two smaller 5-inch discs, cutting them into wedges to make smaller scones.
Brush and Chill
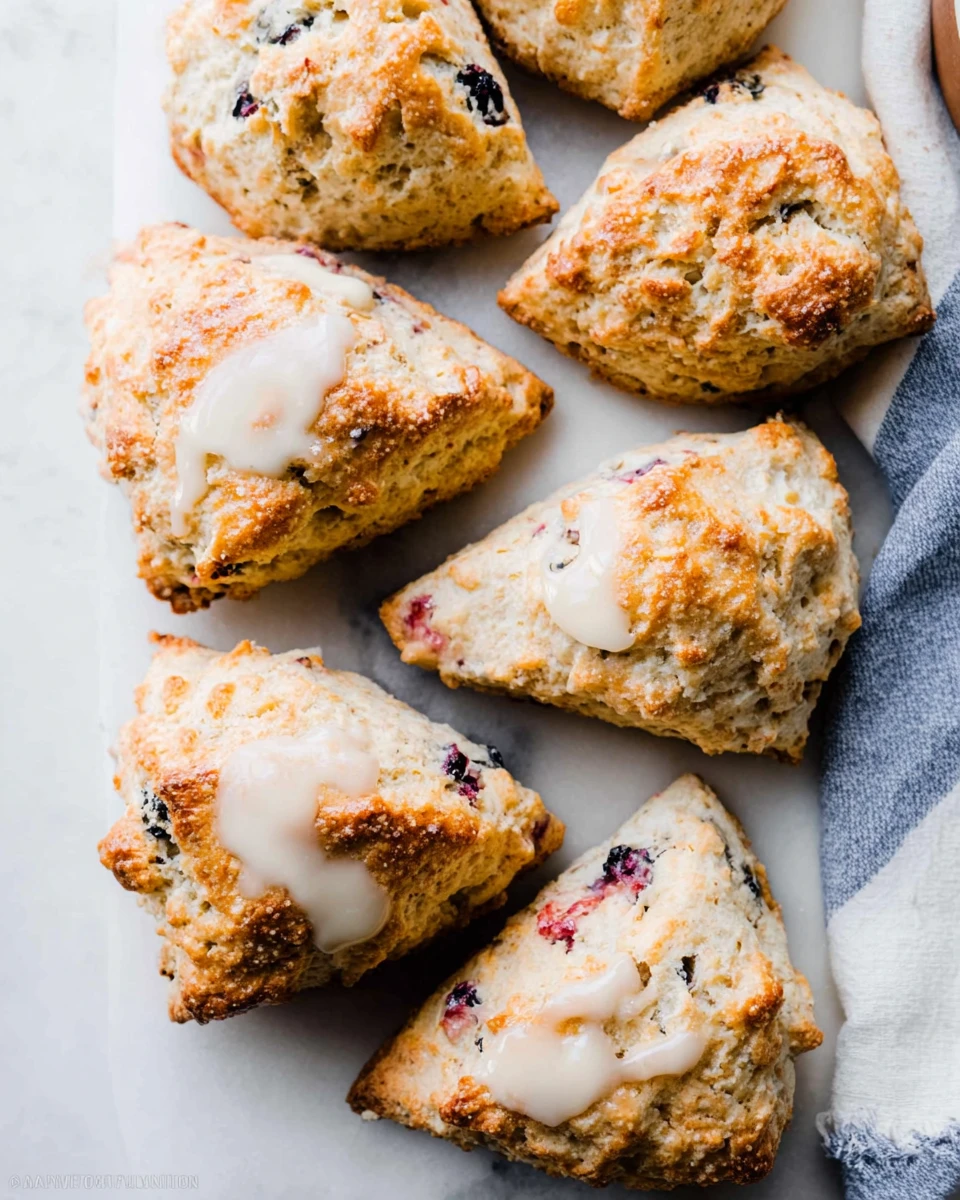
Once your scones are shaped, brush the tops with the remaining heavy cream. For an extra crunch and sweetness, sprinkle with coarse sugar. After this, cover them lightly and pop them in the fridge for at least 15 minutes. This chilling time helps the scones keep their shape during baking.
Preheat the Oven
While the dough chills, it’s the perfect time to preheat your oven to 400°F (204°C). Getting your oven hot enough is essential for achieving that golden, crispy exterior.
Arrange and Bake
Prepare a baking sheet with parchment paper. Take your chilled dough and arrange the scones with about 2-3 inches of space between them. They will expand as they bake, and we don’t want them to touch! Bake for 18-26 minutes, or until they turn a beautiful golden brown. Keep an eye on them, especially if you made larger scones, as they may need closer to 25 minutes.
Cool and Enjoy
Once baked to perfection, remove your scones from the oven and let them cool for a few minutes. This cooling period helps them set perfectly. They’re even better enjoyed warm or at room temperature, so take a moment to appreciate your creation!
Serving Suggestions
These master scones shine when served freshly baked. Consider pairing them with clotted cream, rich butter, or a selection of your favorite jams. They’re also wonderful alongside a hot cup of tea or coffee, perfect for that afternoon relaxation you deserve.
Tips for Success
To get the best scone texture, keep these tips in mind:
– Always use frozen butter for the flakiest scone texture.
– Chill the dough before baking to achieve the best rise.
– Don’t be afraid to experiment with various add-ins; they can elevate your scones to new flavor heights!
Variations
Want to switch things up? Consider these fun variations:
– Substitute some all-purpose flour with whole wheat flour for a nuttier flavor profile.
– Add a bit of lemon zest for a refreshing citrus kick or swap out the vanilla with almond extract for a different depth of flavor.
FAQs
1. Can I make these scones ahead of time?
Absolutely! You can prepare the scone dough and refrigerate it for a few hours before baking.
2. What can I use instead of heavy cream?
Buttermilk works well as a substitute for heavy cream, giving slightly different flavors but still yielding delicious scones.
3. How do I store leftover scones?
Leftover scones can be stored at room temperature for about 2 days or in the refrigerator for up to 5 days.
4. Can I freeze the scones?
Yes, scones freeze wonderfully both before and after baking. Just wrap them tightly in plastic, and they’ll stay fresh for about 3 months.
5. Is it necessary to chill the dough?
It’s not strictly necessary, but chilling helps prevent spreading and promotes a better rise when baking.
These master scones are not just a treat; they’re a comforting delight perfect for any occasion. With their crispy edges and fluffy centers, they bring a warm touch to your kitchen. Feel free to play with flavors and make them a signature part of your baking tradition. Enjoy sharing them with loved ones—or savor them all to yourself!
Print
Master Scones
These Master Scones are a delightful blend of buttery layers and customizable flavors. Perfect for brunch or cozy afternoons, they are quick and easy to make.
- Total Time: 35 minutes
- Yield: 8 scones 1x
Ingredients
- 2 cups (250g) all-purpose flour (spooned & leveled), plus more for hands and work surface
- 1/2 cup (100g) granulated sugar
- 1/2 teaspoon salt
- 2 and 1/2 teaspoons baking powder
- 1/2 cup (8 Tbsp; 113g) unsalted butter, frozen
- 1/2 cup (120ml) heavy cream or buttermilk (plus 2 Tbsp for brushing)
- 1 large egg
- 1 and 1/2 teaspoons pure vanilla extract
- 1 to 1.5 cups add-ins (chocolate chips, berries, nuts, fruits, etc.)
- Optional: coarse sugar for topping
Instructions
- Whisk together flour, sugar, salt, and baking powder.
- Grate frozen butter into the mixture and blend until crumbly.
- Whisk together the heavy cream, egg, and vanilla in a separate bowl.
- Combine wet and dry ingredients; stir gently and add desired mix-ins.
- Transfer to a floured surface, knead gently, and shape into a disc.
- Brush the tops with cream and sprinkle with sugar if desired, then chill.
- Preheat oven to 400°F (204°C).
- Place scones on parchment-lined baking sheet and bake for 18-26 minutes until golden.
- Let cool slightly before enjoying.
Notes
Using frozen butter is crucial for creating flaky scones.
Chilling the dough helps maintain shape and ensures the best rise.
Feel free to experiment with various add-ins for unique flavors.
- Prep Time: 15 minutes
- Cook Time: 20 minutes
- Category: Baked Goods
- Method: Baking
- Cuisine: American
Nutrition
- Calories: 250
- Sugar: 8
- Sodium: 200
- Fat: 12
- Saturated Fat: 7
- Unsaturated Fat: 3
- Trans Fat: 0
- Carbohydrates: 30
- Fiber: 1
- Protein: 4
- Cholesterol: 35