 Skip to content
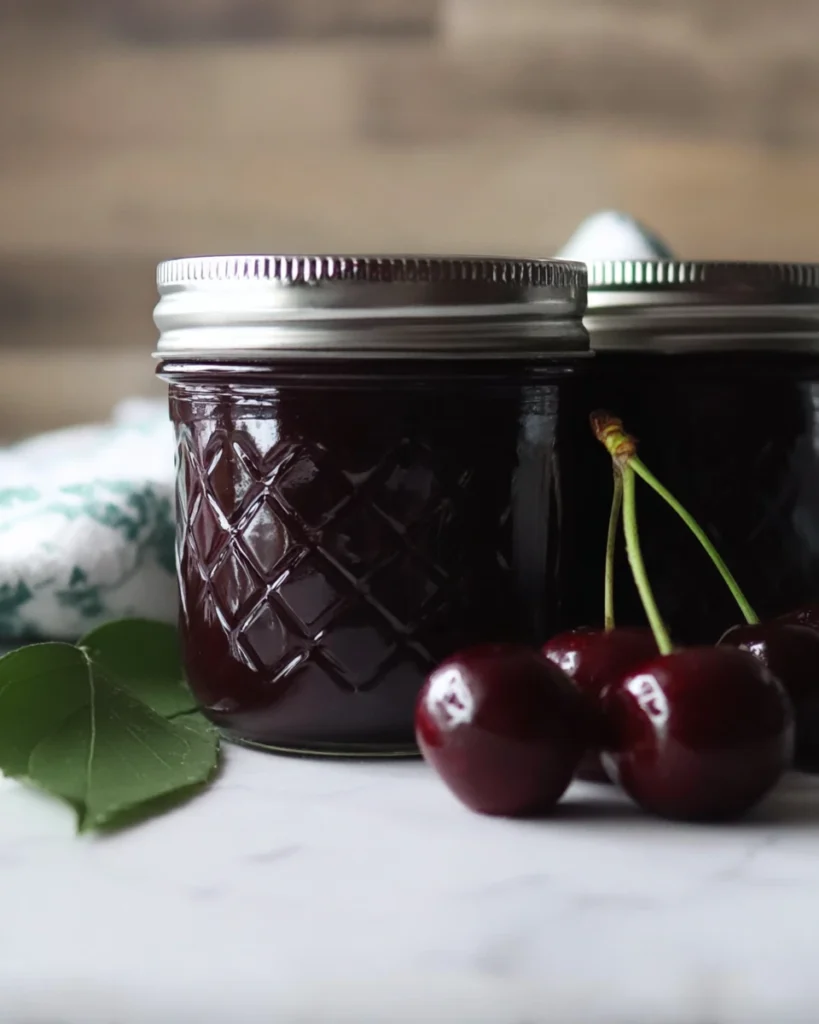
Cherry butter is one of those delightful treats that perfectly captures the essence of summer. Imagine slathering this velvety spread on warm toast or pancakes, and you’re transported to sunny days spent under the shade of cherry trees. The sweetness of ripe cherries mingles with a hint of tartness, creating an irresistible flavor that will have you coming back for more. Plus, this recipe is simple enough for anyone to try, making it a wonderful addition to your cooking repertoire. Whether you’re a seasoned chef or a newbie in the kitchen, making cherry butter is a fun activity that brings a little bit of joy into your day. By the end, you’ll have a jar of homemade goodness to enjoy with breakfast, or give as a gift to a friend or loved one. Now, let’s dive into how to create this lovely cherry butter that you’ll cherish all year round!
Thank you for reading this post, don't forget to subscribe!Why This Recipe Works
Cherry butter captures the essence of summer in every bite, offering a delightful blend of sweetness and tartness. The slow cooking process allows the flavors to concentrate and develop, creating a smooth, velvety spread that’s not just tasty but also versatile. Its rich texture transforms ordinary toast into something special, making it a must-have on your breakfast table.
Why You’ll Love This Cherry Butter
Imagine waking up to the warm aroma of freshly spread cherry butter on your morning toast. It’s a nostalgic experience, bringing back memories of summer days spent picking cherries. Not only is this recipe simple and rewarding, but it also showcases the incredible flavor of ripe cherries. Just picture how your family and friends will rave about this delicious treat!

Ingredients
To get started on your cherry butter adventure, gather the following ingredients:
- 3 ½ lbs sweet cherries (about 6 cups pitted and chopped)
- 2 cups granulated sugar, divided
- Juice of 1 lemon
Preparing the Cherries
Rinse and Pit the Cherries
Start by rinsing the cherries under cool, running water to remove any dirt. This step is essential for cleanliness. After rinsing, you’ll need to remove and discard the pits. It’s helpful to have a cherry pitter, but if you don’t, you can cut them in half and remove the pits manually. Once pitted, chop the cherries into smaller pieces and place them in a bowl.
Combine with Sugar
Next, transfer the chopped cherries into a large saucepan or jam pot. Sprinkle 1½ cups of granulated sugar over the cherries and stir well to ensure they’re evenly coated. This might look like a lot of sugar, but it’s key for balancing the tartness of the cherries. Let this mixture sit for about 15 minutes; this draws out the juices from the cherries and begins the flavor combination.
Cooking the Cherry Butter
Bring to a Boil
Over medium-high heat, bring the cherry mixture to a soft boil while stirring often. This step is crucial to prevent sticking. You want to ensure that the sugar dissolves completely and the cherries start to bubble and release their juices.
Simmer and Reduce
Once boiling, reduce the heat to low and let the mixture simmer gently, uncovered, for at least one hour. During this time, stir occasionally and keep an eye on it to prevent any sticking on the bottom of the pot. The mixture will slowly thicken, turning into a luscious, deep red concoction.
Check for Thickness
After an hour, the mixture should have reduced in volume significantly and developed a deep color. To achieve that smooth consistency, remove it from heat and puree using a food processor, food mill, or immersion blender. This method ensures that any remaining chunks are blended into a smooth texture, making it perfect for spreading.
Final Touches
Sweeten to Taste
Taste your cherry butter and, if desired, add the remaining ½ cup of sugar to enhance the sweetness. Everyone’s taste is different, so adjust accordingly! Next, incorporate the lemon juice and stir until the two blend seamlessly. The lemon not only brightens the flavor but also helps balance out the sweetness.
Test the Consistency
To check the thickness, scoop a spoonful of the mixture onto a cool plate. If it forms a mound without running off, it’s ready to go. If it flows too freely, cook a bit longer, stirring often until it thickens to your liking.
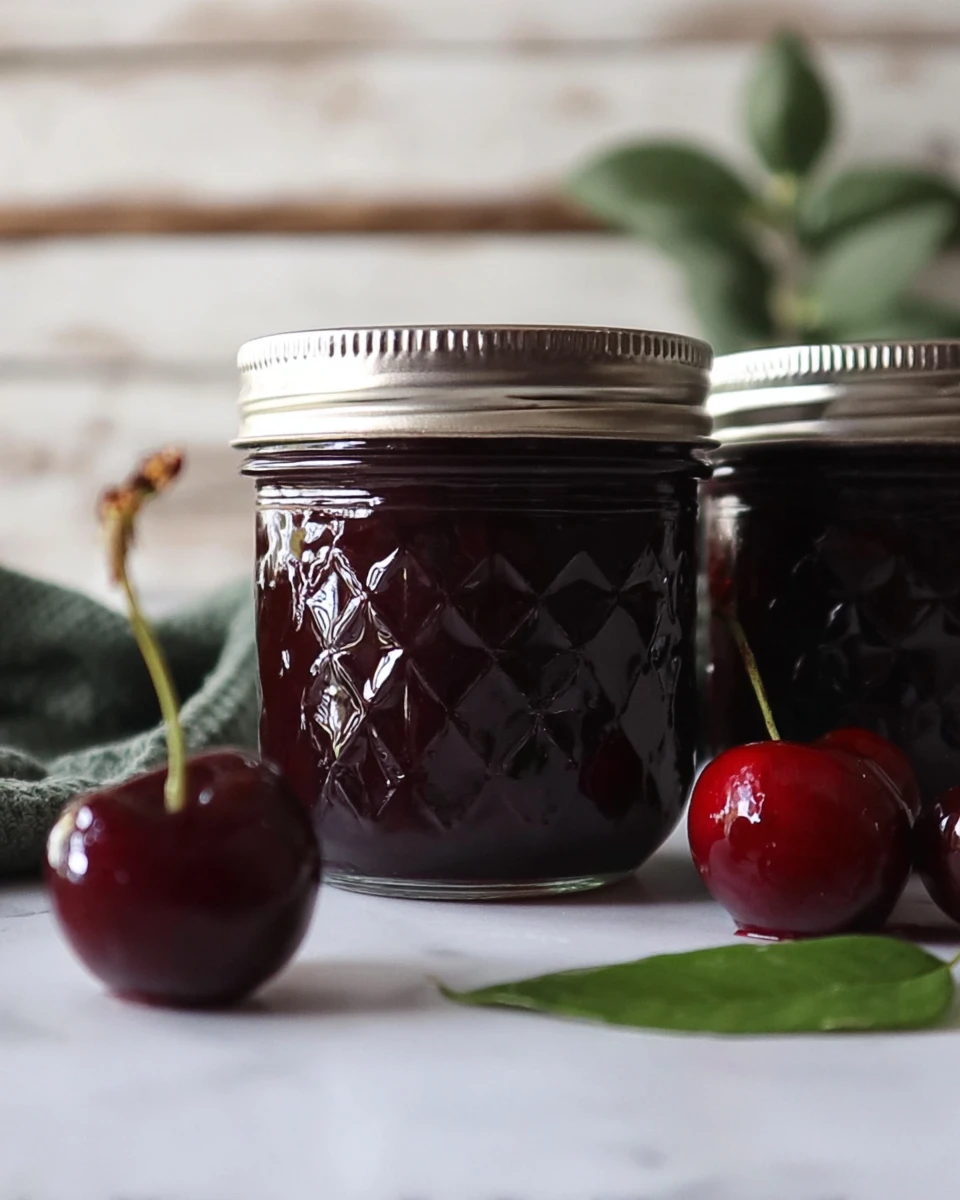
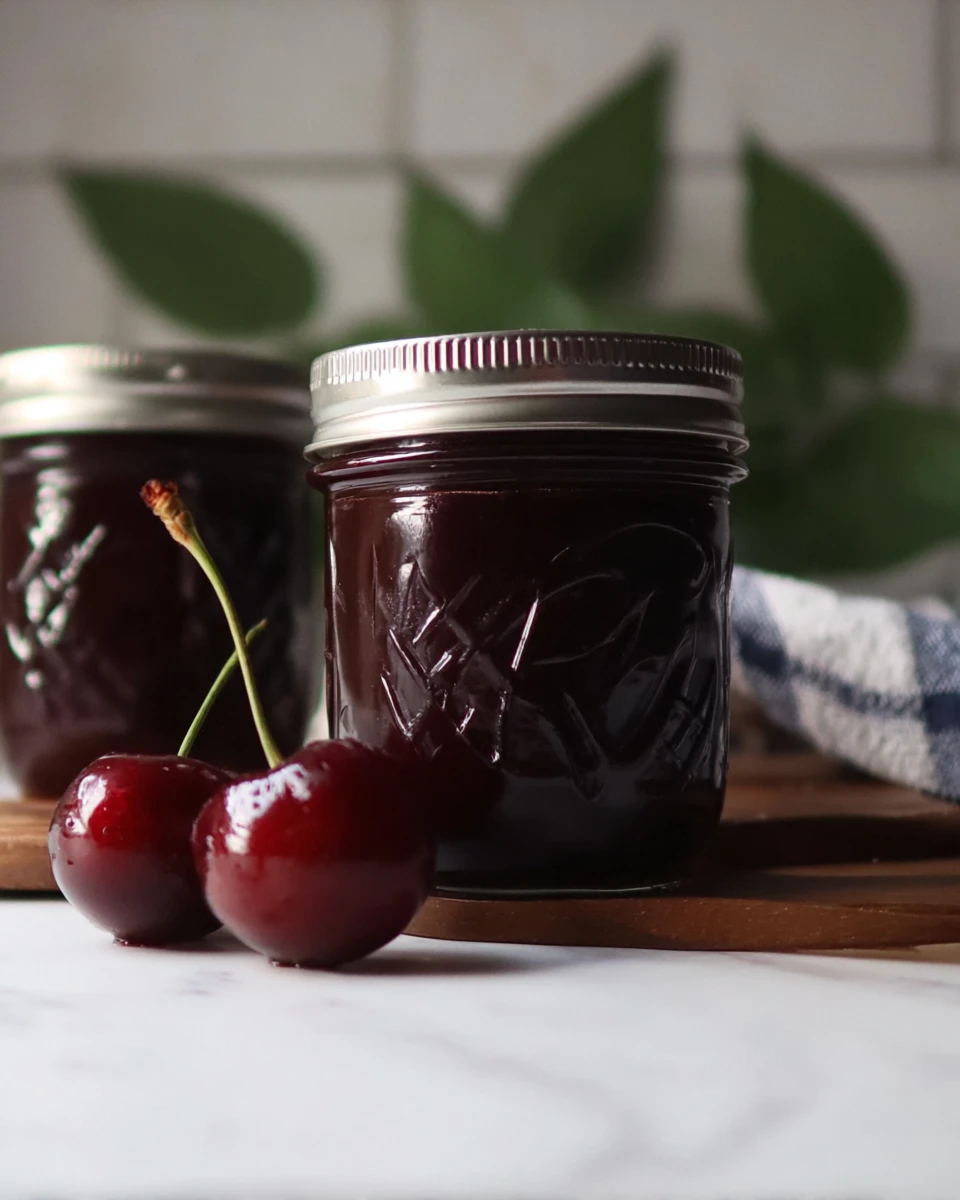
Canning the Cherry Butter
Prepare the Jars
Now it’s time to fill your jars! Ladle or pour the cherry butter into prepared jars or containers, leaving about ¼” of headspace if canning. This space is important for sealing and expansion. Afterward, wipe the rims with a damp, clean cloth to ensure a tight seal.
Process the Jars
To ensure safe preservation, process the jars in a boiling water bath for 15 minutes. For those at elevations above 6,000 feet, increase the processing time to 20 minutes. This method not only seals the jars but also helps to enhance the flavors.
Serving Suggestions
Once your cherry butter is ready, you’ll find it pairs beautifully with toasted bread, pancakes, waffles, and even charcuterie boards. Just imagine how its rich flavor enhances any meal, making it perfect for brunch gatherings or a cozy breakfast at home.
Tips for Success
- Use ripe, sweet cherries for the best flavor. If they’re too tart, the butter might not taste as good as you’d like!
- Monitor the simmering process closely to avoid burning. Stir it occasionally to keep things moving.
- Adjust sugar according to your taste preference. Everyone has different sweetness levels they enjoy.
Variations
Feel free to get creative with your cherry butter! Adding spices like cinnamon or nutmeg brings a seasonal twist that’s perfect for fall. Alternatively, mixing in a splash of vanilla extract can add depth and complexity to the flavor.
Storage Tips
Store your cherry butter in a cool, dark place if you’ve canned it. Once opened, keep it refrigerated and try to use it within a few weeks. Trust me, it won’t last long with how delicious it is!
Pairing Ideas
Cherry butter complements a range of cheeses, making it a fantastic addition to cheese platters. Think about using it as a filling for pastries and desserts too—it can bring a delightful surprise to any recipe.
FAQs
1. Can I use frozen cherries for this cherry butter recipe?
Yes, frozen cherries work just fine; just make sure to thaw and drain any excess liquid before using.
2. How long does homemade cherry butter last?
When canned properly, homemade cherry butter can last up to a year. Once opened, it’s best to keep it in the refrigerator and use it within 3-4 weeks.
3. Can I reduce the sugar in this recipe?
You sure can! However, reducing sugar also impacts preservation and the texture, so keep that in mind.
4. Is it possible to make cherry butter without canning?
Absolutely! You can store it in the refrigerator for immediate use without the canning process.
5. What can I use cherry butter for?
It’s amazing on toast, as a topping for desserts, in baking, or even mixed into yogurt or oatmeal for a flavorful breakfast.
Indulging in homemade cherry butter is a delightful way to savor summertime flavors. This treat not only elevates your breakfast but also serves as a thoughtful gift. Keep a jar handy to brighten even simple meals or share it with loved ones. This recipe isn’t just about cooking; it’s about creating cherished memories and celebrating the seasonal bounty of cherries. Enjoy!
Print
Cherry Butter
Cherry Butter offers a blend of sweet and tart flavors, perfect for a cozy breakfast or as a unique gift. It’s easy to make and a delightful addition to any meal.
- Total Time: 1 hour 20 minutes
- Yield: About 4 cups 1x
Ingredients
- 3 ½ lbs sweet cherries (about 6 cups pitted and chopped)
- 2 cups granulated sugar, divided
- Juice of 1 lemon
Instructions
- Rinse and pit the cherries, chop them, and place in a bowl.
- Combine chopped cherries with 1½ cups sugar and let sit for 15 minutes.
- Bring the mixture to a boil over medium-high heat, stirring often.
- Reduce heat and simmer for at least one hour, stirring occasionally.
- Blend the mixture to achieve a smooth consistency.
- Adjust sweetness with remaining sugar and add lemon juice.
- Check the thickness and process in canning jars.
- Seal jars and process in boiling water for 15 minutes.
Notes
Use ripe cherries for the best flavor.
Monitor the mixture closely to avoid burning.
Feel free to adjust sugar based on personal taste.
- Prep Time: 20 minutes
- Cook Time: 1 hour
- Category: Spread
- Method: Stovetop
- Cuisine: American
Nutrition
- Calories: 50
- Sugar: 12
- Sodium: 1
- Fat: 0
- Saturated Fat: 0
- Unsaturated Fat: 0
- Trans Fat: 0
- Carbohydrates: 13
- Fiber: 0.5
- Protein: 0
- Cholesterol: 0


