Skip to content
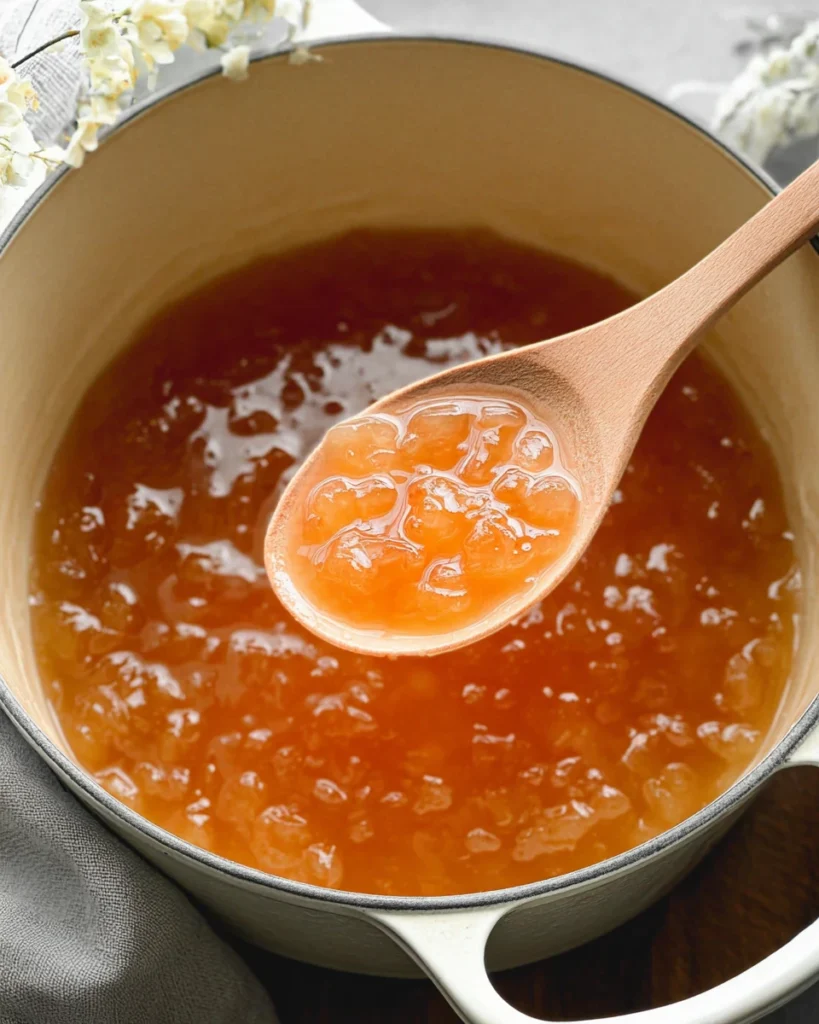
Pear jam is one of those simple pleasures that feels like a little piece of home. When the pears are ripe and bursting with flavor, there’s nothing quite like turning them into a velvety, golden jam. Imagine waking up to the smell of warm toast, topped with a generous dollop of this sweet, yet slightly tangy pear goodness. You can spread it on scones, use it as an elegant filling, or even pair it with cheese for a unique snack. As we go through this step-by-step guide, you’ll find that making pear jam is not only easy but also a fun way to preserve the beauty of this delightful fruit. With just a few ingredients and some love, you’ll batch a jar (or a few) that makes your taste buds sing and your kitchen smell divine! So grab your apron, and let’s embark on this delicious adventure together.
Thank you for reading this post, don't forget to subscribe!Why This Recipe Works
Simple ingredients create a rich flavor
This pear jam recipe relies on just three simple ingredients. The ripe pears provide a natural sweetness, while sugar helps enhance their flavor. Lemon juice adds a bright note, balancing the sweetness beautifully. The result? A jam that sings with rich, fresh flavor without using any artificial add-ins.
No pectin ensures a natural texture
Instead of using pectin, this recipe lets the pears’ natural pectin work its magic. As the jam cooks, the fruit releases its own pectin, which thickens the jam perfectly. You don’t need any chemicals or weird additives—just real fruit, sugar, and lemon juice, leading to a delightful, smooth finish.
Maceration enhances sweetness and depth
Taking the time to macerate the pears with lemon juice and sugar before cooking is key. This step not only helps soften the fruit but also allows the flavors to mingle. As the pears release their juices overnight, they develop a deeper flavor and become ultra-sweet, ready to shine in the jam.
Why You’ll Love This Pear Jam
Perfect balance of sweetness and tartness
One taste of this pear jam and you’ll understand why it’s such a favorite. The natural sugars from the pears blend beautifully with a hint of lemon tartness, creating a harmonized flavor. It’s neither too sweet nor too tangy, making it perfect for a variety of dishes.
Versatile for many uses beyond bread
While spreading it on toast is delicious, don’t stop there! This pear jam can be used as a topping for yogurt, drizzled over pancakes, or even stirred into oatmeal for a fruity twist. You can also use it as a filling for pastries or cakes, making it a wonderful addition to your baking repertoire.
A homemade touch that impresses
There’s something special about crafting your own jam. It’s not only satisfying but also impresses family and friends. Gift a jar or serve it at brunch; everyone will appreciate the homemade touch that comes with your pear jam.
Ingredients
- 4 lbs ripe pears
- 2 to 3 cups granulated sugar, to taste
- 1/4 cup bottled lemon juice
Preparing the Pears for Jam

Peel, Core, and Dice the Pears
Start by peeling the pears and removing the cores. Dice them into small pieces, which helps ensure even cooking. The small size perfectly complements the final jam texture.
Combine Pears with Sugar and Lemon Juice
In a large mixing bowl, toss the diced pears with lemon juice and the sugar. Make sure every piece is coated well. This mixture will not only begin the maceration process but also create a syrup that adds flavor.
Refrigerate the Mixture
Cover the bowl with plastic wrap and pop it in the refrigerator. Allow the mixture to sit for at least 12 to 24 hours. Though you could go as short as 4 hours, letting it sit longer develops deeper flavors and liquid.
Cooking the Pear Jam
Transfer to a Saucepan
After the pear mixture has macerated, it’s time to cook! Pour everything, syrup included, into a large, heavy-bottomed saucepan. This type of pot prevents sticking and burning.
Bring to a Boil
Place the saucepan over high heat and bring the mixture to a rolling boil. Watch it carefully, as it can bubble over. Once it’s boiling, this is when the magic begins!
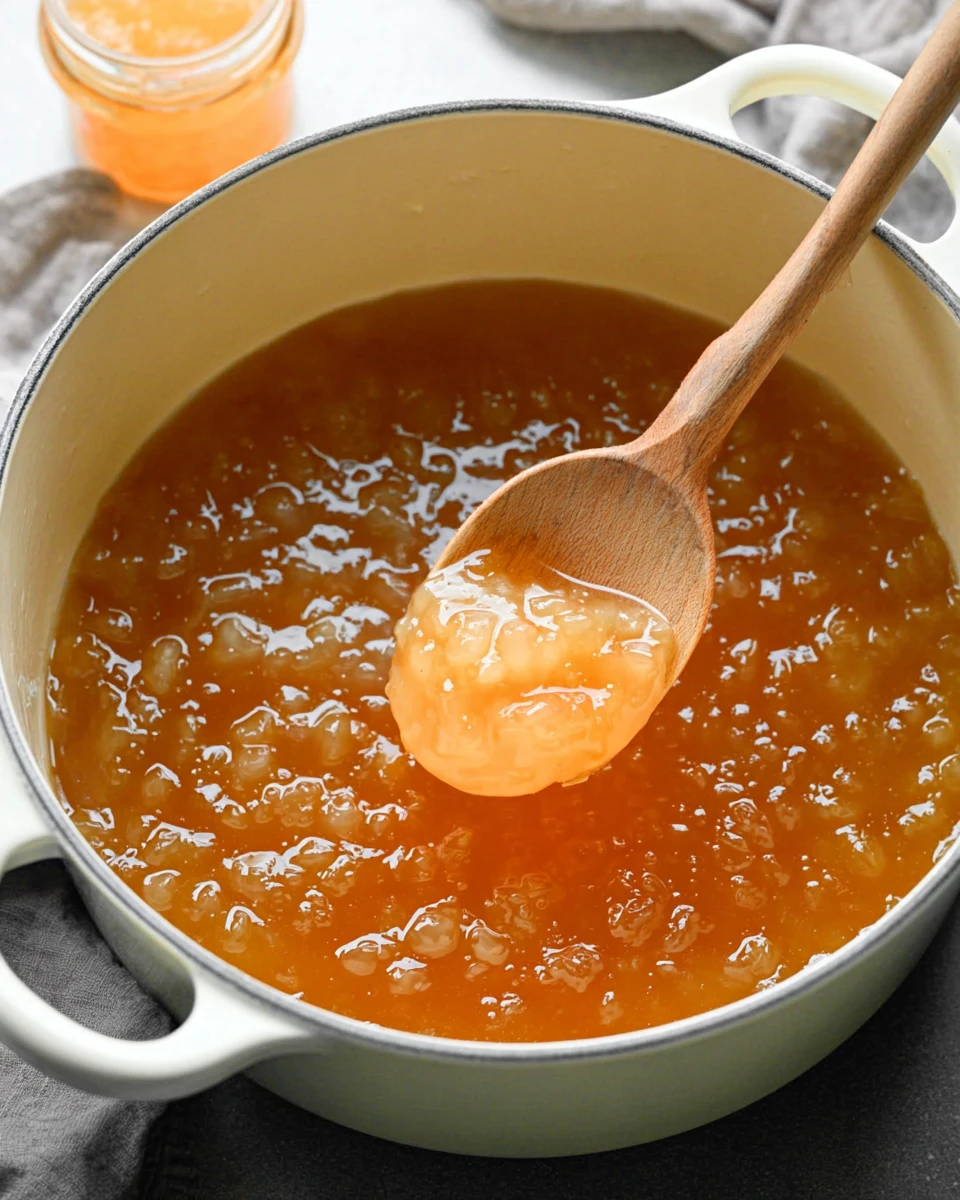
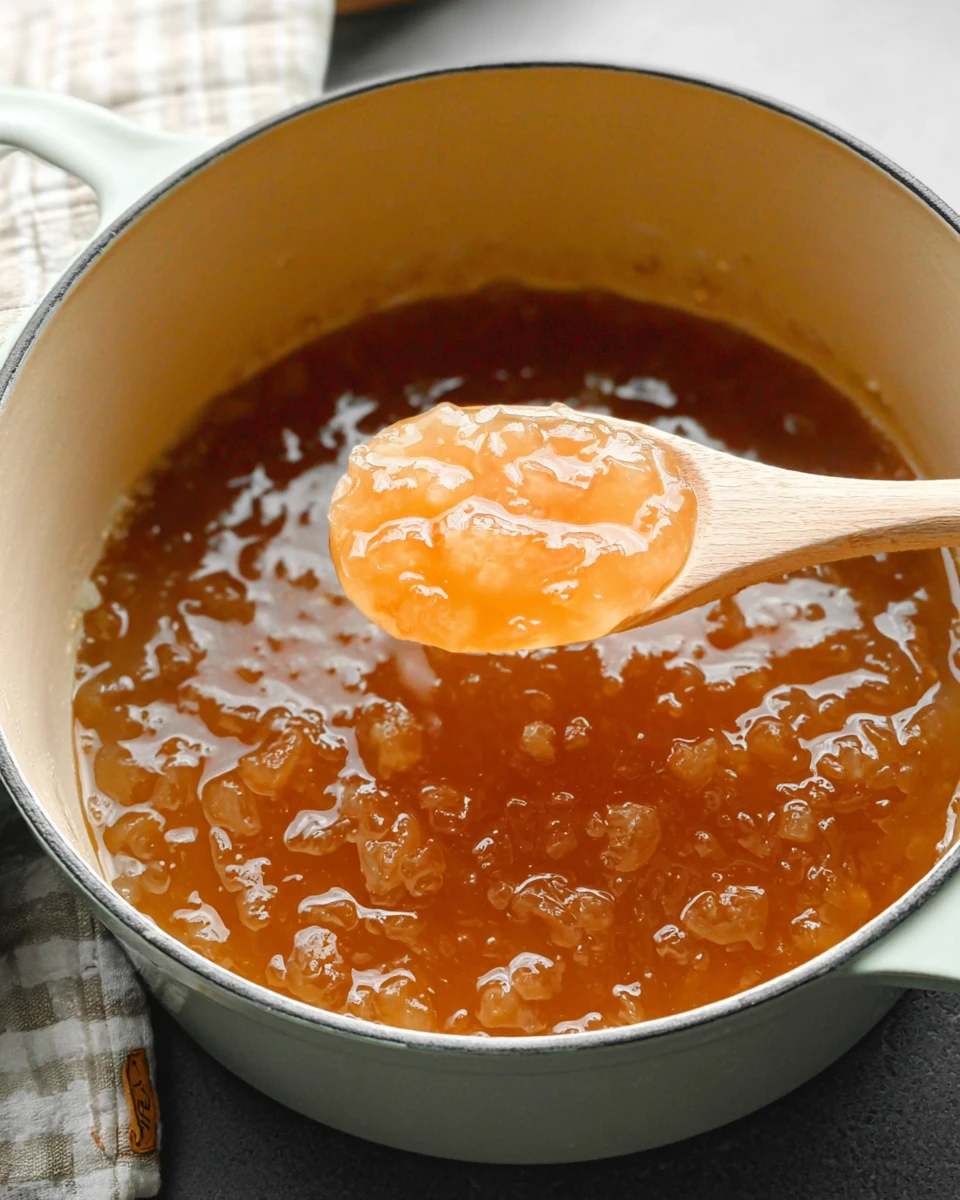
Simmer the Jam
Lower the heat to medium-high and let the jam simmer. Cook for 10 to 15 minutes, stirring occasionally. You want the mixture to thicken; it should coat the back of a spoon when it’s ready.
Check for Gel Stage
To see if your jam is set, use a food thermometer. Aim for around 220°F (105°C). You can also test by dropping a spoonful of jam on a cold plate and checking if it wrinkles when you push it with your finger.
Canning the Jarred Pear Jam
Prepare Jars for Processing
Once the jam is thick and ready, you’ll need to prepare your jars. Pour your pear jam into sterilized half-pint jars, leaving about 1/4 inch of headspace. Wipe the jar rims with a clean cloth and secure the two-piece canning lids tight enough to be fingertip-tight.
Process in Hot Water Canner
Carefully place the jars in a hot water canner, ensuring they are covered by at least an inch of water. Process the jars for 10 minutes. This step seals the jars and helps preserve your jam.
Cool and Store the Jars
When the time’s up, turn off the heat but let the jars sit in the canner for an additional 5 minutes. Then transfer them to a clean surface lined with a kitchen towel. Allow them to cool completely before storing.
Serving Suggestions
- Spread on toast or scones for breakfast
- Pair with cheese for a savory snack
- Use as a filling for pastries or cakes
Tips for Success
- Choose ripe, flavorful pears for the best results.
- Adjust the sugar based on the natural sweetness of the pears to ensure your jam has the perfect taste.
- Always check the seals after processing to avoid spoilage.
Variations
- Add spices like cinnamon or nutmeg for a seasonal twist that brings warmth to the flavors.
- Mix with other fruits such as apples or ginger for diverse taste experiences in your jam.
Storage Tips
- Once sealed, store your jars in a cool, dark place, and they can last for up to 18 months.
- For any unsealed jars, keep them refrigerated and use promptly within 1 to 2 weeks.
Pairing Ideas
- Pair with yogurt for a tasty, fruity breakfast option some mornings.
- Use as a delightful topping over pancakes or waffles to surprise your family with a sweet twist.
FAQs
1. Do I need pectin for this pear jam?
No, this recipe makes use of the natural fruit pectin found in pears.
2. Can I use frozen pears for this recipe?
Yes, you can use frozen pears, though the texture may differ a bit from fresh ones.
3. How long should I process the jars in the canner?
You’ll want to process them for 10 minutes in a hot water canner.
4. Can I get creative with flavors?
Absolutely! Feel free to experiment with spices like cinnamon or even zest from citrus for added depth.
5. How can I tell if my jam is set?
Check the jam’s temperature, aiming for around 220°F, or test it on a cold plate; it should have a gel consistency.
Making pear jam is more than just a cooking project; it’s about the joy of creating and savoring something truly homemade. This recipe is a celebration of the beautiful fruit, transforming it into a lasting keepsake of flavor. So gather your ingredients, roll up your sleeves, and enjoy the process. Your friends and family will love you for it!
Print
Pear Jam
This pear jam is a delightful blend of ripe pears, sugar, and lemon juice, resulting in a sweet and tangy spread that’s perfect for toast, pastries, or cheese pairings.
- Total Time: 12 hours 15 minutes
- Yield: Approximately 4 half-pint jars 1x
Ingredients
- 4 lbs ripe pears
- 2 to 3 cups granulated sugar, to taste
- 1/4 cup bottled lemon juice
Instructions
- Peel, core, and dice the pears.
- Combine pears with sugar and lemon juice in a mixing bowl.
- Refrigerate mixture for at least 12 hours.
- Transfer the mixture to a saucepan and bring to a boil.
- Lower heat and simmer for 10 to 15 minutes until thickened.
- Check for gel stage.
- Prepare jars and process in a hot water canner for 10 minutes.
- Cool jars completely before storing.
Notes
Choose ripe pears for the best flavor.
Adjust sugar based on pear sweetness.
Check seals after processing to avoid spoilage.
- Prep Time: 12 hours (excluding active prep time)
- Cook Time: 15 minutes
- Category: Condiment
- Method: Canning
- Cuisine: American
Nutrition
- Calories: 50
- Sugar: 12
- Sodium: 0
- Fat: 0
- Saturated Fat: 0
- Unsaturated Fat: 0
- Trans Fat: 0
- Carbohydrates: 13
- Fiber: 0
- Protein: 0
- Cholesterol: 0