 Skip to content
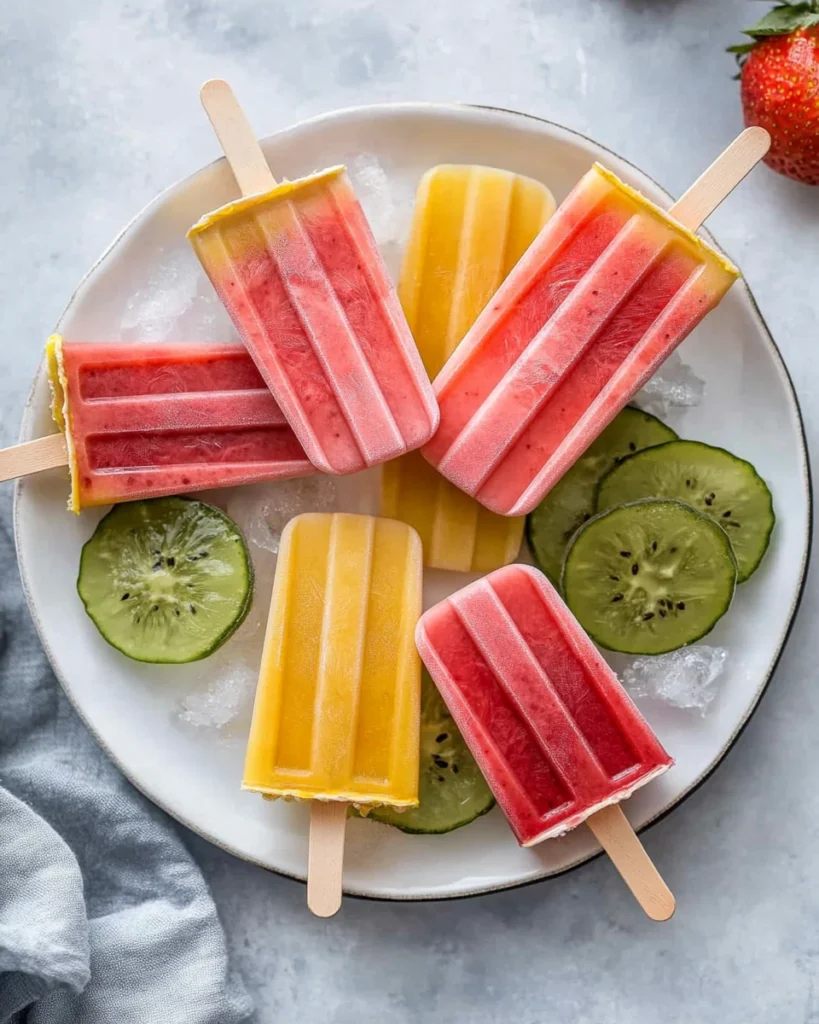
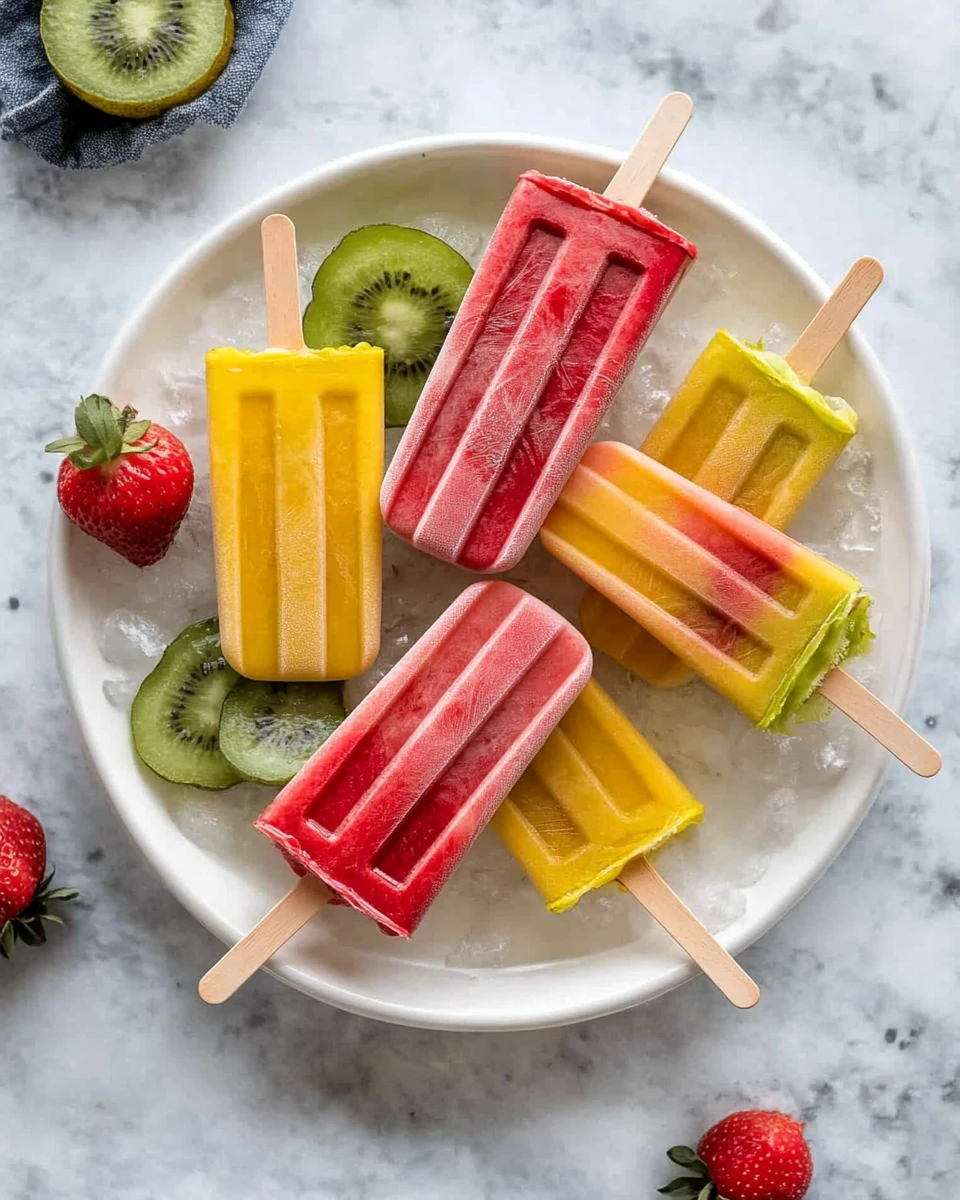
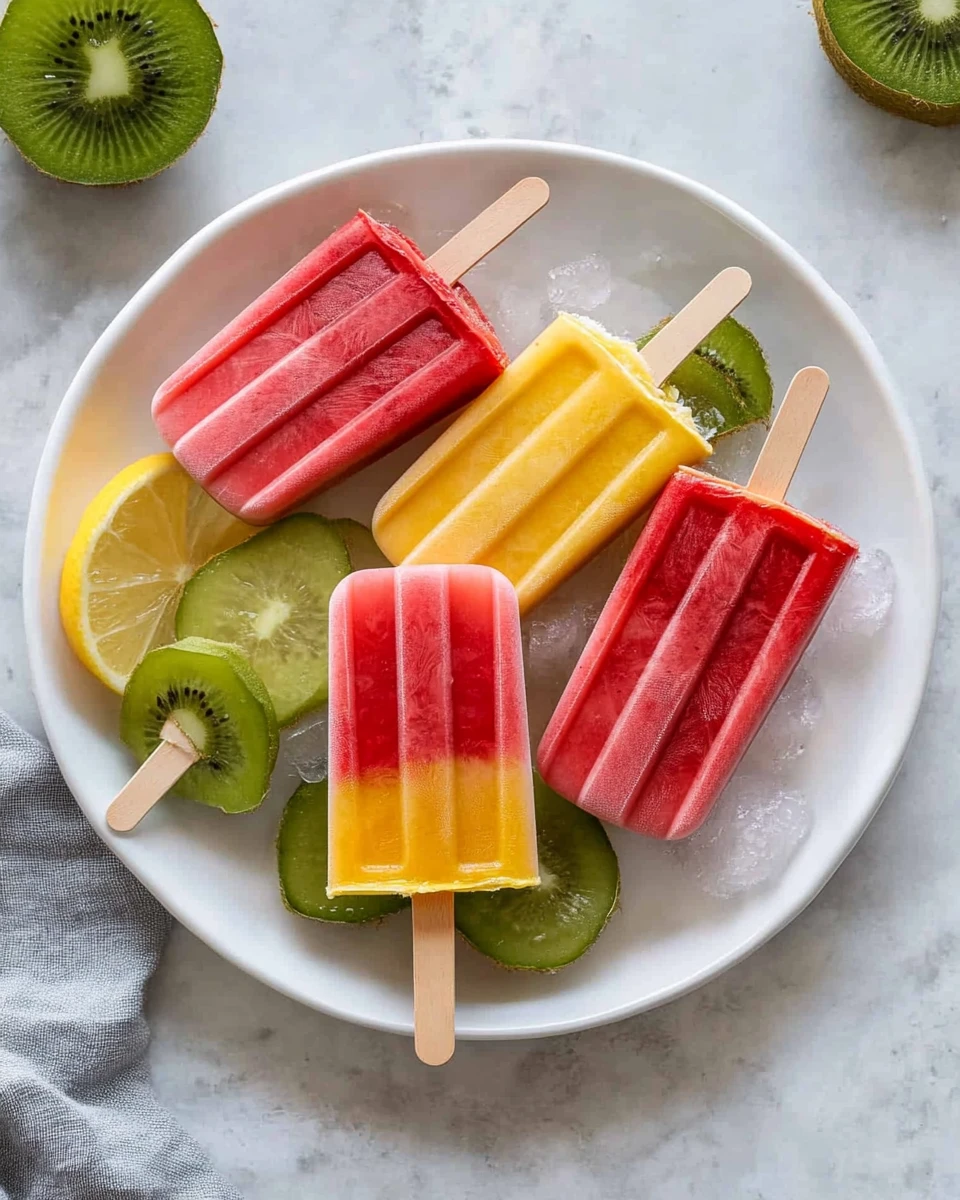
Making your own popsicles is as fun as it is refreshing! It’s a creative kitchen project perfect for a hot summer day or a sweet treat any time of the year. This guide will show you how to make popsicles that are not only delicious but also nutritious. You get to pick your favorite fruits, experiment with flavors, and control what goes into them. Imagine biting into a popsicle that bursts with the flavors of fresh strawberries, mangoes, and kiwis! There’s something incredibly satisfying about blending fresh ingredients and pouring them into molds. Plus, it’s a fantastic activity to share with family or friends. So, grab your blenders and get ready for a fruity adventure in your kitchen!
Thank you for reading this post, don't forget to subscribe!Why This Recipe Works
Making popsicles from scratch allows you to control the ingredients, ensuring a healthier treat without artificial flavors or excessive sugars. By using fresh fruit and natural sweeteners like honey, every bite bursts with nutrition and flavor. This method encourages creativity, letting you experiment with different fruits and flavors. You can even mix and match to create your signature blend!
Why You’ll Love This How to Make Popsicles
Who doesn’t love a refreshing treat on a hot day? These homemade popsicles not only cater to your taste preferences but also provide a fun, interactive way to spend time with family or friends. They are perfect for kids and adults alike, making them an ideal snack for summer gatherings or a healthy dessert option. With endless flavor possibilities, you’ll always have something exciting to serve!

Ingredients for Homemade Popsicles
- 2 ½ cups strawberries, quartered
- 2 tablespoons lemon juice
- 1 tablespoon honey
- Pinch of salt
- 2 ¼ cups mango, chopped
- ¼ cup orange juice
- 1 tablespoon honey
- Pinch of salt
- 2 ¼ cups kiwi, chopped
- 2 tablespoons lemon juice
- 1 tablespoon honey
- Pinch of salt
Blending the Fruit Puree
Combine Fresh Ingredients
Begin by adding the quartered strawberries, lemon juice, honey, and a pinch of salt into a blender. Blend until smooth and creamy. This strawberry base will create a lovely foundation for your popsicles.
Repeat for Mango Puree
Next, blend together the chopped mango, orange juice, honey, and a pinch of salt. Blend it until silky. This will add a tropical twist that pairs wonderfully with the berry base.
Finish with Kiwi Puree
Finally, toss in the chopped kiwi, lemon juice, honey, and a pinch of salt. Blend until the mixture is smooth. The kiwi adds a beautiful tartness that balances the other flavors perfectly.
Pouring and Freezing the Mixtures
Layering the Flavors
Divide each fruit puree evenly between your popsicle molds, creating distinct layers for a visually appealing treat. It’s fun to see the vibrant colors separate, and this layering can make your popsicles look like works of art!
Cap and Freeze
Once filled, cap the molds and place them in the freezer. Allow the popsicles to freeze until firm, approximately 4 hours. If you’re in a hurry, you might check them after three hours, but waiting for a full four will ensure they’re solid.
Unmolding the Popsicles
Soften with Warm Water
To release the popsicles from the molds, run the bottoms under hot water for about 5 seconds. This will help loosen them without melting the popsicles. Just be cautious not to soak them too long!
Serve and Enjoy
Gently pull the popsicles out of the molds, and they’re ready to enjoy! You’ll love the satisfying sensation of removing them with ease, and the first bite will remind you of summertime bliss.
Serving Suggestions
Serve your homemade popsicles on a hot day, perhaps with a side of fresh fruit or yogurt for dipping. They make excellent party treats that can be customized for any occasion. Get creative with the presentation, maybe even sprinkle some chopped nuts or chocolate chips on the yogurt for an extra treat!
Tips for Success
- Use ripe fruit for the best flavor and sweetness. Riper fruits are often sweeter and more flavorful.
- Adjust the sweetness by adding more or less honey according to your taste. You can always taste as you blend!
- Keep your popsicles covered in the freezer to prevent them from absorbing other food odors. This will help maintain their fresh taste.
Variations
Experiment with different fruits like blueberries, peaches, or even a mixture of berries. You can also add a splash of coconut milk for a creamier texture or herbs like mint for added freshness. The options are endless, so feel free to think outside the box!
Storage Tips
Store any leftover popsicles in a sealed bag or container to maintain freshness and prevent freezer burn. They can last up to a month in the freezer, but they’re best enjoyed fresh! Keeping them covered will help retain their flavors.
FAQs
1. How long do homemade popsicles last in the freezer?
Homemade popsicles can last up to a month in the freezer, but for the best flavor, enjoy them within two weeks.
2. Can I use frozen fruit for this recipe?
Yes, you can absolutely use frozen fruit. Just make sure to let it thaw slightly before blending for the best texture.
3. What can I substitute for honey?
Maple syrup or agave nectar can work well as substitutes for honey if you’re looking for a vegan option. They add sweetness without the need for honey.
4. How do I prevent my popsicles from sticking to the mold?
Using a little cooking spray or letting the molds sit in warm water can help release the popsicles easily. This makes for a smoother serving process.
5. Are there any allergens to consider?
Always check the specific fruits and any additional ingredients for allergies. This recipe is naturally gluten-free and can be made dairy-free, which is great for accommodating different dietary needs.
Indulging in these homemade popsicles is a perfect way to cool down and savor the flavors of summer. By following this step-by-step guide, you can create a variety of vibrant, nutritious popsicles that will surely impress family and friends. Enjoy the chance to make memories while experimenting with flavors, and relish in a refreshing break on a hot day!
Print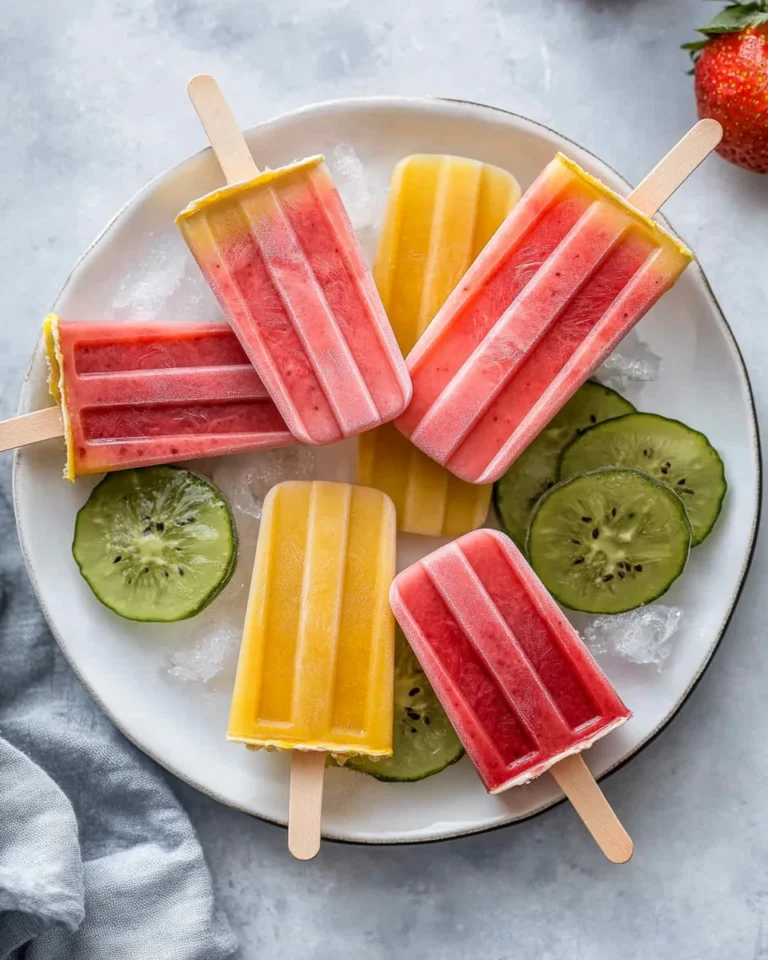
Homemade Popsicles
These homemade popsicles are a refreshing and healthy treat, perfect for summer days or any time you crave a fruity snack. With vibrant layers of strawberries, mangoes, and kiwis, they are sure to please everyone!
- Total Time: 0 hours
- Yield: 10 popsicles 1x
Ingredients
- 2 ½ cups strawberries, quartered
- 2 tablespoons lemon juice
- 1 tablespoon honey
- Pinch of salt
- 2 ¼ cups mango, chopped
- ¼ cup orange juice
- 1 tablespoon honey
- Pinch of salt
- 2 ¼ cups kiwi, chopped
- 2 tablespoons lemon juice
- 1 tablespoon honey
- Pinch of salt
Instructions
- Blend strawberries with lemon juice, honey, and salt until smooth.
- Blend mango with orange juice, honey, and salt until silky.
- Blend kiwi with lemon juice, honey, and salt until smooth.
- Layer the fruit purees in popsicle molds.
- Cap molds and freeze for about 4 hours.
- Run molds under warm water briefly to release popsicles.
- Serve and enjoy!
Notes
Use ripe fruits for enhanced sweetness and flavor.
Adjust honey to taste when blending.
Keep popsicles covered in the freezer for optimal flavor.
- Prep Time: 30 minutes
- Cook Time: 4 hours freezing
- Category: Dessert
- Method: Freezing
- Cuisine: American
Nutrition
- Calories: 80
- Sugar: 15
- Sodium: 3
- Fat: 0.5
- Saturated Fat: 0
- Unsaturated Fat: 0.5
- Trans Fat: 0
- Carbohydrates: 20
- Fiber: 2
- Protein: 1
- Cholesterol: 0


