Skip to content
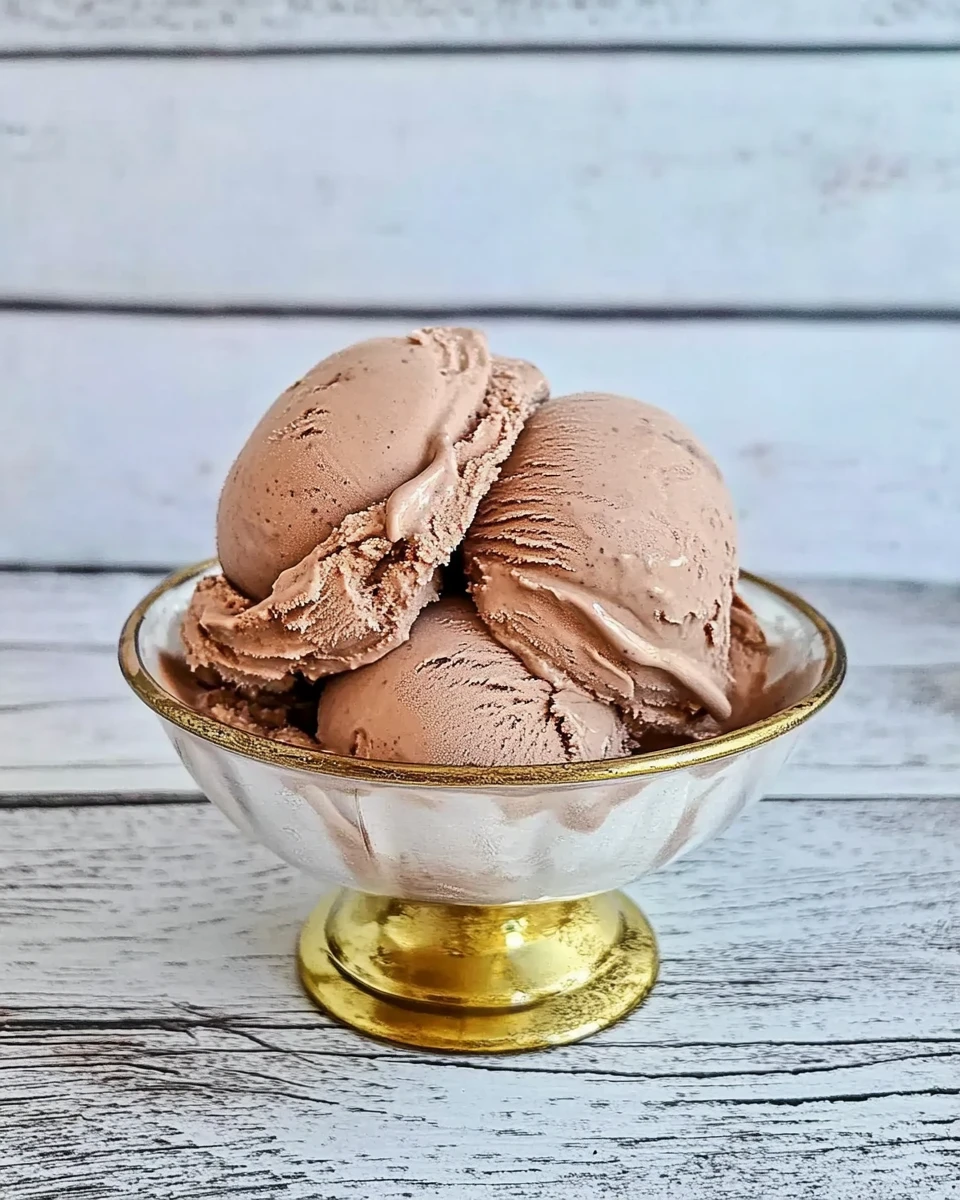
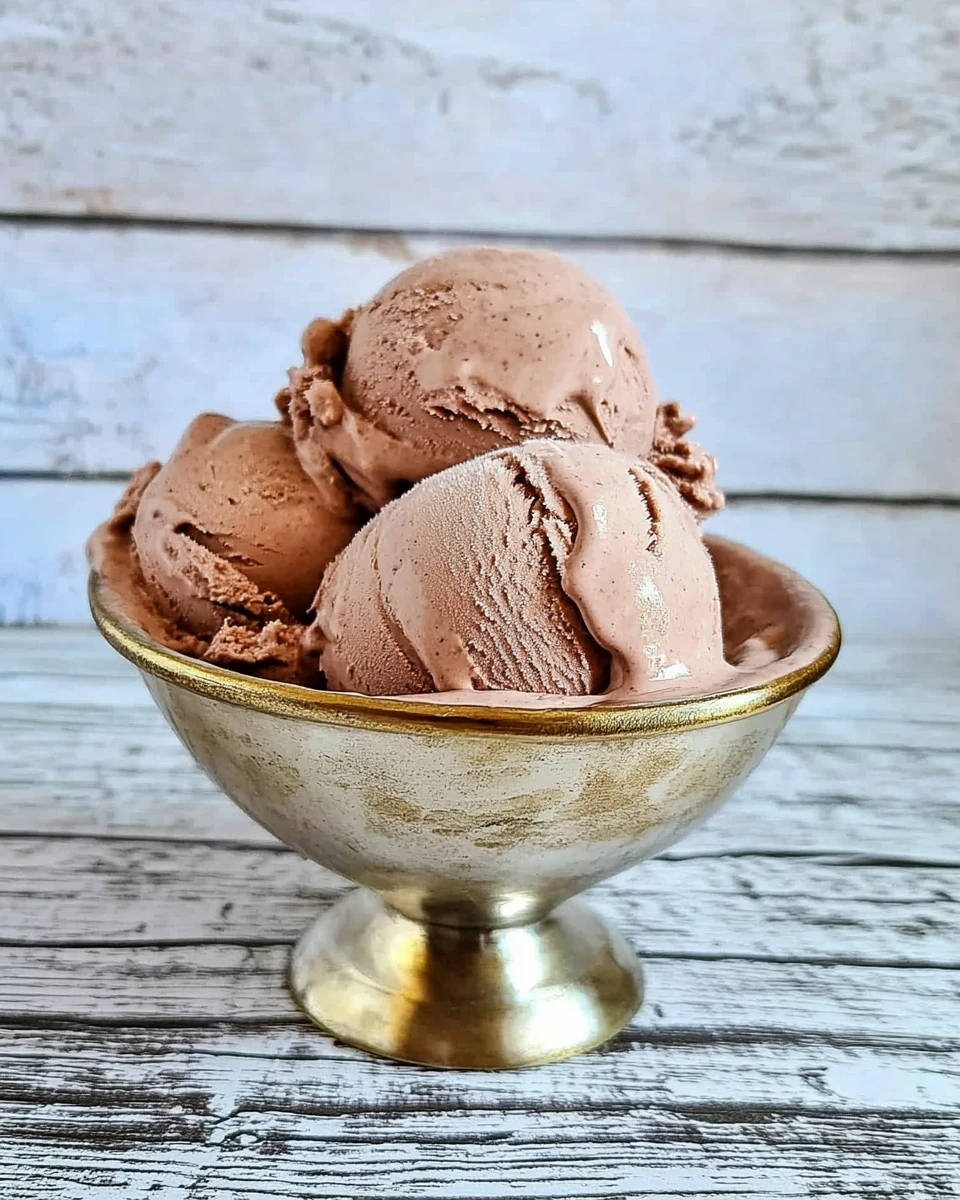
Creating the best homemade chocolate ice cream at home is a delightful experience that merges simplicity with indulgence. Imagine walking into your kitchen and filling the air with the rich, chocolatey aroma as you combine just a few ingredients. Whether it’s a hot summer day or a family gathering, homemade ice cream always brings joy. As you whip up this delicious treat, you’ll not only be making a dessert but also unforgettable memories. This process is fun, and you might just find yourself excited about sharing your creations with friends or enjoying some quiet time with a bowl of creamy chocolate goodness. Let’s get started on making the best homemade chocolate ice cream, your new go-to recipe that’s easy and oh-so-satisfying!
Thank you for reading this post, don't forget to subscribe!Why This Recipe Works
Creating the best homemade chocolate ice cream is more than just combining ingredients—it’s about understanding how each element contributes to the final taste and texture. The richness of heavy whipping cream, the deep chocolate flavor from cocoa powder, and the sweetness of sugar come together, resulting in a creamy, decadent dessert that’s hard to resist.
Why You’ll Love This How to Make the Best Homemade Chocolate Ice Cream at Home
This recipe simplifies the ice cream-making process, making it accessible and enjoyable for anyone. With its luscious taste and smooth texture, homemade chocolate ice cream can become a staple in your kitchen. It not only elevates your baking repertoire but also delights your friends and family. Plus, nothing beats the satisfaction of crafting a delicious treat right from your kitchen.
Ingredients You’ll Need for the Best Homemade Chocolate Ice Cream
- 3/4 cup white sugar
- 1/2 cup cocoa powder
- 1 cup heavy whipping cream
- 2 cups whole milk
- 2 teaspoons vanilla extract
How to Make the Best Homemade Chocolate Ice Cream

Whisk Together Cocoa, Sugar, Cream, and Milk
Begin by stirring the cocoa powder, sugar, heavy whipping cream, and whole milk in a saucepan over low heat. This gentle heat allows the sugar to dissolve completely into the mixture, creating a smooth base for your ice cream. As you whisk, watch how the chocolate and cream blend together—this step is key to a rich flavor.
Chill the Mixture
Once the sugar has dissolved, remove the saucepan from heat. Stir in the vanilla extract to add tantalizing aroma and flavor. For best results, chill the mixture thoroughly—ideally, let it sit in the refrigerator overnight. This step enhances the overall flavor, ensuring every scoop of ice cream is a delicious treat.
Churn the Ice Cream
After chilling, pour the cold ice cream mixture into your ice cream maker. Follow the manufacturer’s instructions, churning for about 20 to 25 minutes. This process incorporates air into the mixture, giving your ice cream a light and fluffy texture. You’ll notice it thickening beautifully—resist the urge to skip this crucial step for the best results.
Freeze for Firmness
Once churned, transfer your chocolate ice cream to an airtight container. Place it in the freezer to harden for 2 to 3 hours, allowing it to reach the perfect scoopable consistency. This step is important, as it transforms your soft mixture into delicious, manageable scoops.
Serving Suggestions
Serve your homemade chocolate ice cream in bowls or cones, maybe even topped with your favorite accompaniments like chocolate syrup, sprinkles, or fresh fruit. It pairs wonderfully with brownies or pieces of chocolate cake for an indulgent dessert experience. Don’t shy away from experimenting; every scoop can be a special treat!
Tips for Success
- Use Quality Ingredients: High-quality cocoa powder and fresh cream enhance the flavor significantly. The better the ingredients, the more delicious your ice cream.
- Chill Your Tools: For an extra creamy texture, chill your ice cream maker bowl for a few hours before use. This little hack can work wonders.
- Avoid Over-Churning: Keep an eye on the churning process; over-churning can lead to a grainy texture. You want it creamy and smooth.
Variations
- Add Mix-ins: Consider adding chocolate chips, nuts, or swirls of caramel during the last few minutes of churning. This can elevate your ice cream experience.
- Make It Mint Chocolate: Add a few drops of peppermint extract for a refreshing twist on classic chocolate ice cream. It’s like a cool breeze in a bowl!
- Experiment with Flavors: Incorporate different extracts like almond or hazelnut for unique flavor profiles. Who doesn’t love a little adventure in their dessert?
Storage Tips
Store your homemade chocolate ice cream in a tightly sealed container in the freezer. It’s best consumed within 1-2 weeks for optimal freshness, but it can last up to a month. Just remember to let it sit out for a few minutes before scooping for easier serving.
FAQs
1. Can I use low-fat milk instead of whole milk?
While you can substitute low-fat milk, it might affect the creaminess of your ice cream. Whole milk gives that rich texture we crave.
2. How can I make my ice cream firmer?
Let the ice cream freeze longer after churning, or consider adding a stabilizer like corn syrup.
3. Can I make this without an ice cream maker?
Yes! Pour the mixture into a shallow dish, freeze, and stir every 30 minutes until it reaches your desired consistency. Patience is key!
4. How long does homemade chocolate ice cream last?
It can last in the freezer for up to a month when stored properly. Just try to resist devouring it all at once!
5. What can I use instead of heavy cream?
You can use coconut cream for a non-dairy option, though the flavor will change slightly. It can add a unique twist!
Making the best homemade chocolate ice cream at home doesn’t have to be a daunting task. With just a handful of ingredients and a bit of time, you can create a delightful dessert that captures the essence of summer. Each spoonful not only delivers a rich chocolate experience but also the satisfaction of having crafted something truly special from scratch. Enjoy sharing scoops of this joy with friends and family, and don’t forget to experiment with variations as you discover what works best for you!
Print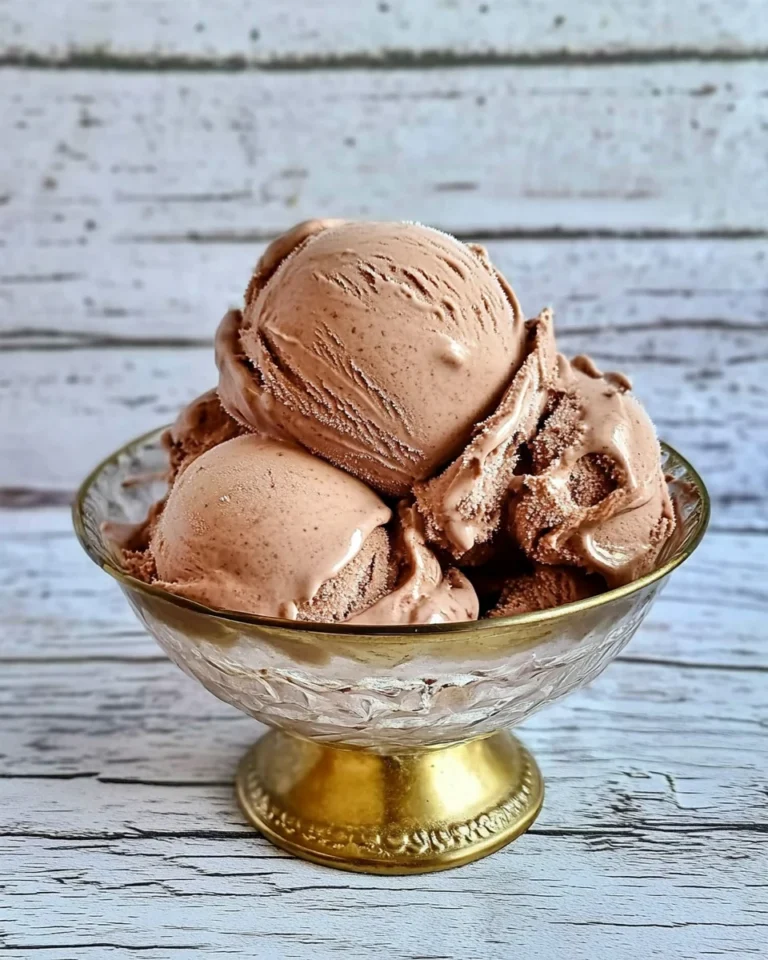
Chocolate Ice Cream
This chocolate ice cream boasts a rich, creamy flavor enhanced by premium cocoa powder and fresh heavy cream, perfect for cooling off or celebrating special moments.
- Total Time: 25 minutes
- Yield: 4 servings 1x
Ingredients
- 3/4 cup white sugar
- 1/2 cup cocoa powder
- 1 cup heavy whipping cream
- 2 cups whole milk
- 2 teaspoons vanilla extract
Instructions
- Whisk cocoa powder, sugar, heavy whipping cream, and whole milk in a saucepan over low heat until dissolved.
- Remove from heat, stir in vanilla extract, and chill the mixture in the refrigerator.
- Pour the cold mixture into an ice cream maker and churn according to the manufacturer's instructions for 20 to 25 minutes.
- Transfer to an airtight container and freeze for 2 to 3 hours before serving.
Notes
Use high-quality cocoa powder and fresh cream for better flavor.
Chill the ice cream maker bowl before use for creamier texture.
Monitor the churning process to avoid grainy texture.
- Prep Time: 15 minutes
- Cook Time: 10 minutes
- Category: Dessert
- Method: Churning
- Cuisine: American
Nutrition
- Calories: 200
- Sugar: 20
- Sodium: 50
- Fat: 10
- Saturated Fat: 6
- Unsaturated Fat: 4
- Trans Fat: 0
- Carbohydrates: 24
- Fiber: 1
- Protein: 3
- Cholesterol: 40