 Skip to content
Red currants are such a delightful fruit, and I can’t wait to share my No-Cook Red Currant Syrup Recipe with you! This simple, refreshing syrup comes together without any fuss or cooking, making it perfect for hot summer days or whenever you want a burst of flavor without heating up the kitchen. It captures the tartness of red currants while staying sweet enough to drizzle over just about anything—from pancakes to ice cream. Plus, with the vibrant color and aroma it brings, you won’t just be making syrup; you’ll be crafting a little piece of joy to brighten up your meals. Let’s get started, and I promise you’ll love the result!
Thank you for reading this post, don't forget to subscribe!Why This Recipe Works
This no-cook method for making red currant syrup preserves the vibrant flavor of the fruit while being incredibly simple. By harnessing the natural sweetness of red currants and a touch of citric acid, this syrup remains fresh and tangy without the need for heating. You get to enjoy the authentic taste of the berries and avoid any possible loss of flavor from cooking. This recipe embraces the fruit’s essence and captures its brilliance, making it a must-try for anyone who appreciates fresh, homemade syrups.
Why You’ll Love This No-Cook Red Currant Syrup Recipe
Crafted with love and simplicity, this no-cook red currant syrup brings the berry’s bright taste to your kitchen effortlessly. Imagine waking up to fluffy pancakes, golden waffles, or even creamy yogurt topped with a glossy drizzle of red currant syrup. It’s perfect for drizzling over breakfast items, mixing into cocktails, or adding a fruity punch to your desserts. With its versatile uses and delightful flavor, you’ll quickly find endless opportunities to incorporate this syrup into your meals, making every dish just a little more special.
Ingredients
- 4.4 Pounds Red Currants, fresh and cleaned (without leaves)
- 10 Cups Water
- ¼ Cup Citric Acid
- 10 Cups Sugar
- 1 Tablespoon Sorbic Acid
How to Make No-Cook Red Currant Syrup
Prepare the Fresh Berries
Start by picking your red currants. Be sure to remove all green parts and any leaves, rinsing the berries in clear water. You can add a splash of vinegar to help eliminate any insects, ensuring they are nice and clean. Afterward, weigh your cleaned berries to confirm you have the right amount for the recipe. This step is key for achieving the perfect balance of flavor in your syrup.
Infuse the Mixture
Next, place the berries into a clean food-grade bucket. Pour 10 cups of water over the berries and add ¼ cup of citric acid. Now, mix well to ensure everything combines thoroughly. Cover the bucket with a lid to keep impurities out while the magic happens. Allow the mixture to infuse for two days. Stir 1 to 2 times each day; this gentle stirring helps enhance flavor extraction and makes all the difference in the final syrup.
Add Sugar and Sorbic Acid
After two days, you’ll notice that the berries have lost some of their bright color, which is perfectly normal. At this point, it’s time to add 10 cups of sugar and 1 tablespoon of sorbic acid to the infusion. Stir really well until the sugar dissolves completely. Allow it to sit for another 5 hours, giving the flavors time to meld beautifully. This resting period allows the sweetness to balance with the tangy notes of the berries.
Bottle the Syrup
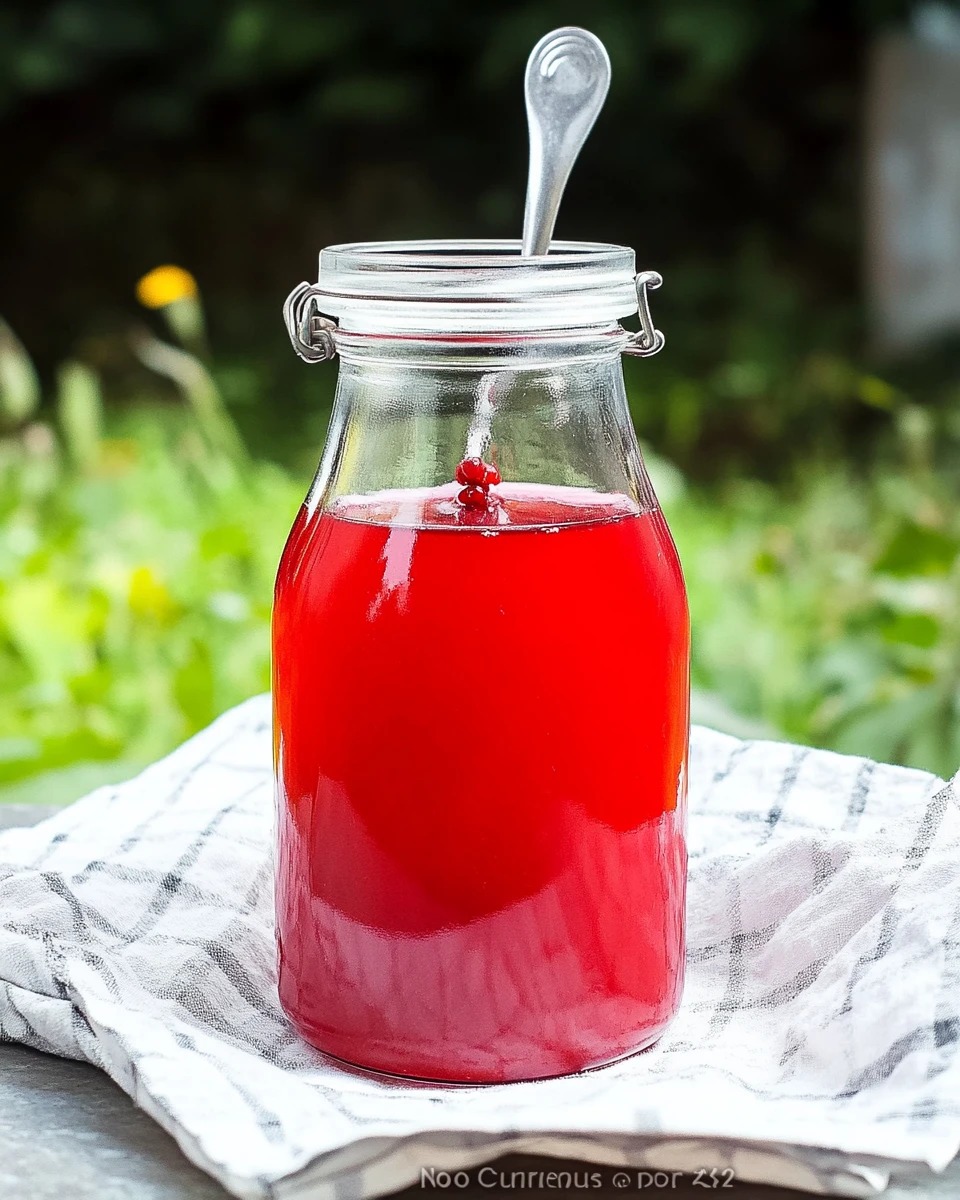
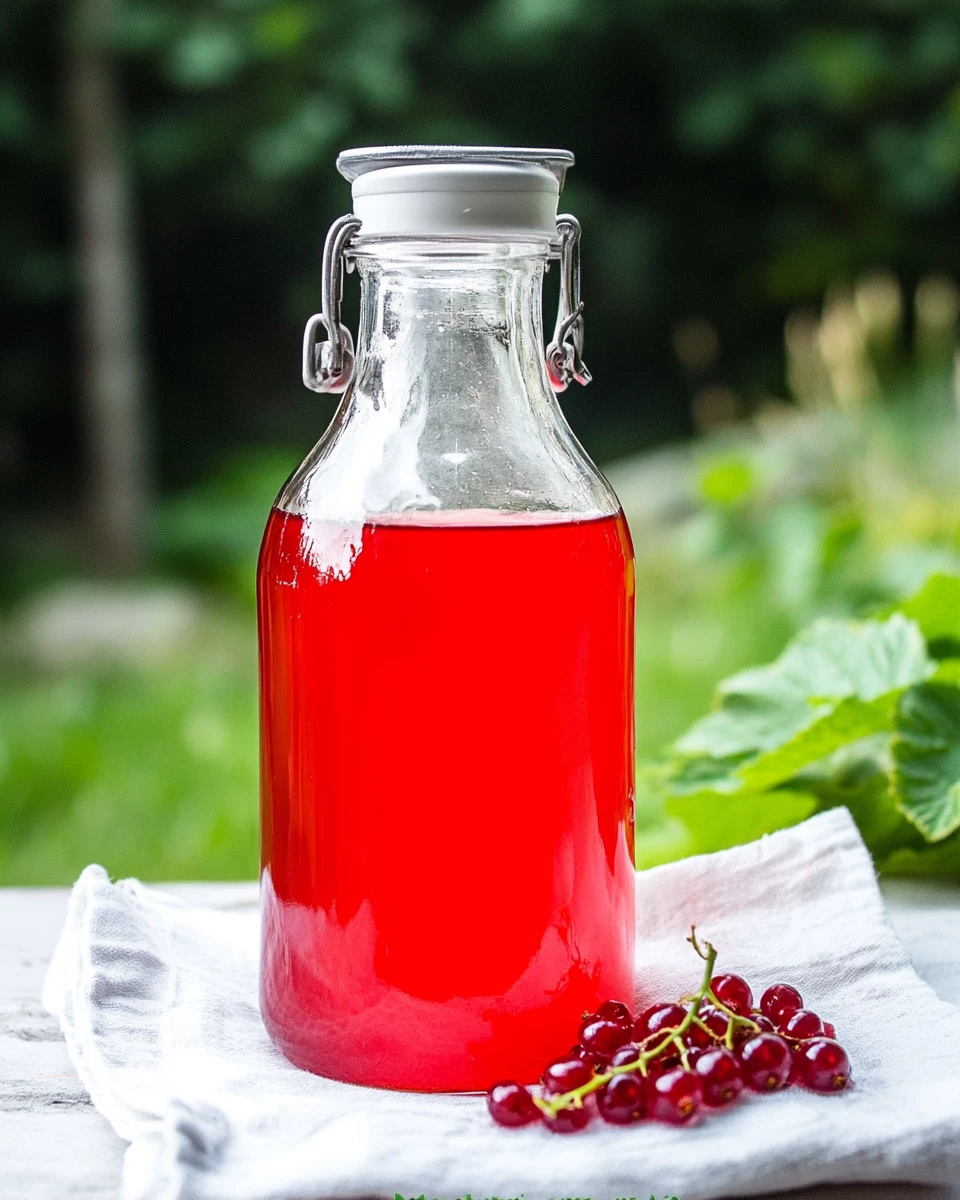
Now it’s time to bottle your delicious creation! Prepare your clean bottles and set a sieve over a funnel. Carefully pour the infusion through the sieve and into the bottles using a ladle. Press down on the berries to extract all the lovely syrup, then discard the leftover berry mash. Make sure to clean the bottles with running water to remove any stickiness. Lastly, don’t forget to label them with the name and date so you know when you made this delightful syrup.
Serving Suggestions
- Drizzle over pancakes, waffles, or French toast for a fruity twist that’s sure to brighten your breakfast.
- Mix into cocktails like mojitos or gin and tonics for a refreshing flavor that’s perfect for warm evenings.
- Use as a topping for ice cream, yogurt, or cheesecake—there’s nothing like adding a burst of fruity goodness to your desserts.
Tips for Success
- Quality Containers: It’s essential to use a clean and food-safe container for infusion. This helps prevent any contamination that could spoil your syrup.
- Regular Stirring: Don’t skip the stirring! Doing this regularly during the infusion period gives you a deeper flavor and a better syrup overall.
- Storage: Keep the syrup refrigerated for the best flavor retention, especially after opening. It helps preserve the vibrant taste for weeks to come.
Variations
- Feel free to experiment! You can add herbs like mint or basil during the infusion for unique flavor profiles that will surprise your taste buds.
- Consider combining with other berries for a mixed berry syrup, bringing even more variety and depth to your creations.
- If you prefer a less sweet syrup, simply reduce the amount of sugar to suit your taste.
Storage Tips
To keep your bottled red currant syrup at its best, store it in a cool, dry place away from direct sunlight. After opening, refrigerating it is a good idea. It helps maintain its freshness and flavor for a longer time, allowing you to enjoy every last drop.

FAQs
Q1: Can I use frozen red currants for this recipe?
A1: Yes, frozen red currants work just fine! Keep in mind that they may release more water during the infusion process, which could affect the syrup’s final consistency.
Q2: How long does the syrup last?
A2: When stored properly, this syrup can last several months. However, once you’ve opened it, it’s best to use it within a few weeks for optimal freshness.
Q3: Can I adjust the sweetness of the syrup?
A3: Absolutely! You’re welcome to reduce the sugar amount for a less sweet syrup that suits your palate.
Q4: What alcohol can I mix the syrup with?
A4: This syrup pairs beautifully with vodka, gin, or rum, providing a fruity base for all kinds of cocktails.
Q5: Is it possible to can this syrup?
A5: Yes, you can definitely can this syrup in sterilized jars if you’d like to make it shelf-stable. Just follow proper canning guidelines to ensure safety.
Crafting your no-cook red currant syrup is not just about the final product, but the journey of flavors you create along the way. Imagine the bursts of fresh, fruity flavor that elevate your meals and drinks. This effortless recipe connects you with nature’s bounty, allowing you to savor sweet memories with every taste. Enjoy your syrup adventure!
Print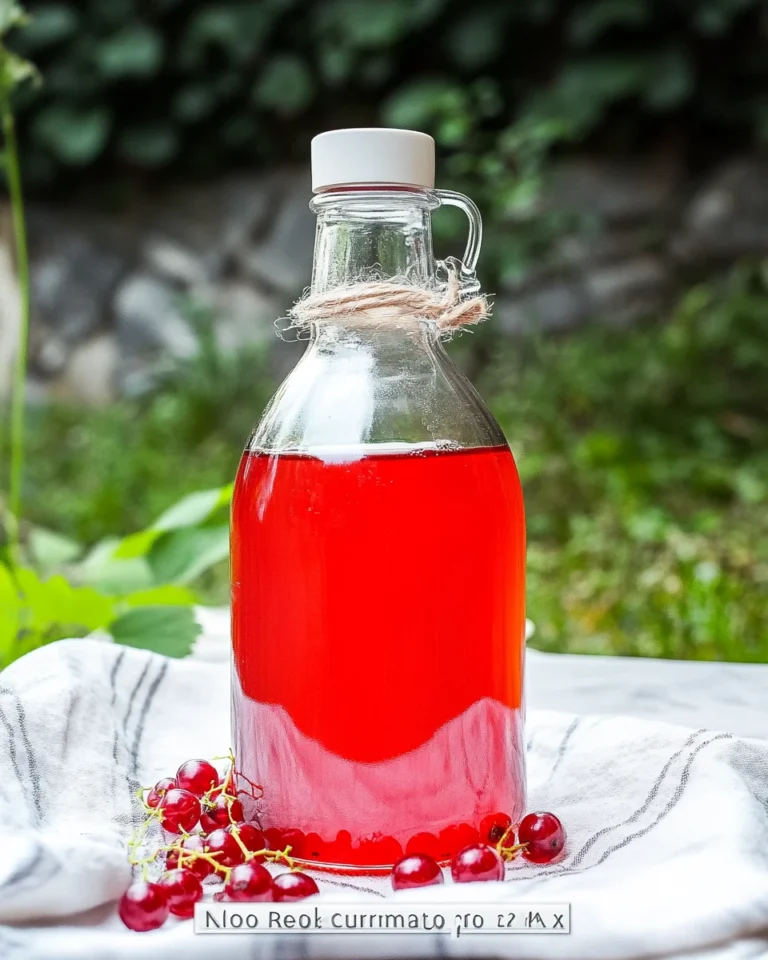
No-Cook Red Currant Syrup
This easy no-cook red currant syrup captures the tartness of fresh currants, making it a perfect drizzle for pancakes and desserts.
- Total Time: 0 hours
- Yield: Approximately 10 cups 1x
Ingredients
- 4.4 Pounds Red Currants, fresh and cleaned (without leaves)
- 10 Cups Water
- ¼ Cup Citric Acid
- 10 Cups Sugar
- 1 Tablespoon Sorbic Acid
Instructions
- Clean red currants, removing leaves and rinsing well.
- Place berries in a food-grade bucket and add water and citric acid; mix well and cover.
- Infuse mixture for two days, stirring once or twice daily.
- Add sugar and sorbic acid, stir well, and let sit for 5 hours.
- Strain mixture into clean bottles and label.
Notes
Use clean, food-safe containers to avoid contamination.
Regular stirring during infusion enhances flavor.
Store syrup in a cool, dry place and refrigerate after opening.
- Prep Time: 15 minutes
- Cook Time: 2 days infusion
- Category: Condiments
- Method: No-Cook
- Cuisine: American
Nutrition
- Calories: 50
- Sugar: 12
- Sodium: 0
- Fat: 0
- Saturated Fat: 0
- Unsaturated Fat: 0
- Trans Fat: 0
- Carbohydrates: 13
- Fiber: 0
- Protein: 0
- Cholesterol: 0


