Skip to content

The allure of a freshly baked cherry pie is hard to resist. With its golden, flaky crust and a vibrant filling that’s bursting with flavor, this dessert has a way of turning any ordinary day into something special. Whether made with fresh summer cherries or frozen fruit during the off-season, this foolproof cherry pie is a crowd-pleaser that captures the essence of homemade goodness. Picture a warm slice served à la mode, the creamy scoop of vanilla ice cream melting softly on top as you savor each delightful bite. That perfect balance of sweet and tart is what makes this pie not just a dessert but a celebration.
Thank you for reading this post, don't forget to subscribe!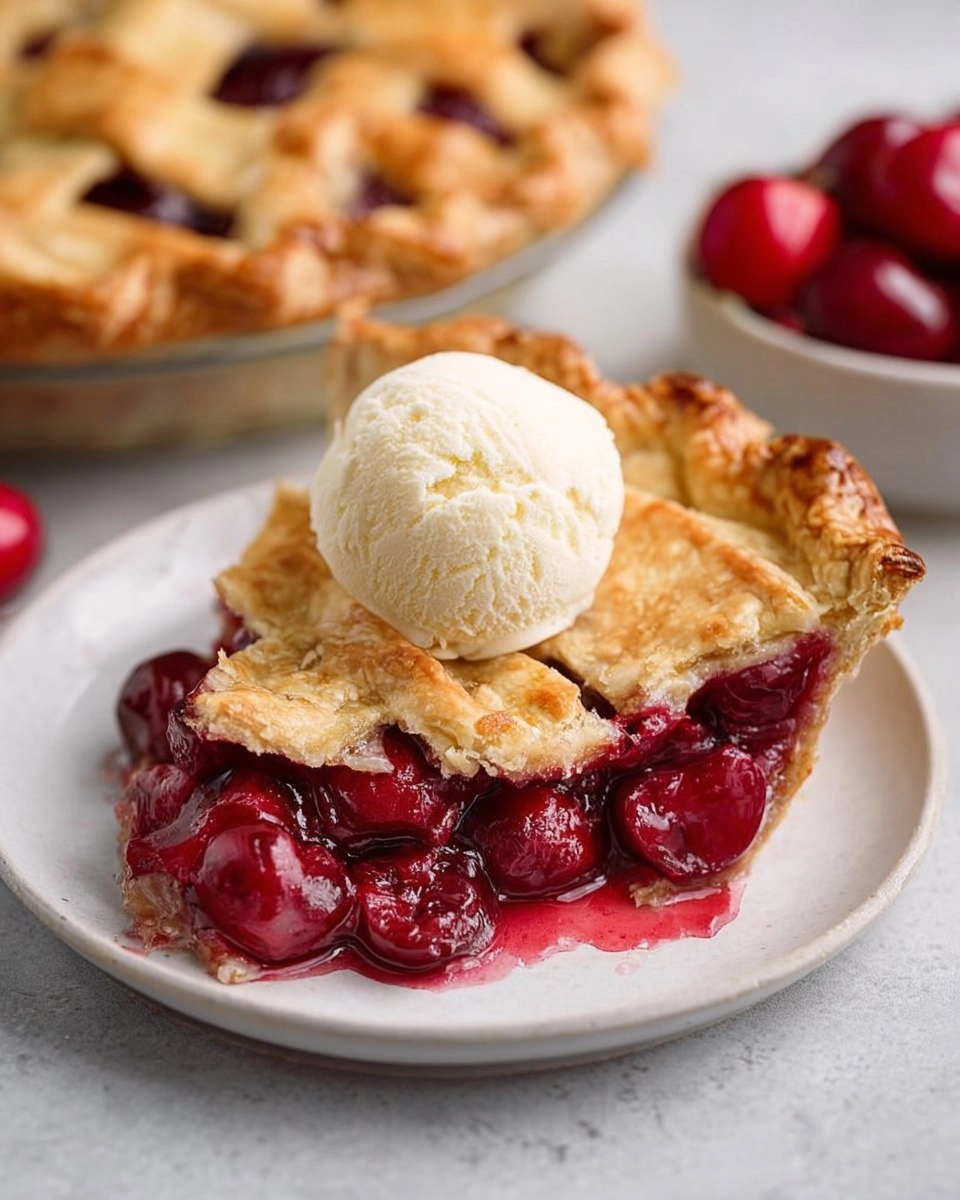
I remember the first time I tackled making a cherry pie. It was a humid summer afternoon, the kind of day that begged for something cool and sweet. Armed with a basket of juicy cherries from the local farmer’s market, I ventured into the world of pie-making. The result was a show-stopping dessert that brought smiles all around the table. Homemade cherry pie is not just a treat; it’s an experience filled with nostalgia, sweetness, and the joy of sharing with loved ones. I can’t wait for you to try this recipe; it’s bound to become a favorite!
Why You’ll Love This Recipe
- Simple & Quick: With about an hour of prep time, you can have a fresh pie ready to serve.
- Irresistible Flavor: The mix of fresh cherries with a hint of almond and vanilla creates a uniquely delicious taste.
- Eye-Catching Appeal: The lattice crust is visually stunning, perfect for impressing guests or family!
- Flexible Serving: Enjoy it at summer barbecues, holiday gatherings, or as a comforting evening snack.
- Diet-Friendly Options: Feel free to adapt the recipe using gluten-free crusts or alternative sweeteners.
Ingredients You’ll Need
- Foolproof all-butter pie crust (2): A buttery, flaky crust provides the perfect base for the luscious cherry filling. You can use store-bought or make your own!
- Cherries, pitted (2 pounds): Fresh cherries give the best flavor, but feel free to use frozen if out of season. Just ensure they’re fully thawed and drained well.
- Cornstarch (3 tablespoons): This helps thicken the cherry filling as it bubbles and develops a lovely texture.
- Granulated sugar (1/2 cup or 99g): Balances the tartness of the cherries for a sweet, delightful filling.
- Salt (1/2 teaspoon): Enhances the flavors of the other ingredients without being noticeable.
- Vanilla extract (3 teaspoons): Adds warmth and depth to the filling. Always use pure vanilla for the best results.
- Almond extract (1/4 teaspoon): A hint of almond complements the cherries beautifully; avoid using too much as it can overpower the pie.
- Freshly squeezed lemon juice (1 tablespoon): Brightens the flavors and enhances the overall taste of the filling.
- Unsalted butter, cut into small cubes (2 tablespoons): Adds richness and flavor to the filling, helping it bubble beautifully.
- Large egg (1): Used for an egg wash to give the crust a golden shine.
- Water (2 teaspoons): Mixes with the egg to create the wash.
- Sparkling sugar (2 tablespoons, optional): Sprinkled on top before baking for an extra crunch and sweetness.
How to Make Cherry Pie
- Prepare the Pie Crust: Start by having one batch of your foolproof all-butter pie crust ready and chilled in the fridge.
- Roll Out the Dough: Remove the dough from the fridge 10 minutes before rolling. Lightly flour your work surface and rolling pin. Roll the dough from the center outward until it’s about 12 inches in diameter. Aim for a thickness of about 1/8” to 1/4”.
- Fit the Dough into the Pie Pan: Carefully fold the dough in half before placing it into a buttered pie pan, laying the fold in the center. Unfold and gently press the dough into the pan, ensuring there are no gaps.
- Trim the Excess Dough: With kitchen scissors, trim the dough overhang to about 1.5 inches from the edge of the pie pan.
- Chill the Crust: Cover the crust with plastic wrap and refrigerate for at least 1 hour or up to 48 hours. You can also freeze it for up to 2 months.
- Prepare the Lattice Strips: Roll out another batch of pie dough into a 12-inch circle, and slice it into strips using a pastry cutter, laying them on a parchment-lined baking sheet to chill.
- Cook the Cherry Filling: In a large saucepan over medium-high heat, combine the cherries, cornstarch, sugar, salt, vanilla, almond extract, and lemon juice. Stir constantly until the mixture thickens, which should take about 8 minutes. Let it cool in a heatproof bowl.
- Prepare the Egg Wash: In a small bowl, whisk together the egg and water until well combined.
- Preheat the Oven: Set your oven to 425°F (220°C).
- Assemble the Pie: Remove the pie crust and lattice strips from the fridge. Pour the cooled cherry filling into the crust and dot with butter cubes.
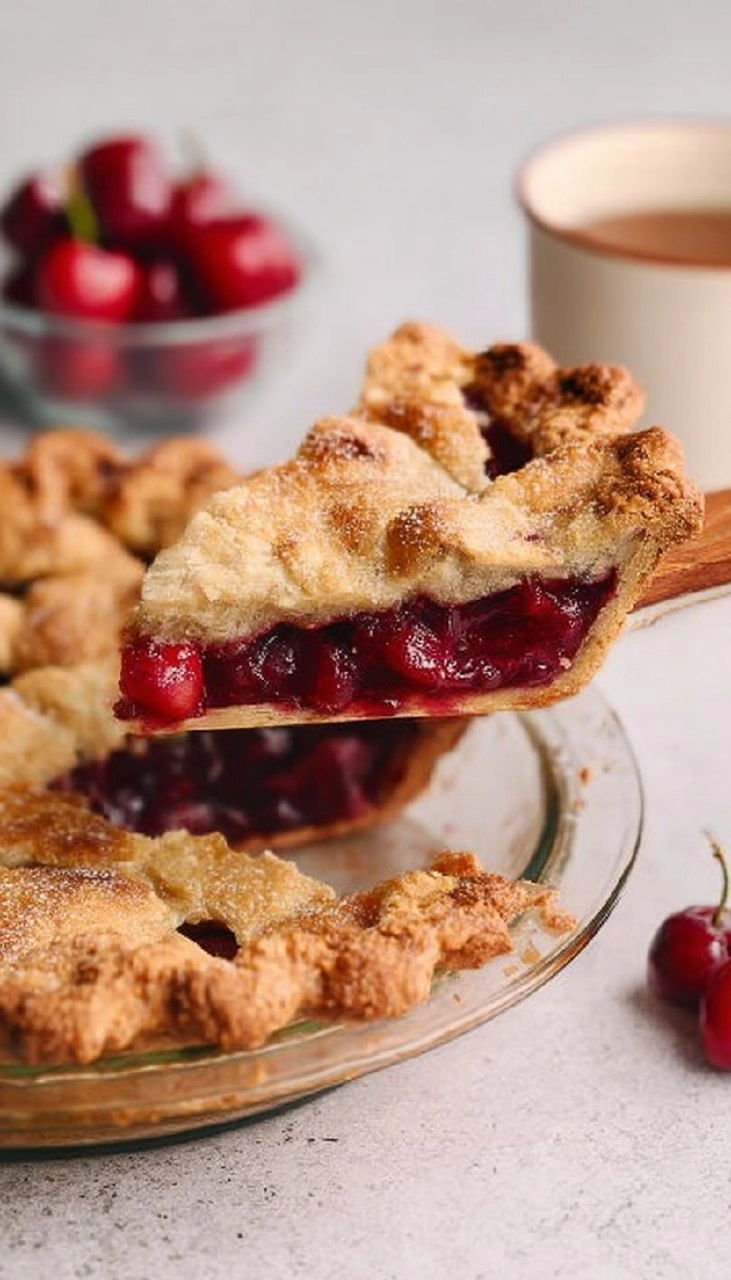
- Weave the Lattice: Lay 6 strips of dough over the filling, leaving about 1/2 inch apart. Fold back every other strip and place another strip perpendicularly. Unfold the original strips to create a woven lattice.
- Seal the Edges: Trim any excess dough from the lattice strips to about 1/2 inch. Roll the edges to secure them, crimping them with your fingers or a fork.
- Finish with Egg Wash: Brush the edges with the egg wash and sprinkle with sparkling sugar if you’d like for extra shine and sweetness.
- Bake the Pie: Place the pie on a baking sheet and bake for 15 minutes. Then, reduce the oven temperature to 350°F (175°C) and continue baking for another 50 minutes or until the crust is golden and the filling bubbles.
- Cool Before Slicing: Once baked, let the pie cool on a wire rack for at least 2 hours to set before slicing and serving.
Storing & Reheating
When it comes to storing your pie, allow it to cool completely then cover it loosely with foil or plastic wrap at room temperature for up to 2 days. For longer storage, refrigerate in an airtight container for up to a week. If you want to freeze your cherry pie, wrap it well in plastic wrap and aluminum foil for up to 3 months. To reheat, pop slices in a preheated oven at 350°F (175°C) for about 10-15 minutes or until warmed through. Keep in mind, while freezing may alter the texture slightly, warming it will refresh the flavor!
Chef’s Helpful Tips
- Avoid overcooking the fruit filling; once thickened, remove it from the heat immediately to keep it from becoming too gummy.
- Chill your pie crust adequately; this ensures it maintains its shape during baking for a beautifully flaky crust.
- If you find the crust browning too quickly, use strips of aluminum foil around the edges to shield them from direct heat.
- For added flavor, consider adding a sprinkle of cinnamon or nutmeg to the filling.
- Make the filling a day ahead and store it in the refrigerator, making assembly the next day a breeze.
There’s nothing quite like the warmth of a home-baked cherry pie fresh from the oven, perfuming your kitchen with irresistible scents. This pie offers rich flavors and textures that truly celebrate seasonal ingredients. Feel free to tweak the recipe as you go and find what makes it your own. You may discover new flavor combinations or perfect presentations that suit your style. Enjoy each slice and soak in the good vibes it brings to those around you.
Recipe FAQs
Can I use frozen cherries for the pie?
Absolutely! Frozen cherries can be a great alternative, especially when fresh cherries are out of season. Just make sure to thaw them completely and drain any excess liquid before using them in the filling.
How do I make the crust flaky?
The key to a flaky crust lies in using cold ingredients! Ensure both your butter and water are chilled, and avoid overworking the dough as this develops gluten, resulting in a tougher crust.
Can I make the pie ahead of time?
Yes, you can prepare the pie a day in advance. Bake it, then cool and store it in the fridge. Reheat it just before serving for a fresh-out-of-the-oven taste.
What’s the best way to slice the pie?
Use a serrated knife for the cleanest cuts, and let your pie cool completely to help the filling set. This will keep your slices from being too runny and messy!
Print
The Cherry Pie
This Cherry Pie features a buttery crust filled with fresh or frozen cherries, sugar, and a hint of almond extract. Perfect for dessert lovers seeking a homemade treat with a delightful flavor!
- Total Time: 5 hours 5 minutes
- Yield: 1 pie 1x
Ingredients
- 2 foolproof all-butter pie crust
- 2 pounds cherries pitted (fresh or frozen)
- 3 tablespoons cornstarch
- 1/2 cup (99g) granulated sugar
- 1/2 teaspoon salt
- 3 teaspoons vanilla extract
- 1/4 teaspoon almond extract
- 1 tablespoon freshly squeezed lemon juice
- 2 tablespoons unsalted butter cut into small cubes
- 1 large egg
- 2 teaspoons water
- 2 tablespoons sparkling sugar optional
Instructions
- Refrigerate one batch of all-butter pie crust before use.
- Remove dough from fridge 10 minutes prior to rolling to avoid cracking. Lightly flour your rolling pin and work surface.
- Place dough in the middle of the surface and roll outwards from the center, rotating the disc as needed, until it is 3 inches larger than the pie pan and 1/8" to 1/4" thick.
- Fold the dough in half and transfer to the buttered pie pan, then unfold and press down without stretching.
- Trim the dough overhang to 1 and 1/2 inches with kitchen scissors.
- Cover and refrigerate for at least 1 hour or up to 48 hours, or freeze for up to 2 months.
Notes
Use fresh cherries when in season for the best flavor.
The pie crust can be made ahead and frozen, ensuring a quick baking option later.
Sparkling sugar can be sprinkled on top for added texture and sparkle.
- Prep Time: 60 minutes
- Cook Time: 245 minutes
- Category: Desserts
- Method: Baking
- Cuisine: American
Nutrition
- Serving Size: 1 slice
- Calories: 250
- Sugar: 15g
- Sodium: 250mg
- Fat: 10g
- Saturated Fat: 6g
- Unsaturated Fat: 4g
- Trans Fat: 0g
- Carbohydrates: 36g
- Fiber: 2g
- Protein: 3g
- Cholesterol: 20mg